

Table of Contents
C-Stands are a common part of studio and video lighting setups, but a stable setup depends on more than the stand itself. The right combination of stand, grip arm, load position, and additional support can make a significant difference.
Different setups also have different requirements. A simple key light may need only a basic stand, while flags, negative fill, overhead lighting, or heavier equipment may require more stability and positioning flexibility.
This guide covers how to choose and set up a C-Stand for different lighting situations, with practical tips for building a more stable and manageable setup.

Start with the Right C-Stand
Before setting up a C-Stand, consider the equipment you plan to mount and how the stand will be used.
Key factors include:
· Construction: Tube diameter and wall thickness can affect overall strength and stability.
· Load capacity: Consider the combined weight of the light, modifier, grip arm, and other accessories.
· Height: Make sure the stand can reach the required height for your setup.
· Air cushioning: Useful when smoother, more controlled height adjustment is important.
· Mobility: Wheeled C-Stands can be useful when equipment needs to be repositioned frequently in a studio.
The goal is not to choose the heaviest or most feature-rich C-Stand, but to choose one that matches the requirements of the setup.
1. Standard C-Stand vs. Heavy-Duty C-Stand
A standard C-Stand can be suitable for everyday lighting and grip work, while a heavy-duty model may make more sense for heavier equipment or setups that require additional stability.
|
|
Standard C-Stand |
Heavy-Duty C-Stand |
|
Typical use |
Basic lighting and grip work |
Heavier or more demanding setups |
|
Construction |
Standard construction |
Reinforced construction |
|
Portability |
Generally easier to handle |
Typically heavier |
|
Best for |
Simple studio setups |
Larger lights and modifiers |
A heavier C-Stand is not automatically the better choice. Consider the equipment, setup, and shooting environment before choosing.
2. Example: NEEWER C-Stands
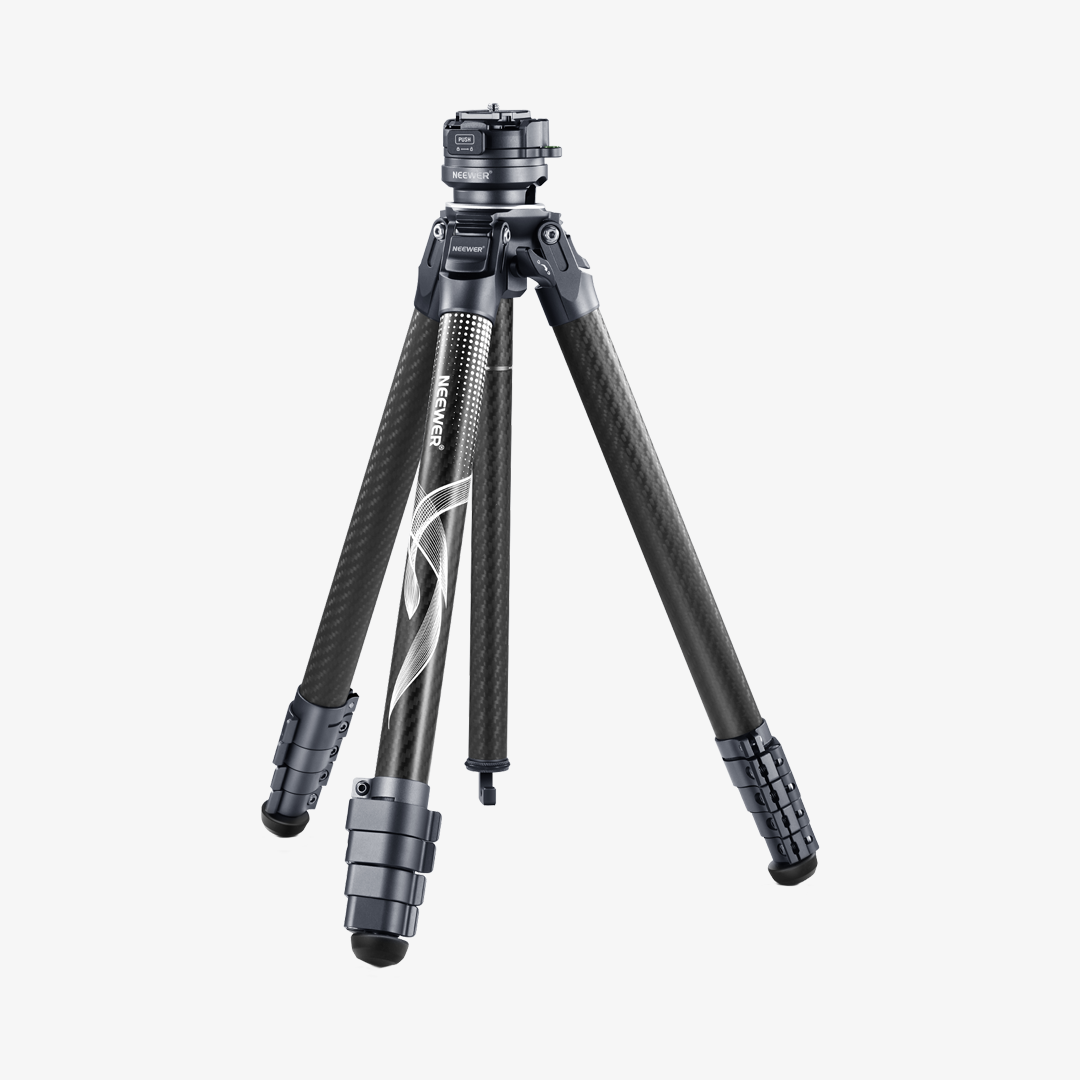
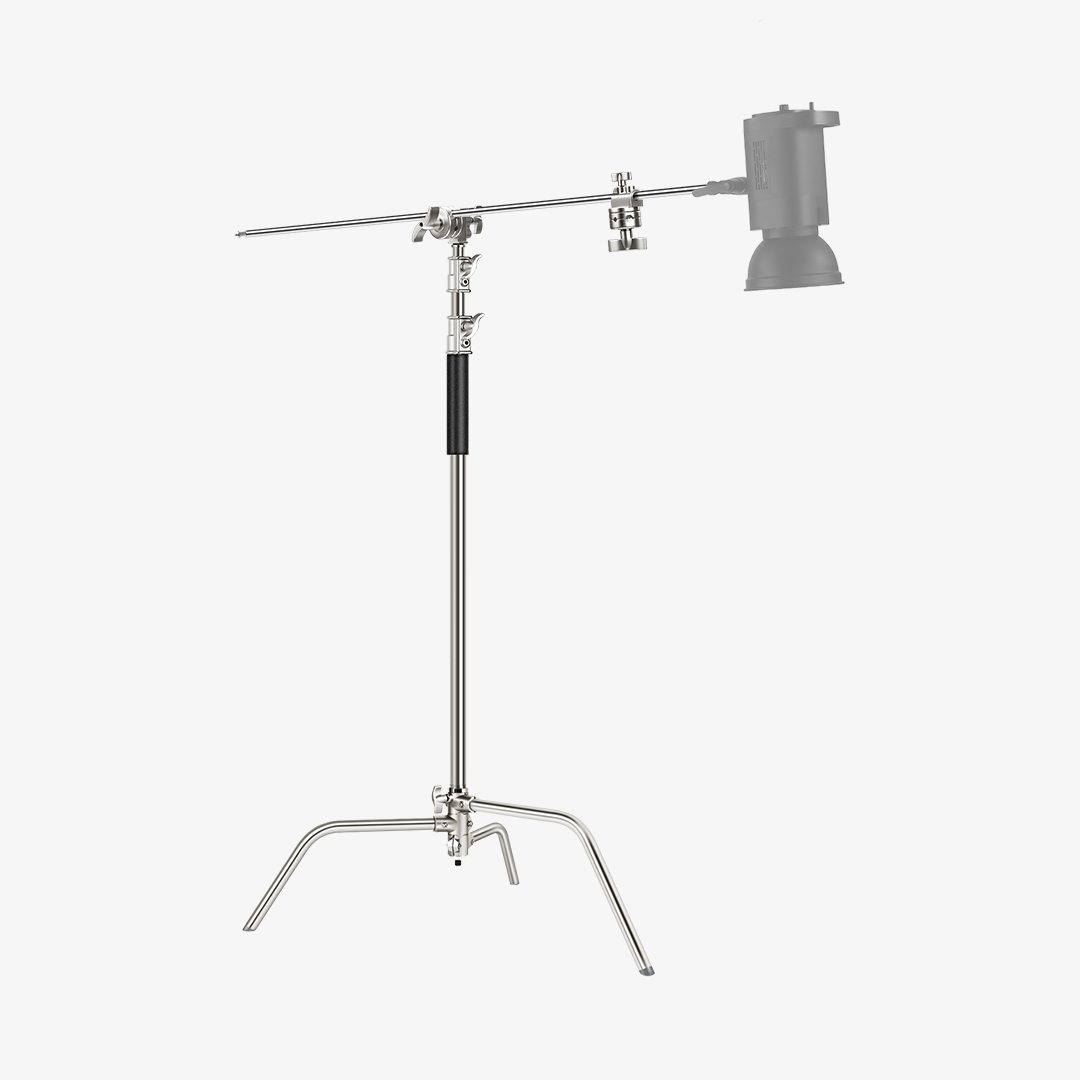
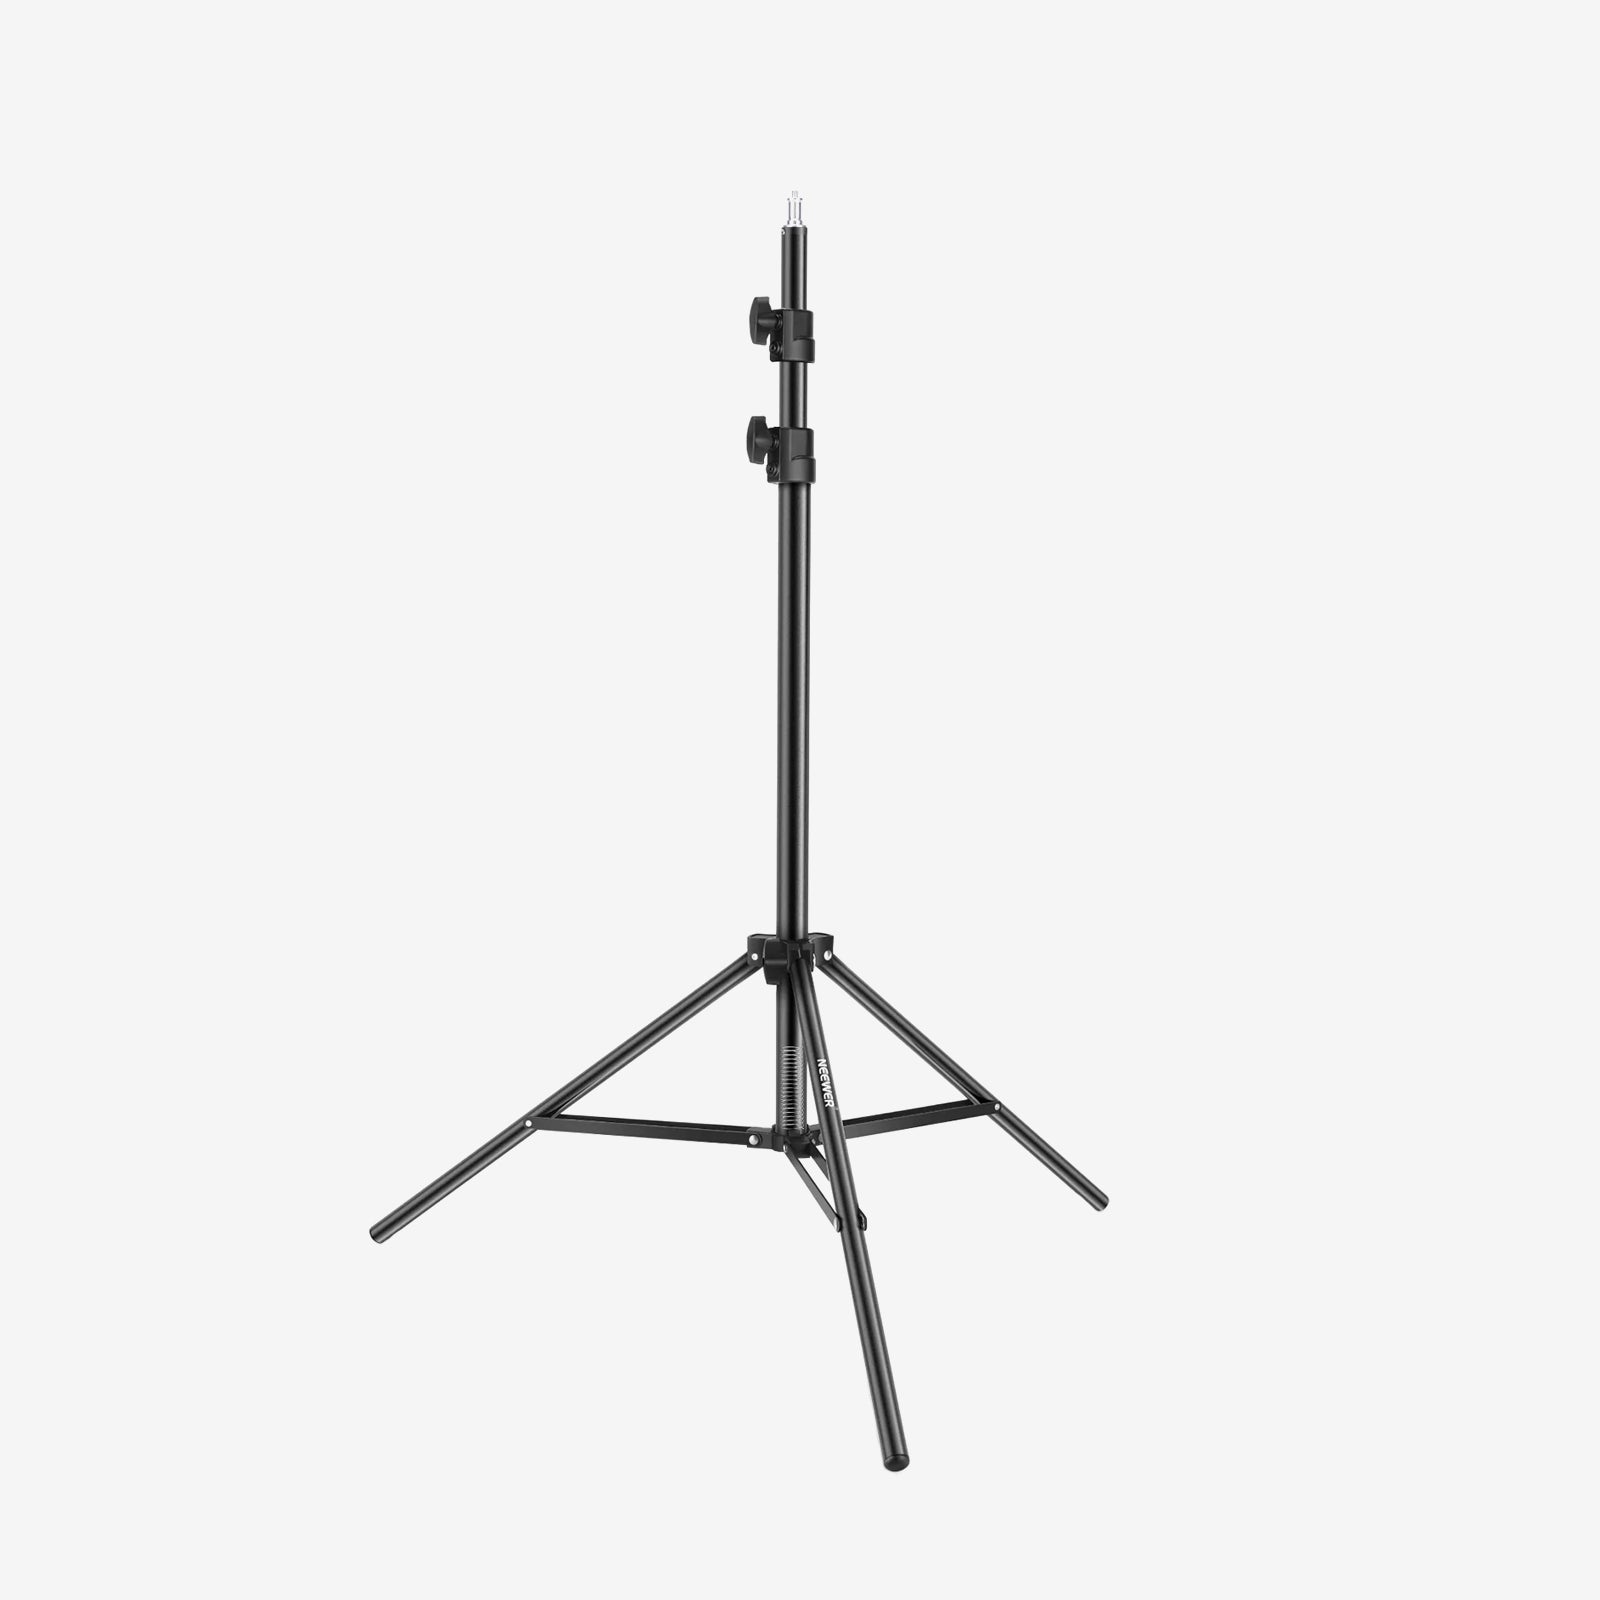
NEEWER offers C-Stand options designed for different studio and lighting applications, with features such as adjustable height, air cushioning, and different load capacities depending on the model.
When comparing C-Stands, focus on the specifications that matter for your setup rather than choosing based on weight or features alone. Check the stand’s rated capacity and make sure it is appropriate for the combined equipment you plan to mount.
Choose the Right Grip Arm and Mounting Position
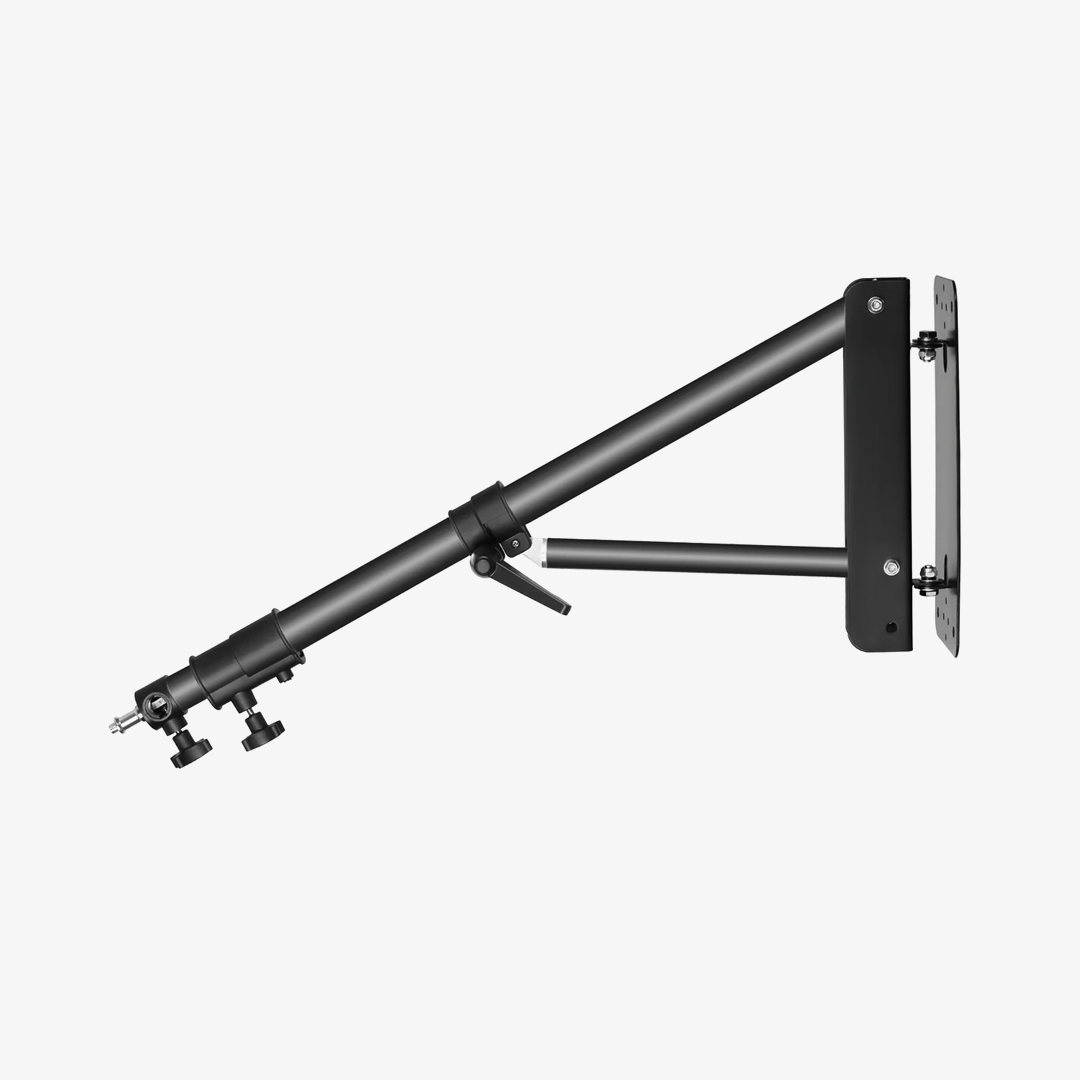
A C-Stand can support equipment directly, but a grip arm provides more flexibility when a light or accessory needs to be positioned away from the center column.
Grip arms can be useful for:
· Positioning a light at an angle
· Holding flags and negative fill
· Supporting reflectors or diffusion
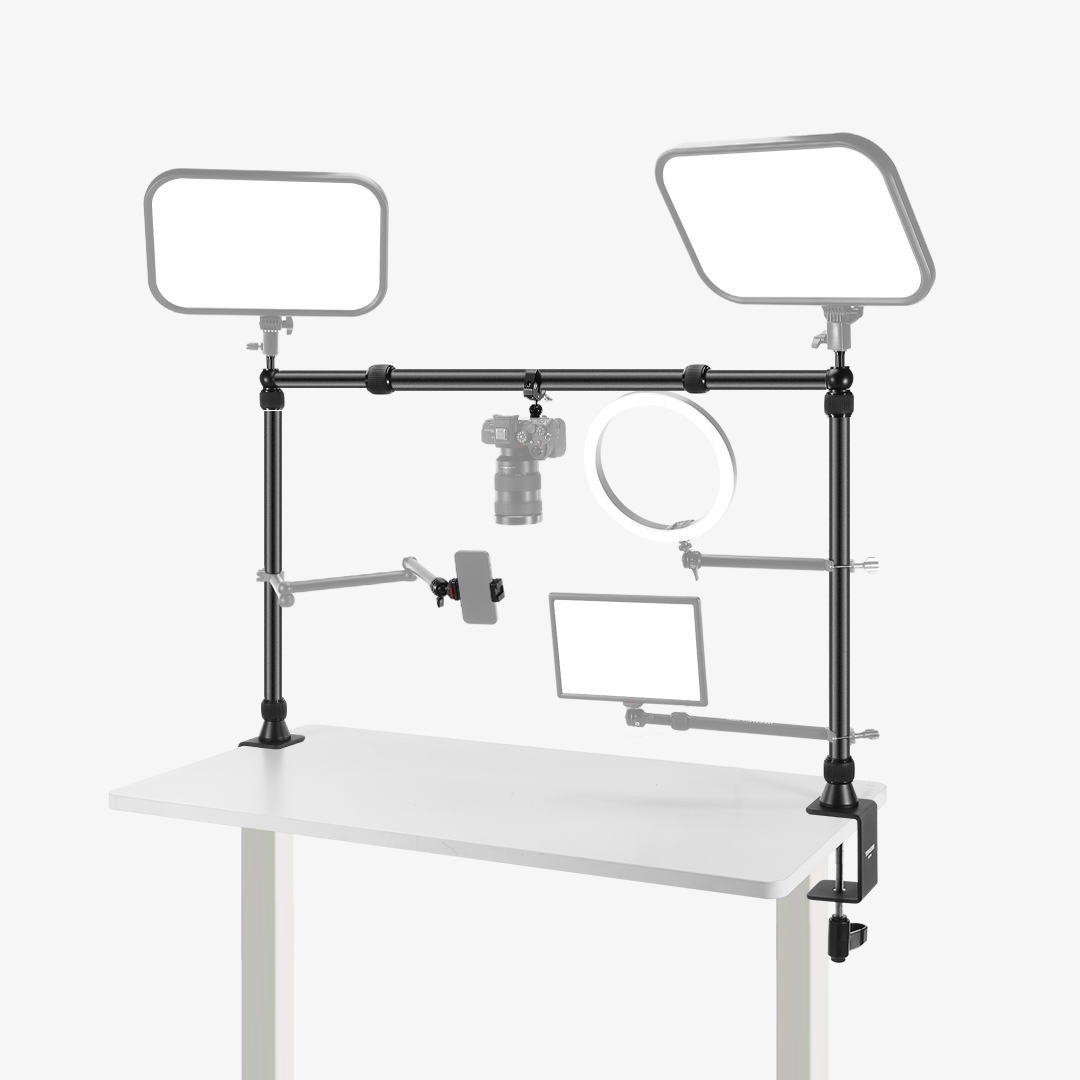
· Creating overhead lighting setups
· Extending equipment beyond the stand’s footprint
Direct Mounting vs. Grip Arm
Direct mounting is a straightforward option when the light only needs to sit directly above the stand.
A grip arm makes more sense when you need additional reach or more flexible positioning.
|
|
Direct Mounting |
Grip Arm |
|
Setup |
Simple |
More adjustable |
|
Positioning |
Mostly above the stand |
Can extend away from the stand |
|
Best for |
Basic lighting |
Flags, reflectors, negative fill, and extended setups |
|
Flexibility |
Limited |
Higher |
When using a grip arm, make sure the grip head is securely locked and position the load carefully to maintain balance.

Balance the C-Stand Before Adding Weight
A stable C-Stand setup is not just about how heavy the stand is. Load position and weight distribution also matter.
Place the legs on a stable, level surface and position the stand so the load is supported securely.
Avoid placing the legs where they could become a trip hazard, especially in busy shooting environments.
Keep the load as close to the stand as practical. The farther an arm extends, the more important proper positioning and additional support become.
Make sure the grip head and mounting points are securely tightened before use.
A sandbag can provide additional stability when the setup involves:
· An extended grip arm
· A heavier light or modifier
· Overhead positioning
· A setup that may be bumped or repositioned
· Uneven or demanding shooting conditions
A heavier C-Stand does not eliminate the need for proper weighting. When additional stability is needed, use a suitable sandbag and follow the manufacturer’s safety recommendations.
Tip: When working with an extended arm, position the load so the stand remains balanced and add a sandbag when necessary.
C-Stand Setup for Different Lighting Scenarios
The right C-Stand setup depends on what you are trying to support and where you need to position it. A simple key light may require only a basic setup, while flags, reflectors, and overhead lights may need additional grip equipment.
1. Simple Key Light
A C-Stand can provide a stable base for a light in a simple portrait or video lighting setup.
For a straightforward setup, the light can be mounted directly on the stand without additional accessories. This keeps the setup simple and makes it easier to adjust the light’s height and position.
2. Negative Fill or Flag
A C-Stand with a grip arm can make it easier to position a flag or negative fill beside the subject.
The grip arm allows the flag to extend away from the stand, giving more flexibility when controlling the direction of light. For larger flags or extended positions, make sure the stand is properly balanced and weighted when needed.
3. Reflector or Diffusion
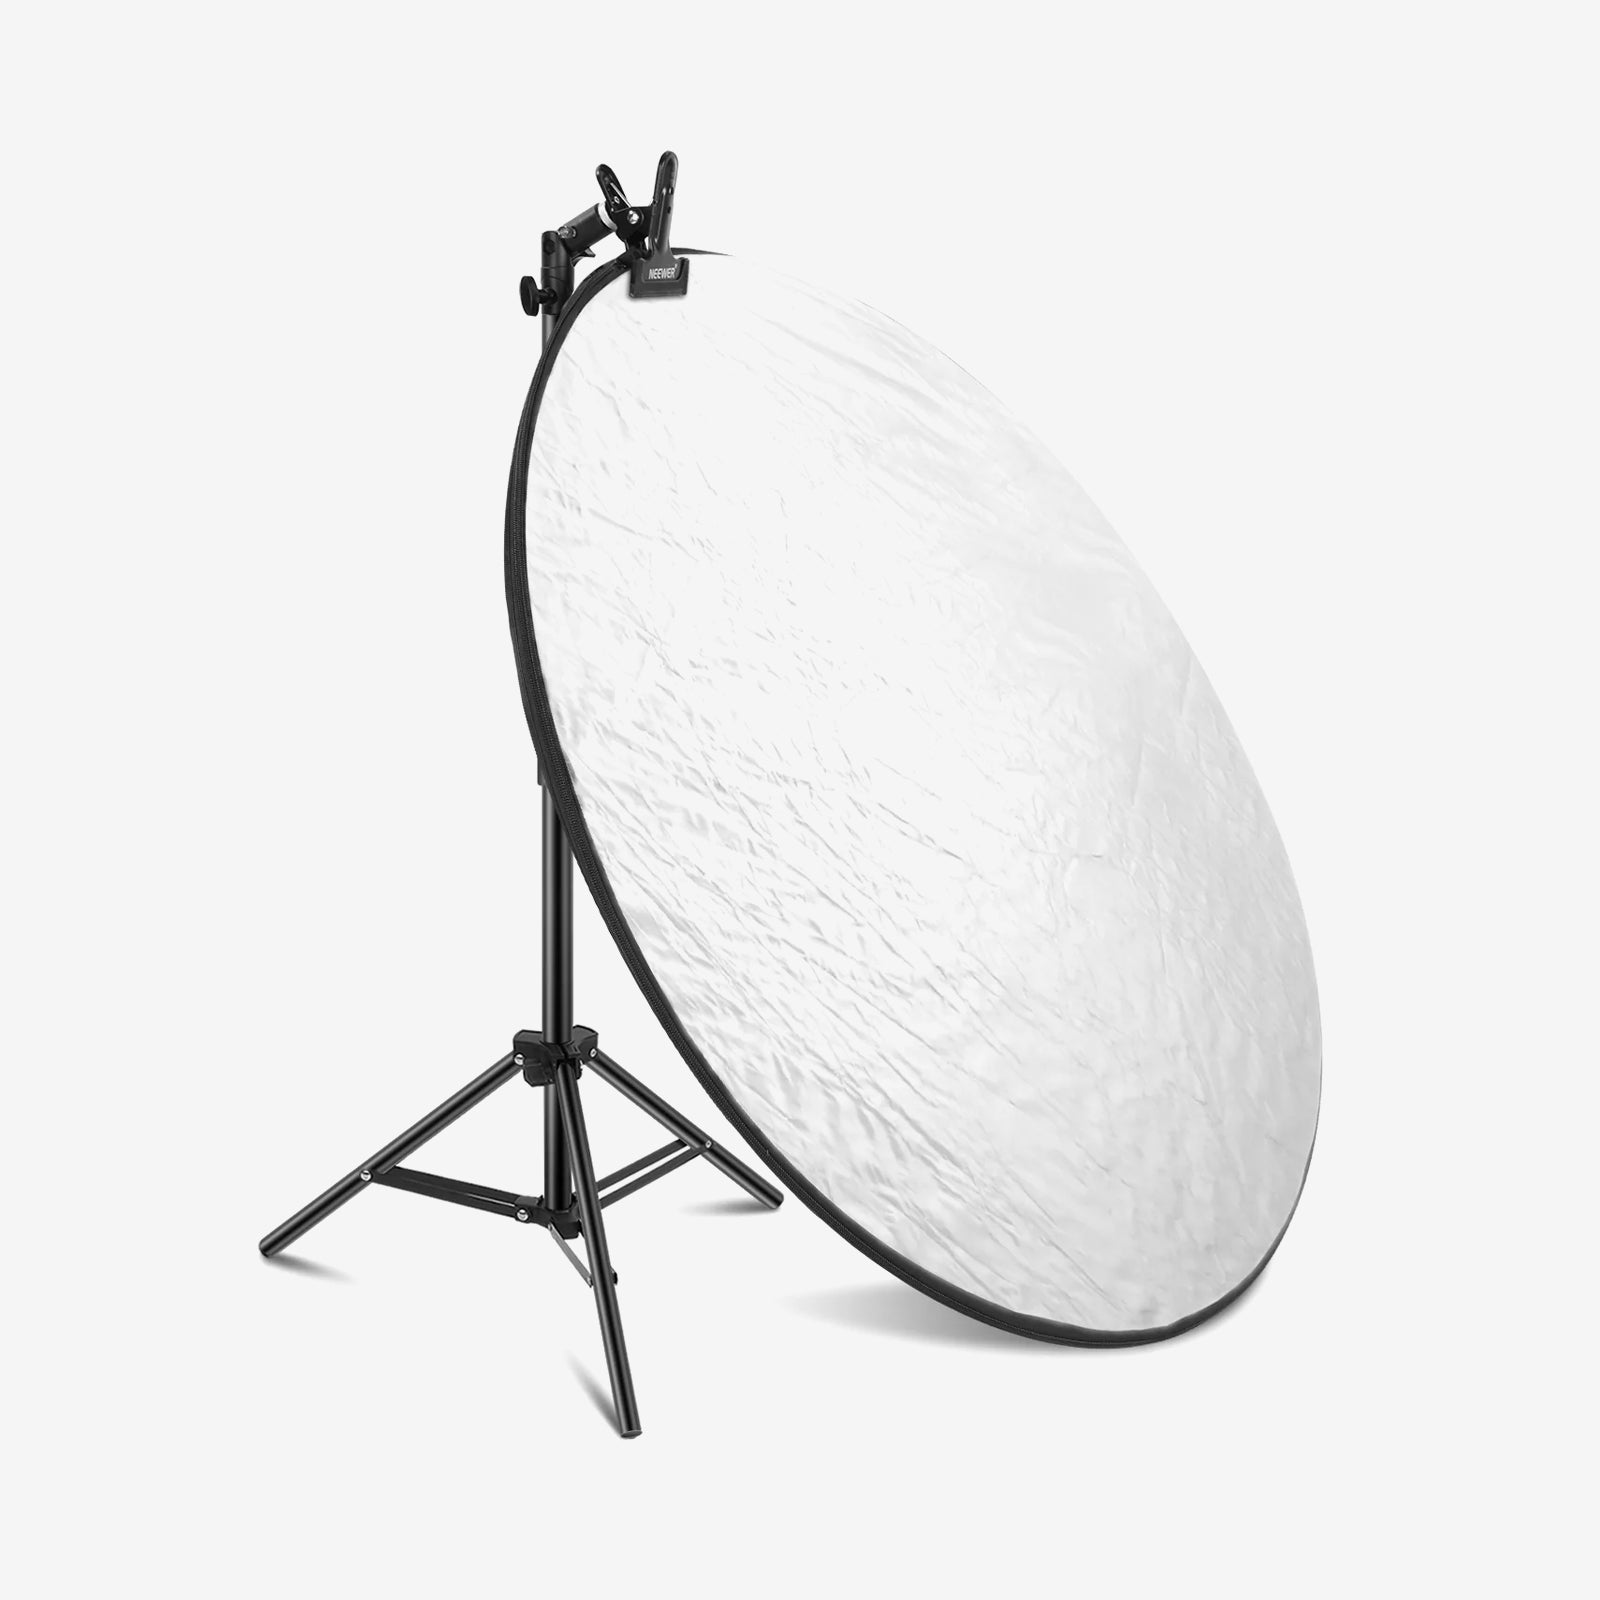
A C-Stand and grip arm can also be used to hold a reflector or diffusion panel.
This can be useful when the reflector needs to stay at a specific height or angle without requiring someone to hold it throughout the shoot.
Keep the load within the stand and grip equipment’s rated capacity and position the reflector as close to the stand as practical for better balance.
4. Overhead Lighting
For overhead lighting, a C-Stand with a grip arm can provide the reach needed to position the light above the subject.
Because the load extends away from the center column, balance becomes especially important. Keep the arm extension as short as practical and consider adding a sandbag when additional stability is needed.
5. Heavier Lighting Setup
Heavier lights and larger modifiers require more attention to the stand’s load capacity and overall stability.
A heavy-duty C-Stand may be appropriate for more demanding setups, while a suitable grip arm or additional support can provide greater positioning flexibility when required. Always check the combined weight of the equipment and accessories before mounting them.

C-Stand Accessories: What Do You Actually Need?
A C-Stand can be used on its own, but different accessories and features can make it more suitable for specific shooting situations. Not every setup requires all of them.
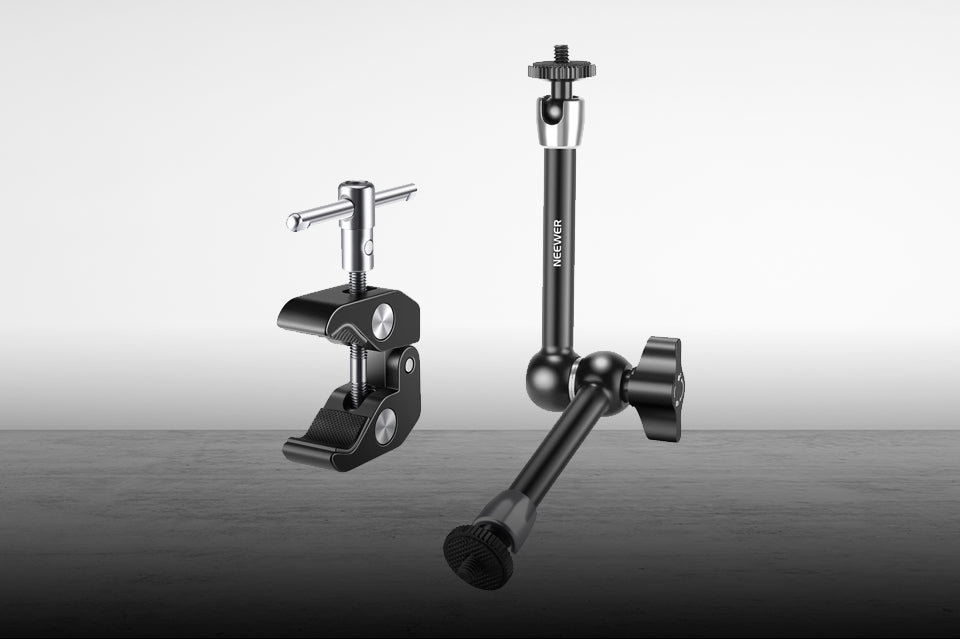
A grip arm is useful when you need more flexible positioning for lights, flags, reflectors, or other accessories.
It can extend equipment away from the center column and provide more control over height and angle.
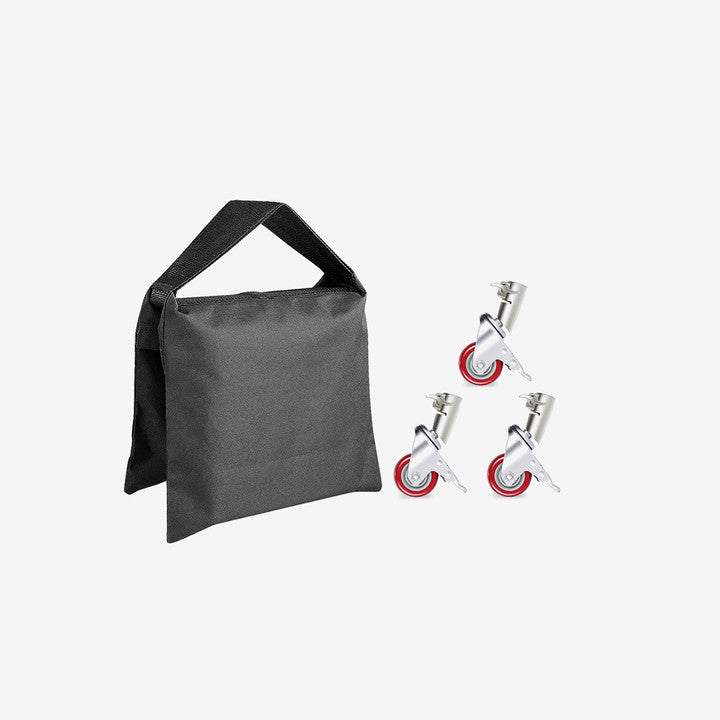
A sandbag provides additional stability when the setup involves an extended arm, heavier equipment, or a higher risk of movement.
It can be especially useful for overhead lighting, large modifiers, or busy shooting environments.
Wheels can make a C-Stand easier to reposition in a studio.
They are most useful when lights and modifiers need to be moved frequently between setups. For equipment that stays in one position, a fixed base may be sufficient.
Air cushioning helps provide more controlled movement when adjusting the stand’s height.
It can be useful when working with heavier equipment or making frequent height adjustments, although it is not necessary for every setup.
|
Accessory / Feature |
Useful When |
|
Grip arm |
Positioning lights, flags, or reflectors |
|
Sandbag |
Adding stability |
|
Wheels |
Frequent studio repositioning |
|
Air cushioning |
Controlled height adjustment |
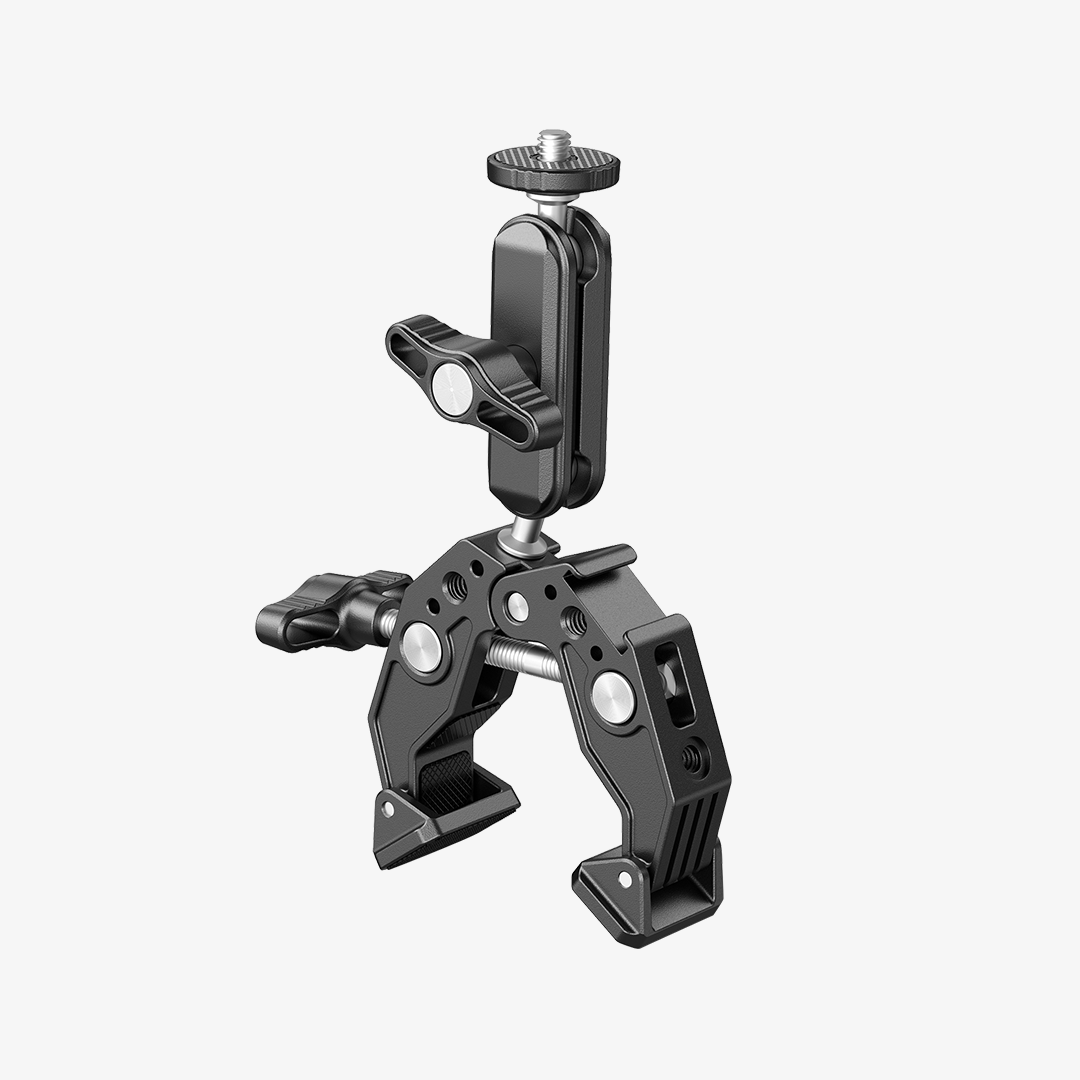
For photographers and video creators building a complete grip setup, NEEWER offers C-Stand-related accessories such as grip arms and other support equipment that can be combined based on the shooting scenario.
A practical setup might include a C-Stand for the main support, a grip arm when additional reach is needed, and a sandbag when the extended load requires additional stability. The exact combination should always depend on the equipment and shooting environment.

C-Stand Setup Checklist
A few quick checks before and during a shoot can help keep a C-Stand setup stable and easier to manage.
1. Before the Shoot
· Is the C-Stand suitable for the equipment?
· Is the load properly positioned?
· Is the grip arm securely locked?
· Are the legs positioned for stability?
· Is a sandbag needed?
· Is there enough clearance around the stand?
2. During Height Adjustment
· Keep control of the equipment.
· Adjust the stand carefully.
· Use the appropriate cushioning or safety features when available.
3. Before Shooting
· Check all locks.
· Check the base.
· Check the arm and grip head.
· Make sure the setup is stable.
FAQs
1. How do you set up a C-Stand safely?
Choose a C-Stand that can support the total equipment load, position the legs and grip arm for balance, secure all locking points, and add a sandbag when additional stability is needed. Keep the setup clear of walkways and other areas where it could be bumped.
2. Do you need a sandbag for a C-Stand?
Not every setup requires one. A sandbag can provide additional stability for extended grip arms, heavier equipment, overhead lighting, or setups where the stand may be bumped or moved.
3. Do you need a grip arm with a C-Stand?
A grip arm is not necessary for every setup. It is useful when a light, flag, reflector, or other accessory needs to be positioned away from the center column.
4. What can you use a C-Stand grip arm for?
A C-Stand grip arm can be used to position lights, flags, reflectors, diffusion materials, and other accessories at different heights and angles. It is particularly useful when the equipment needs to extend away from the stand’s center column.
5. Can a C-Stand be used for overhead lighting?
Yes. A C-Stand with a grip arm can be used for overhead lighting, but the extended load requires careful positioning and balancing. Make sure the equipment is within the stand and arm’s rated capacity and add additional support when needed.
6. Is a heavy-duty C-Stand always better?
Not necessarily. A heavy-duty C-Stand can be useful for heavier or more demanding setups, but a lighter or more basic model may be sufficient for simple lighting. The best choice depends on the equipment, setup, and shooting environment.