

Table of Contents
Overhead photography is a simple way to create clean, consistent product photos from a top-down perspective. Instead of holding the camera above the product or trying to balance it on a tripod, an overhead camera mount keeps the camera securely in position while leaving the shooting surface open.
This setup works especially well for flat lays, small product photography, unboxing videos, tutorials, and other tabletop content where you want a straight-down or slightly angled view.
Why Use an Overhead Camera Setup?
An overhead camera setup gives you more control over both the camera and the shooting area.
A dedicated mount keeps the camera in a fixed position, reducing unwanted movement and making it easier to maintain the same shooting angle throughout a session. This is especially useful when you’re photographing multiple products or creating a series of similar images.
Once the camera height and framing are set, you can replace products or rearrange props without constantly repositioning the camera. For product catalogs and repeat shooting, marking the camera and product positions can make the setup much easier to reproduce.
With the camera suspended above the shooting surface, there is no tripod taking up space around the product. This gives you more room for products, backgrounds, props, and lighting.
How to Set Up an Overhead Camera
Start with a stable overhead mount that can safely support your camera and lens. Attach the camera to the mount’s 1/4” screw or compatible ball head, then position it above the center of your shooting area.
The right mount depends on your equipment and workspace. A compact desk mount can work well for a small product or smartphone, while a larger overhead rig is more suitable when you’re using a heavier camera or want to add lighting and other accessories.
Position the camera high enough to capture the entire product and shooting area comfortably. The ideal height depends on the product size, lens, and desired composition rather than one fixed measurement. For smaller products, you may only need a relatively short working distance, while larger flat lays require more space.
For a true top-down shot, keep the camera sensor as parallel to the shooting surface as possible. This helps keep the product’s shape and lines looking natural and reduces unwanted perspective distortion.
Before shooting, check the clamp, locking knobs, screws, and connection points. The camera should stay in position when you make small adjustments to the setup.
This becomes even more important when using a larger camera or adding accessories such as a monitor, microphone, or LED light. A secure mount helps maintain consistent framing and reduces unwanted movement during the shoot.
Once the camera position is fixed, place your lights around the shooting area.
Avoid placing a light directly behind or too close to the camera if it creates a visible camera shadow on the product. Instead, try positioning diffused lights to the side or at an angle for more even illumination.
For reflective products, changing the light’s position and angle can often be more effective than simply increasing brightness. A larger, diffused light source can also help create softer shadows and more controlled reflections.
Choose the Right Overhead Mount
The right overhead mount depends on the size of your shooting area, the equipment you use, and how permanent you want the setup to be.
NEEWER ST100 Overhead Camera Mount Rig

The NEEWER ST100 is a good fit for a dedicated overhead product photography setup where stability matters. Its tabletop design keeps the camera securely above the shooting area, making it easier to photograph products from a consistent top-down angle without taking up space on the desk.
The adjustable height and spacious crossbar also make the ST100 useful when you want to build a more complete tabletop shooting setup. You can add accessories such as LED lights or a monitor with compatible clamps, making it suitable for flat lays, unboxing, tutorials, and repeatable product photography.
Pros:
· Stable overhead setup
· Adjustable shooting height
· Expandable crossbar
NEEWER DS023 45.5” Overhead Camera Desk Stand

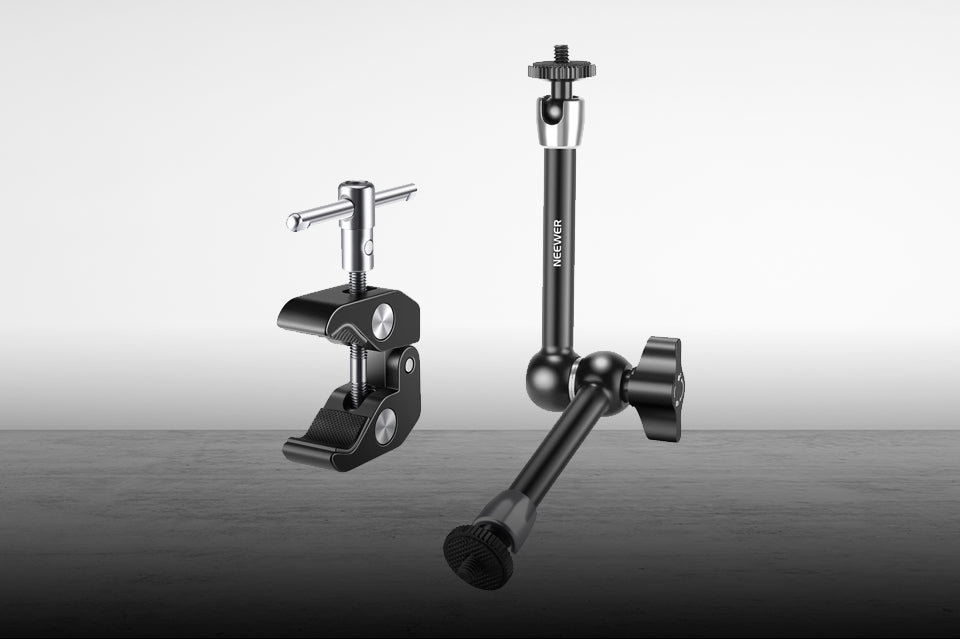
The NEEWER DS023 is a practical option for smaller product photography setups or workspaces where you don’t want a full-size overhead rig. Its C-clamp attaches directly to the desk, while the articulating arm lets you position a camera or phone above the shooting area without taking up much workspace.
The flexible arm makes it easy to switch between overhead and angled shots, which is useful when photographing small products, creating tabletop content, or filming unboxing and tutorial videos. It also supports other accessories such as LED lights, microphones, and action cameras, making it useful beyond product photography.
Pros:
· Space-saving desk mount
· Flexible positioning
· Versatile setup
NEEWER NK002 Overhead Camera Mount Rig

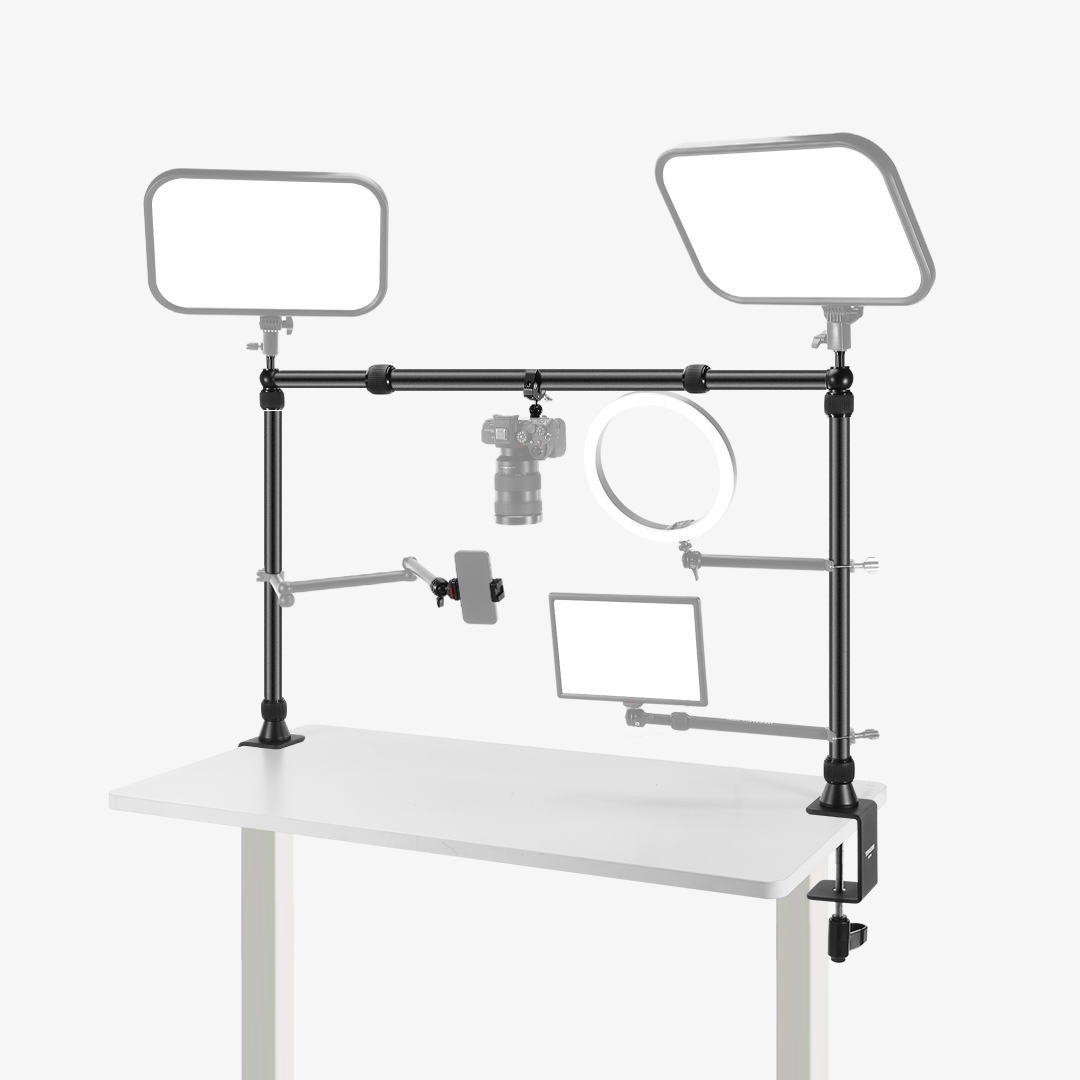
The NEEWER NK002 is designed for creators who need a more robust and expandable overhead shooting setup. Its heavy-duty construction and strong desktop clamps make it suitable for product photography setups where you may want to mount a camera together with additional equipment.
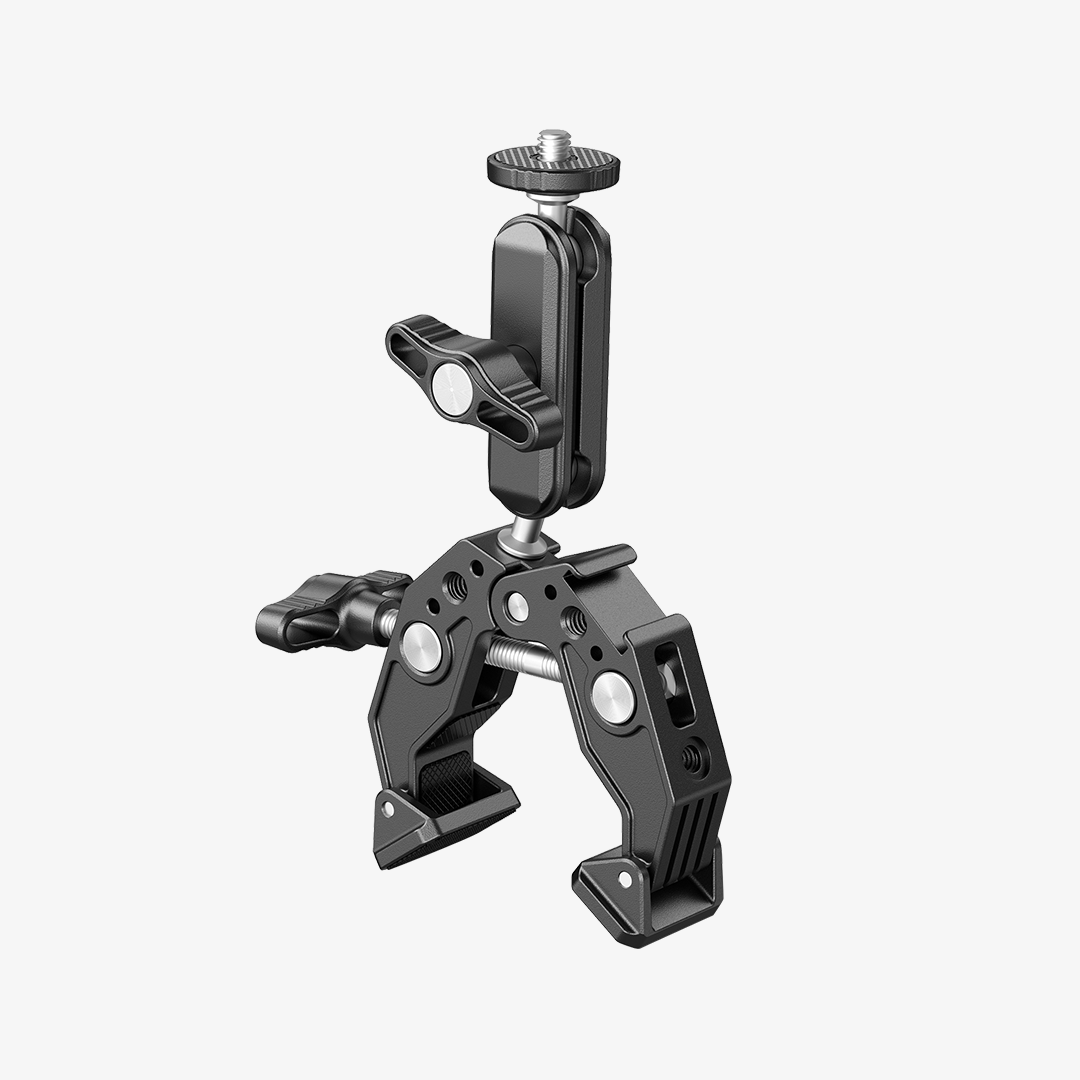
The adjustable height and width give you more freedom to adapt the rig to different shooting areas, while the included dual ball head super clamp can hold accessories such as lights, monitors, microphones, or a phone. This makes the NK002 a useful choice for creators building a dedicated tabletop station for product photography, live streaming, or unboxing content.
Pros:
· Heavy-duty construction
· Adjustable setup
· Multi-accessory support
Tips for Better Overhead Product Photos
Avoid Camera Shadows
When the camera is directly above the product, it can block light coming from above and create a shadow in the frame. Use side lighting or move the light slightly forward or backward to keep the camera out of the main light path.
Use Diffused Side Lighting
Large or diffused light sources can create softer shadows and more even illumination across the product. Positioning lights around the shooting area can also help reduce harsh contrast and make reflective surfaces easier to control.
Keep Products and Framing Consistent
If you’re photographing several products for the same store, catalog, or campaign, keep the camera height and shooting area consistent. Marking the product position on the surface can make it easier to repeat the same composition.
For more repeatable results, it can also help to record the camera position, product placement, background, and lighting setup so the arrangement can be rebuilt later.
Test the Setup Before Shooting
Take a few test photos before starting the full shoot. Check the framing, focus, shadows, reflections, and whether the camera or mount appears in the frame. Once everything looks right, lock the mount in place and begin shooting.
FAQs
1. What is the best height for an overhead camera for product photography?
There is no single ideal height for every product. Smaller products may only need a shorter working distance, while larger products or flat lays need more height to fit everything into the frame.
Start by positioning the camera high enough to capture the entire product with some space around it, then adjust the height based on your lens and desired composition. The important thing is to avoid getting so close that you introduce unwanted perspective distortion.
2. Can I use a smartphone for overhead product photography?
Yes. A smartphone can work well for overhead product photos, especially for small products, social media content, and simple tabletop shoots. The key is keeping the phone stable and maintaining a consistent position.
A phone holder or compatible overhead mount can also make it easier to switch between photography and overhead video without changing the entire setup. Dedicated overhead rigs such as the NK002 can support both cameras and smartphones.
3. How do I take a straight-down product photo?
Position the camera directly above the center of the shooting area and keep the camera sensor parallel to the surface. Adjust the height until the entire composition fits comfortably within the frame.
For larger flat lays, raising the camera and using an appropriate focal length can help you capture the full scene while keeping the composition more natural.
4. How do I prevent shadows in overhead product photography?
Avoid placing the main light directly behind the camera if the camera or lens creates a shadow on the product. Instead, place the light to the side or use multiple diffused light sources around the shooting area.
For products with reflective surfaces, don’t just increase the brightness. Try changing the light’s position, height, and angle to control what is reflected on the product.
5. Can I use a regular tripod for overhead product photography?
You can, but a regular tripod may take up more space and may not provide enough reach for a true top-down shot. A tripod with a horizontal or boom arm can work for some setups, while a dedicated desk mount stand can provide a cleaner tabletop workspace.
The best option depends on the size and weight of your camera, the shooting area, and how often you need to recreate the same setup.