


Table of Contents
When you want to capture small subjects in exceptional detail, macro photography is one of the best ways to reveal textures, patterns, and features that are often invisible to the naked eye by photographing subjects at very close distances and high magnifications. In this blog, we’ve shared some tips and use cases for macro photography, and we hope they’ll be helpful to you.
What Is Macro Photography?

Macro photography is a type of photography that focuses on capturing very small subjects at close range, revealing details that are often difficult to see with the naked eye. The goal is to reproduce the subject, including insects, flowers, water droplets, jewelry, textures, and other tiny objects, at life-size (1:1 magnification) or larger on the camera sensor, allowing intricate details to become the main focus of the image.
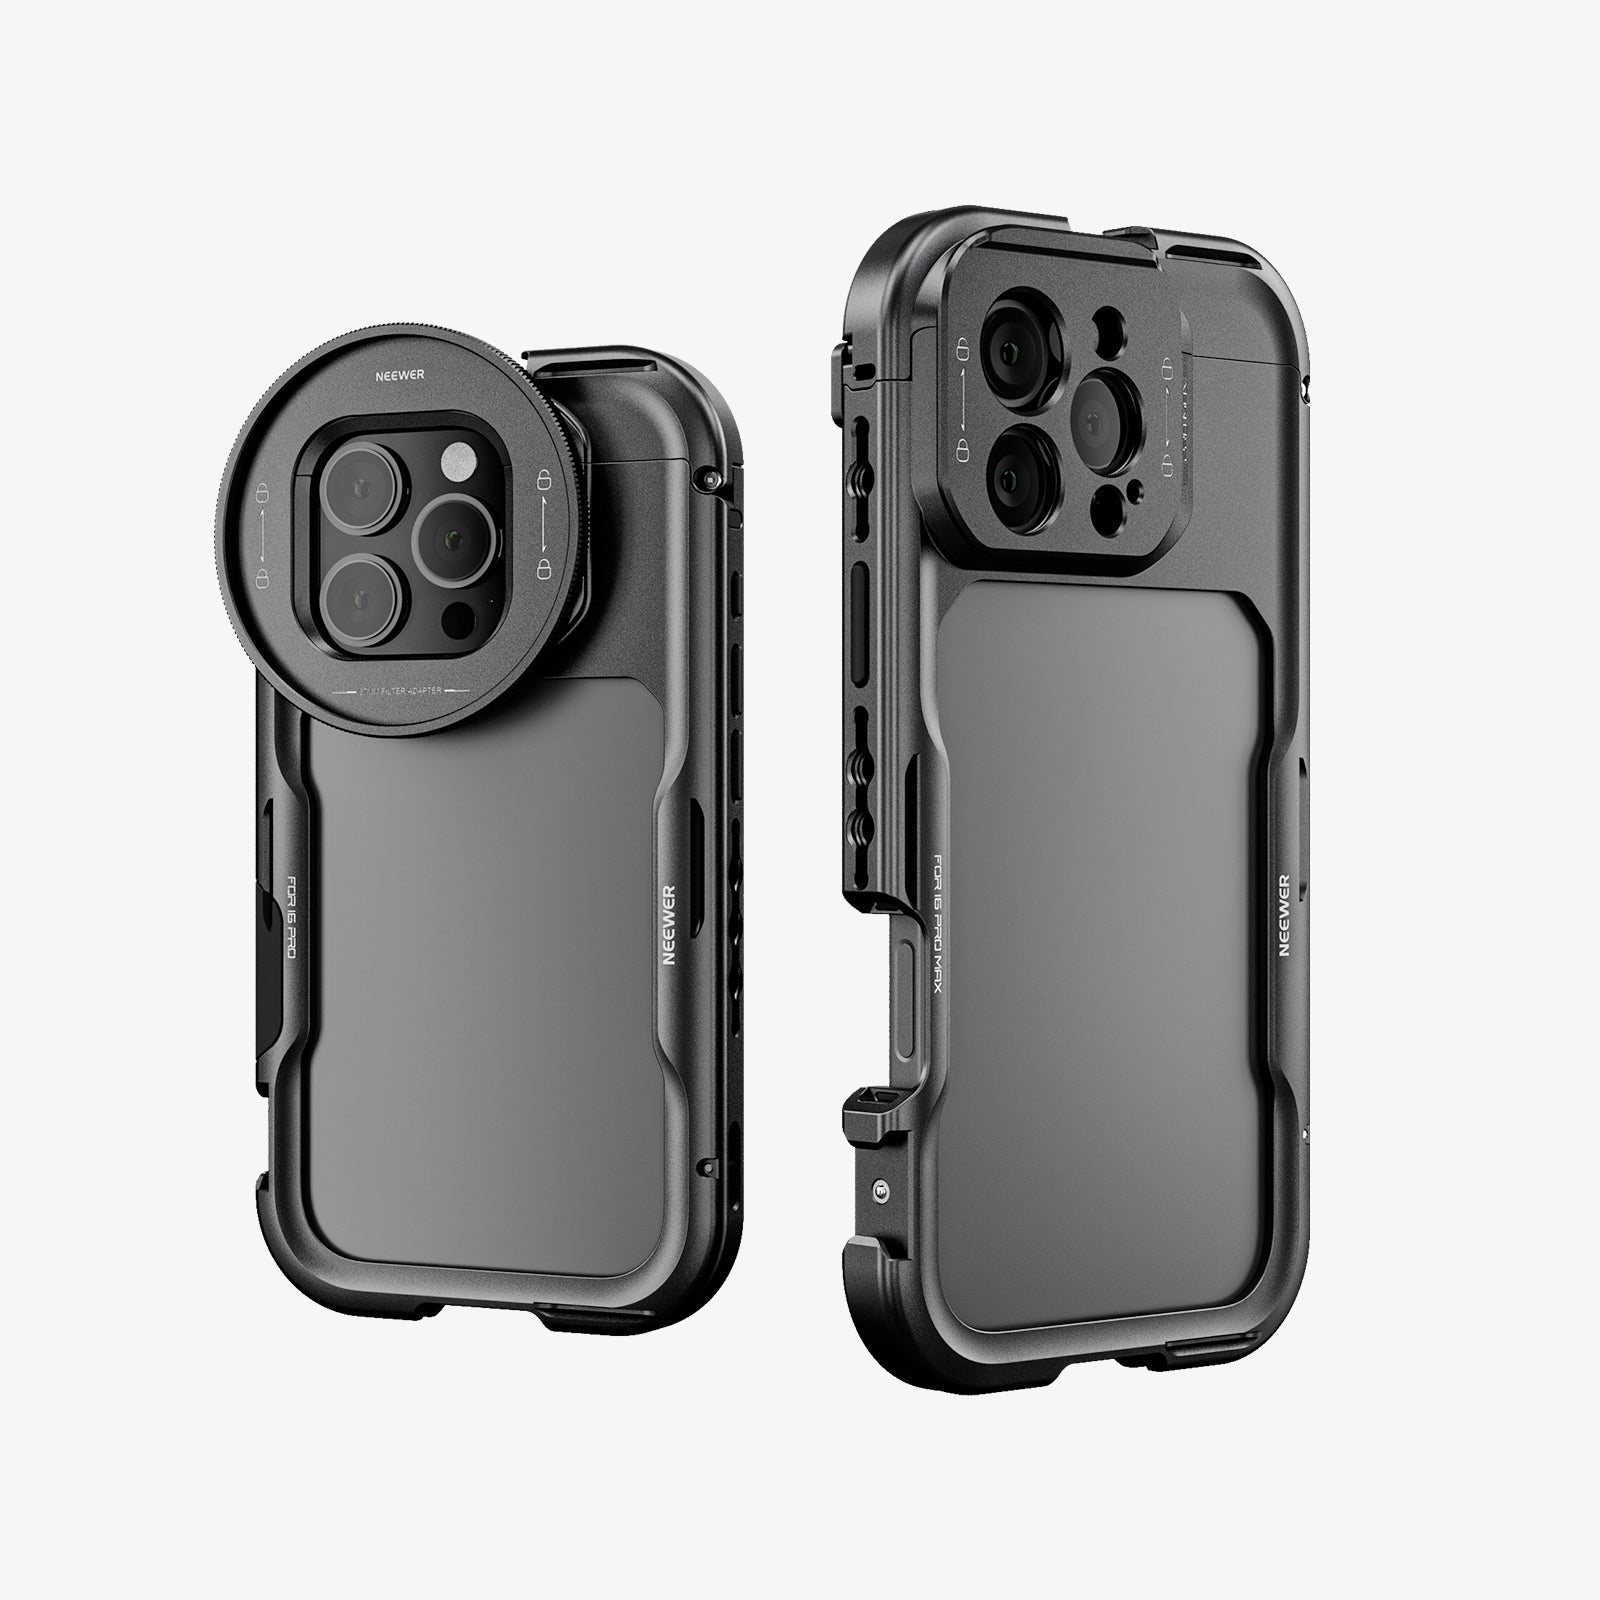
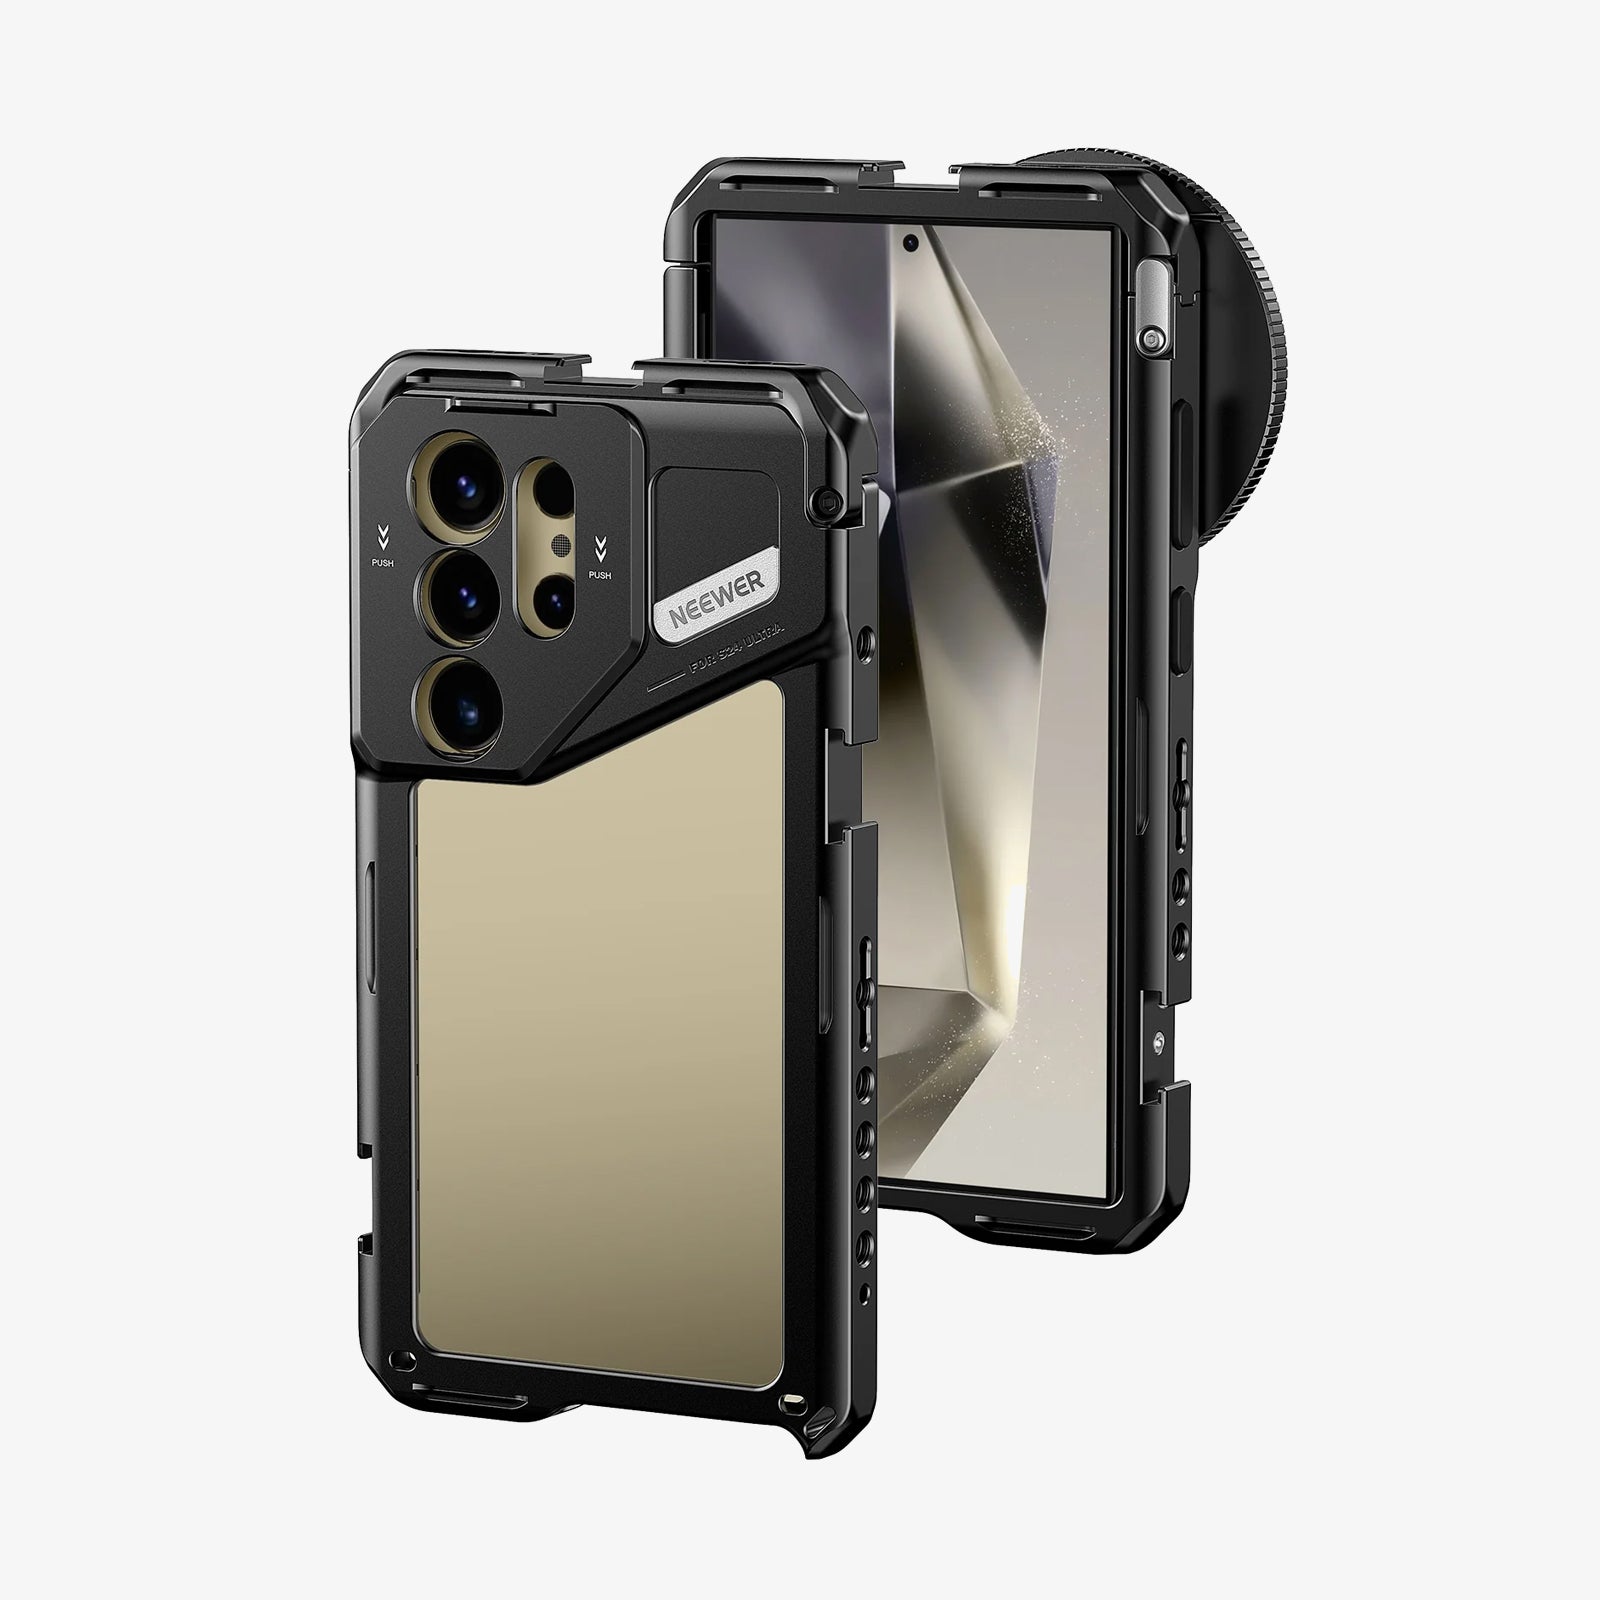
Macro photography typically requires specialized equipment such as a macro lens, extension tubes, or close-up filters to achieve high magnification. Macro photographers also pay close attention to factors like lighting, depth of field, and focus accuracy, as even slight movements can affect image sharpness. Whether used for nature photography, product photography, or creative artistic projects, macro photography offers a unique way to explore and showcase the hidden details of the world around us.
When Should You Use Macro Photography?
- Capturing Flowers and Plants: Flowers, leaves, and plant structures are popular macro photography subjects. Close-up images can reveal delicate petal textures, pollen grains, water droplets, and natural patterns that are often overlooked in wider shots.
- Photographing Insects and Small Wildlife: Macro photography is widely used for capturing insects such as butterflies, bees, dragonflies, and spiders. A macro setup allows you to highlight intricate details like wing patterns, compound eyes, and body textures, creating images that showcase the beauty of these tiny creatures.
- Revealing Textures and Patterns: Many everyday objects contain fascinating textures that become visually striking when photographed up close. Macro photography can capture details of fabrics, feathers, tree bark, food, ice crystals, and other surfaces for creative, artistic images.
- Creating Detailed Product Photos: Macro photography is useful for product photography when small details matter. It can help highlight craftsmanship, materials, textures, engravings, buttons, and other fine features of products such as jewelry, watches, electronics, and photography accessories.
- Exploring Creative Photography Projects: Macro photography opens up a unique perspective on ordinary objects. By focusing on tiny details, photographers can create abstract compositions, dramatic close-ups, and visually intriguing images that encourage viewers to see familiar subjects in a completely different way.
What Makes Good Macro Photography?
The most compelling macro images combine:
- critical focus
- controlled lighting
- thoughtful composition
- a subject that reveals interesting details.
1. Stable Camera Technique
At high magnifications, even minor camera movement can cause blur. Using a tripod, remote shutter release, image stabilization, or a fast shutter speed can help maintain sharpness. Stability becomes especially important when photographing subjects at life-size magnification or greater.
2. Well-Controlled Lighting

Lighting plays a crucial role in revealing texture, color, and detail. Natural light can produce soft, realistic results, while ring lights, macro flashes, and LED lights provide additional illumination when working at close distances. Good lighting reduces unwanted shadows and helps highlight the subject's finest features.
3. Sharp Focus on the Most Important Detail
Because macro photography involves high magnification, even the slightest focusing error can be noticeable. A strong macro photo typically has critical focus on the subject's most important feature, such as an insect's eyes, the center of a flower, or a product's key detail. Sharpness helps viewers appreciate the fine textures and intricate structures that make macro photography unique.
4. Sufficient Depth of Field
While a blurred background can help isolate the subject, there should be enough depth of field to keep the most important parts of the image sharp. Many photographers use smaller apertures or focus stacking techniques to achieve greater detail throughout the subject.
Tips for Macro Photography

- Use Burst Mode to Increase Your Keeper Rate: At high magnifications, even slight movements from your hands or the subject can shift the focus point. Instead of taking a single shot, switch to burst mode and capture a short sequence of images. You'll often find that one frame is noticeably sharper than the others.
- Move Your Body Instead of Turning the Focus Ring: For handheld macro photography, try pre-focusing your lens and then gently moving your body forward and backward until the subject appears sharp in the viewfinder. This technique is often faster and more accurate than constantly adjusting the focus ring.
- Shoot Early in the Morning for Easier Insect Photography: Insects are generally less active during the early morning when temperatures are cooler. This gives you more time to compose and focus your shot and achieve precise focus before the subject moves away.
- Use a Diffuser to Soften Harsh Light: Direct sunlight can create bright highlights and harsh shadows on flowers, insects, and reflective surfaces. A small diffuser placed between the light source and the subject can produce softer, more even lighting and reveal finer details.
- Start with an Aperture Around f/8 to f/11: Many beginners shoot wide open and discover that only a tiny portion of the subject is in focus. As a starting point, use an aperture between f/8 and f/11. This often provides a good balance between depth of field and image sharpness for macro photography.
- Use Focus Peaking If Your Camera Supports It: Focus peaking highlights the areas that are currently in focus, making manual focusing much easier. This feature is especially useful when photographing stationary subjects such as flowers, jewelry, or product details.
FAQs About Macro Photography
1. What's the Difference Between Macro and Micro Photography?
The main difference between macro and micro photography is magnification. Macro photography uses specialized camera lenses to capture small subjects at life-size or slightly larger, which is commonly used for subjects such as insects and flowers. Micro photography relies on a microscope to reveal details that cannot be seen with the naked eye and is primarily used in scientific and educational fields.
|
Feature |
Macro Photography |
Micro Photography |
|
Typical Magnification |
1:1 to around 5:1 |
10:1 and higher |
|
Equipment |
Macro lens, extension tubes, close-up filters |
Microscope and microscope objectives |
|
Common Subjects |
Insects, flowers, jewelry, product details |
Cells, bacteria, pollen, crystal structures |
|
Visibility to the Naked Eye |
Visible |
Usually invisible |
|
Primary Use |
Creative, nature, and commercial photography |
Scientific, medical, and research applications |
2. How Do You Focus in Macro Photography?
Focusing is one of the biggest challenges in macro photography because depth of field becomes extremely shallow at high magnifications. To achieve sharp results, many photographers rely on manual focus rather than autofocus.
|
Focusing Method |
When to Use It |
Tip |
|
Manual Focus |
Flowers, products, and other stationary subjects |
Adjust focus manually and fine-tune by moving the camera slightly forward or backward. |
|
Autofocus |
Larger subjects or quick close-up shots |
Use a single focus point and place it on the most important detail. |
|
Focus Peaking |
Cameras with focus peaking support |
Highlight in-focus areas to make manual focusing easier. |
|
Focus Stacking |
Subjects that require greater depth of field |
Capture multiple images with different focus points and combine them in post-processing. |
3. Is LED or Flash Better for Macro Photography?
Neither LED lights nor flashes are universally better for macro photography. LED lights provide continuous illumination that lets you see the lighting effect in real time, while flashes deliver more power and are often better at freezing motion and maximizing image quality. The right choice depends on your subject, shooting style, and experience level.
|
Feature |
LED Light |
|
|
Real-time Lighting Preview |
✓ |
✗ |
|
Beginner Friendly |
Excellent |
Good |
|
Freeze Subject Motion |
✗ |
✓ |
|
Best for Insects |
Good |
Excellent |
|
Best for Flowers |
✓ |
✓ |
|
Video Recording |
✓ |
✗ |
|
Light Output |
Moderate |
High |
|
Focus Stacking |
✓ |
✓ |