


Table of Contents
A 2-person, 2-camera interview setup needs two keys, one or two fills, one background light, and four to five stands - buy by role before matching modifiers and stands. One centered key leaves one face flat when either camera cuts tight; each subject needs a dedicated key on that camera’s side of the axis. For a small studio shooting regular podcast or interview content, the repeatable NEEWER stack is 2× MS150C keys with softboxes, 1–2× NL660 panels for fill, and one panel from the BP132 2-Pack for the backdrop.
Shopping List Table
|
Lighting role |
Quantity |
Core NEEWER pick |
Why |
|
Key |
2 |
Directional COB key — one per subject, |
|
|
Fill |
1–2 |
Even bi-color wash; barn doors control spill |
|
|
Background |
1 |
(use one as the background light) |
Close-range backdrop separation in small rooms |
Minimum list: 2 keys + 1 fill + 1 background + 4 stands. Add a second NL660 when each subject needs its own fill.
Browse the full studio lighting collection if you want to compare other continuous-light options before committing to a list.
What Key, Fill, and Background Do
Interview lighting works in three layers — each layer has a distinct job, and mixing them up is the most common reason a 2-person set looks uneven on camera.
Key light is the brightest source on each face. It sets shadow direction, catchlight shape, and how dimensional the subject looks. In a 2-person setup, each subject gets their own key because a single shared source cannot flatter both faces when two cameras cut between wide and tight angles.
Fill light is the secondary source on the shadow side of the face. It lifts detail in the eyes and jawline without erasing the key’s shadow — if fill matches key brightness, the image goes flat. Panels like the NL660 are a natural fill choice because their wide spread covers the shadow cheek without another modifier.
Background light hits the wall or backdrop behind the subjects, not the faces. Its only job is separation: viewers should read where the subject ends, and the background begins. In a small room, even a low-output panel like the BP132 can do this when placed close to the backdrop.
For a deeper look at how COB keys differ from panel fill, see the COB vs panel guide.
Dual Camera Lighting Roles
For Camera A and Camera B, each angle should clearly favor the nearer subject — that is why a 2-camera interview needs one key per person.
The standard pattern is cross-key lighting: Subject A’s key sits on Camera B’s side, and Subject B’s key sits on Camera A’s side. Each camera then sees the far subject with a defined shadow side and the near subject with a flattering key angle. Same-side keys are easier to rig in a narrow room but can leave the far subject flat when Camera A holds a wide two-shot — cross-key is the safer default for dual-camera podcast and interview work.
Fill opens the shadow side without flattening the face. One shared NL660 works in rooms wider than 8 ft (2.4 m); two panels give cleaner control when cameras sit at opposite ends of the set.
Background pulls subjects off the wall. Keep the background noticeably dimmer than the subjects so faces stay dominant on camera.
Key / Fill / Background Placement
Build brightest to dimmest: keys → fill → background.
Use the keys as your reference. Add fill only until facial shadows still have shape, then bring in the background light just enough to separate the subjects from the wall.
Step 1 — Block the set
Seat subjects 3–4 ft (0.9–1.2 m) apart. Place Camera A on Subject A’s open side, Camera B on Subject B’s. Keep key stands at least 2 ft (0.6 m) from walls to limit bounce spill.
Step 2 — Set keys
Mount each MS150C on a heavy-duty stand with a Bowens softbox. Keep each key slightly above eye level and angled down toward the subject. Start at moderate output and adjust after fill and background are in. If you need help sizing support gear for a COB plus modifier, see the light stand guide.
Step 3 — Add fill
Place NL660 on each subject’s shadow side, or one shared panel between them if space is tight. Set it farther back on the shadow side so it softens contrast without flattening the face. Use barn doors to keep spill off the backdrop and the opposite subject.
Step 4 — Light the background
Aim one BP132 panel at the backdrop from 2–4 ft (0.6–1.2 m) — between or just behind subjects. BP132’s 810 lux/0.5 m rating suits small backdrops at close range, not large cyclorama washes.
Step 5 — Balance cameras
Lock white balance (5600K or 4400K), ISO, and shutter (1/50s or 1/60s at 24/30 fps) on both cameras, then check exposure on each feed separately. A setup that looks balanced on the wide camera can still clip on the OTS camera if one key sits closer to its subject — meter each angle, not just the wide shot.
Small Studio Tips
Most 2-person interview sets live in a spare room, garage corner, or office — not a purpose-built stage. A few constraints show up repeatedly in those spaces.
Ceiling and wall bounce: In rooms under 10×10 ft (3×3 m), key spill hits the ceiling and returns as a second, softer source. That can lift shadows in a good way — or wash out background separation if the ceiling is white and keys are aimed too steeply upward. Angle keys down 15°–30° and flag spill with barn doors before adding more fill power.
Backdrop distance: BP132 and similar compact panels need the backdrop within a few feet (about 0.6–1.2 m). If your wall is more than 6 ft (1.8 m) behind the subjects, step up to a higher-output background option or move seating closer to the wall before buying more key lights.

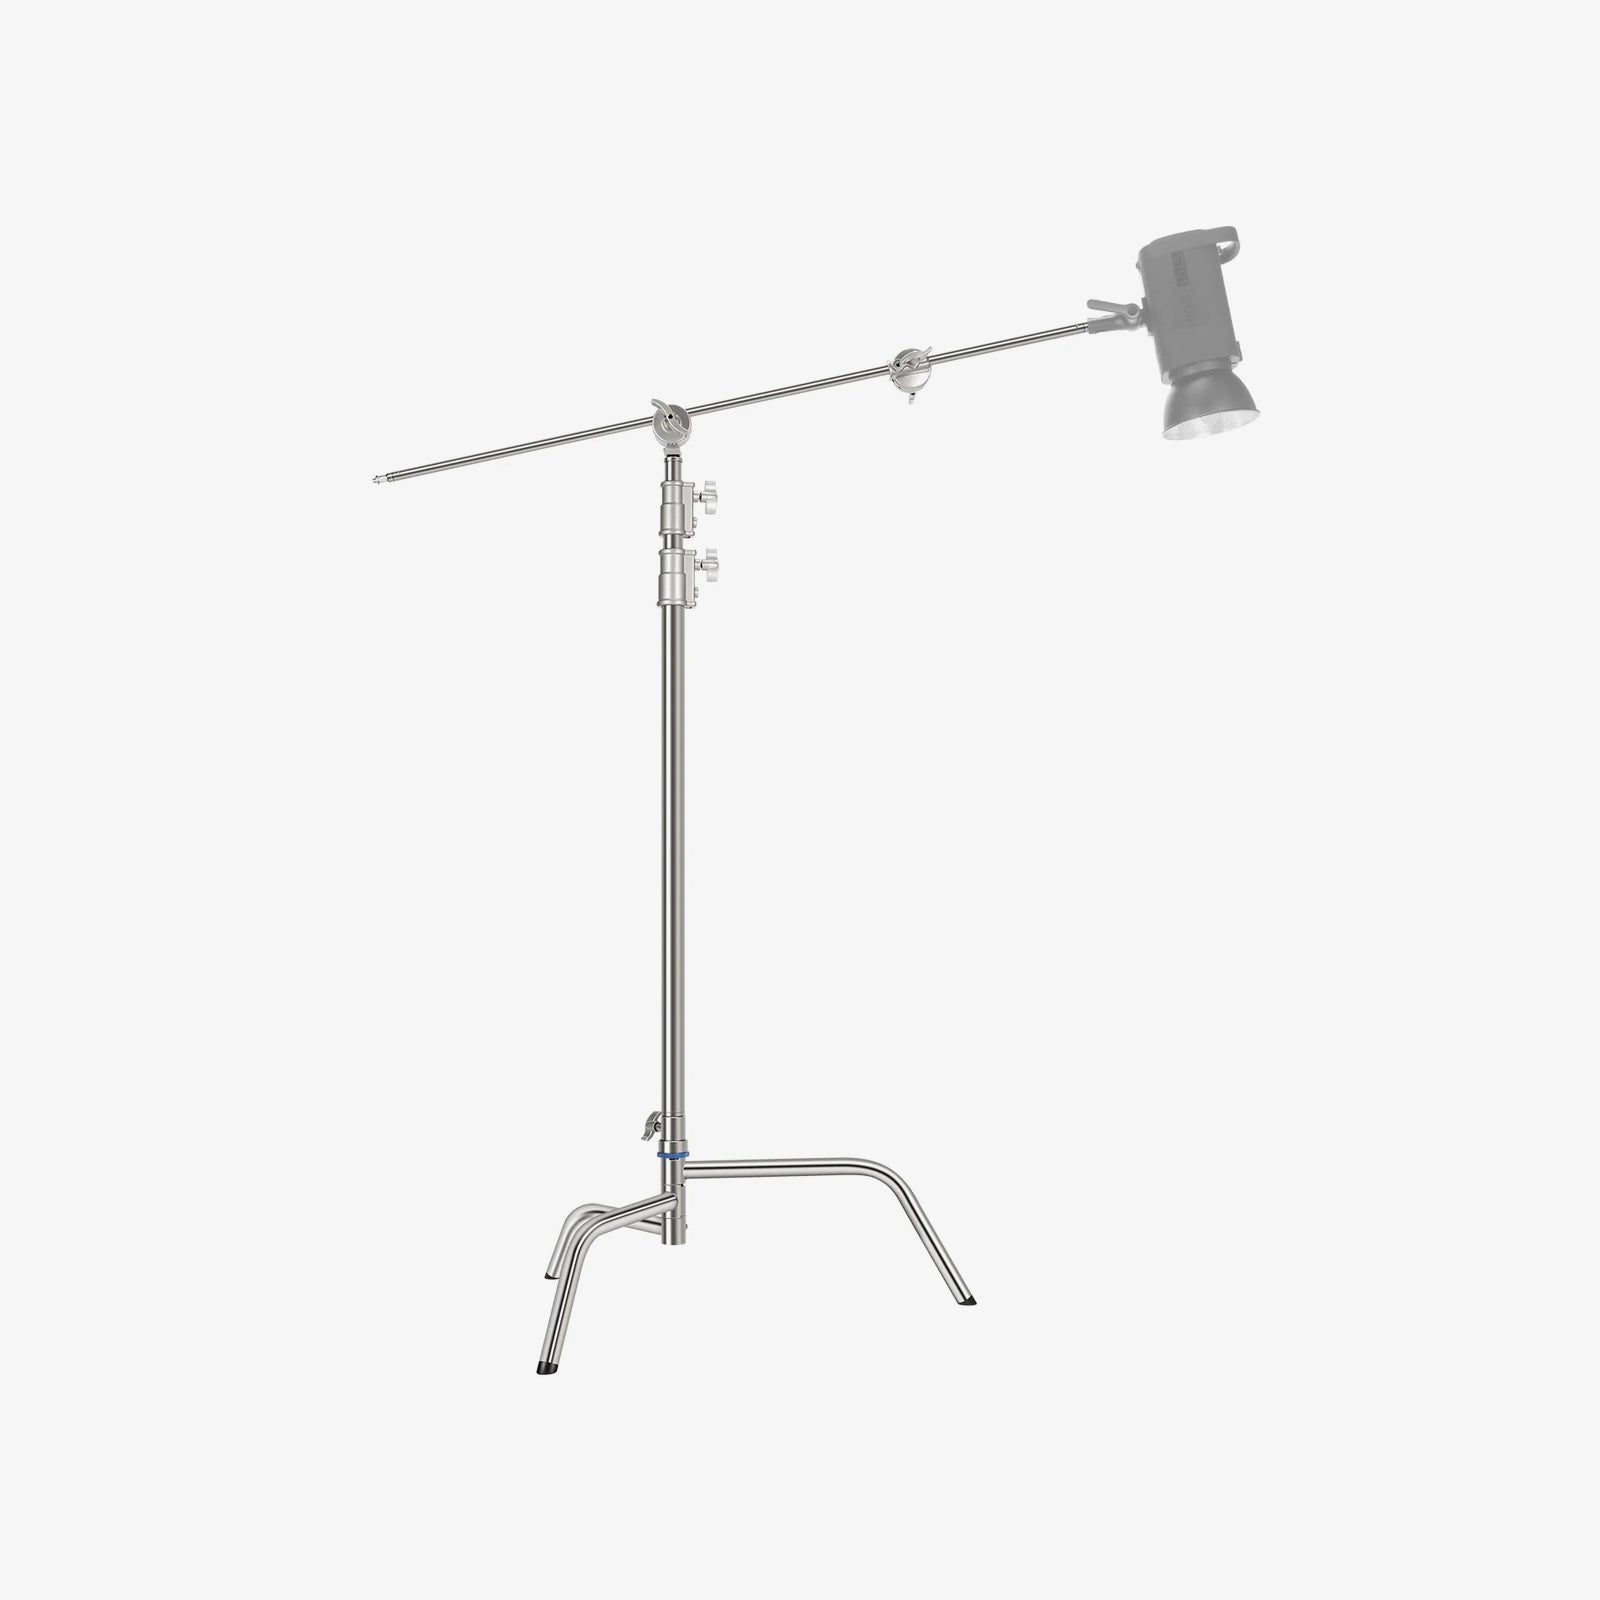
Stand footprint: Five stands in a small room crowd the frame and create trip hazards. Use lighter, compact stands for fill and background panels, then reserve heavier stands for COB keys with softboxes. Place fill and background stands first along the perimeter, then position keys last so you keep a clear path between cameras. Compare support options in the light stands collection.
Color consistency: Match all fixtures to the same CCT before fine-tuning brightness. Mixed key and fill temperatures are harder to fix in post than a slightly underexposed fill.
Starter vs Standard Bundles
|
|
Starter |
Standard |
|
Key setup |
2-light softbox kit |
Two COB keys with Bowens softboxes |
|
Fill setup |
One shared fill panel |
Two fill panels for separate shadow control |
|
Background |
One compact backdrop light |
One compact backdrop light, |
|
Support gear |
Kit stands where included |
Heavier key stands + compact panel stands |
|
Best for |
First interview set, tighter budget, |
Weekly podcast or client interviews |
|
Trade-off |
Easier to buy and set up, |
More flexible, |
For either bundle, choose stands by load and footprint: heavier support for COB keys with softboxes, lighter compact stands for fill and background panels. Compare options in the light stands collection, or use the light stand guide to check stand height and load capacity before publishing a final shopping list.
NEEWER Product Picks
a. NEEWER MS150C: RGBWW COB Key Light for 2-Person Interview Studios
Use the MS150C as the controlled key for each subject. In a 2-person interview, the goal is not just brightness — it is keeping both faces shaped the same way when Camera A and Camera B cut between angles.
Place one MS150C on each side of the set with a Bowens softbox. Group both lights on the same 2.4G channel so small dimmer changes stay matched across both subjects.

The Breakdown
Bowens mount takes softboxes, beauty dishes, and snoots listed as MS150C-compatible on the PDP. RGBWW covers 2700K–6500K interview white plus RGB accents for background color experiments. Flicker-free output at 1/2000s supports standard 24/30 fps interview frame rates when the shutter is set to 1/50s or 1/60s.
|
Spec |
Detail |
|
Power / output |
150W; 16600 lux/m ; 18000 lux/1m with reflector at 4400K |
|
CCT / CRI |
2700K–6500K; CRI 97+ / TLCI 98+ |
|
Control |
Physical / App / 2.4G (49 ft / 15 m) |
|
Mount |
Bowens (adapter included) |
|
Weight |
2.3 lb / 1,041 g |
Pros
- Pushes through a softbox without sitting inches from the subject
- RGBWW white and color from one head
- 2.4G sync keeps both keys matched
Cons
- Softbox and heavy stand sold separately
- Needs diffusion at close range — don’t run bare for interview keys
Best For: Podcast and YouTube teams running a fixed 2-person, 2-camera set who want matched keys with room to add RGB accents later.
For Bowens softbox pairing, also consider the NEEWER SF85Q 85cm Parabolic Softbox - it helps turn the MS150C into a softer, more flattering interview key light.
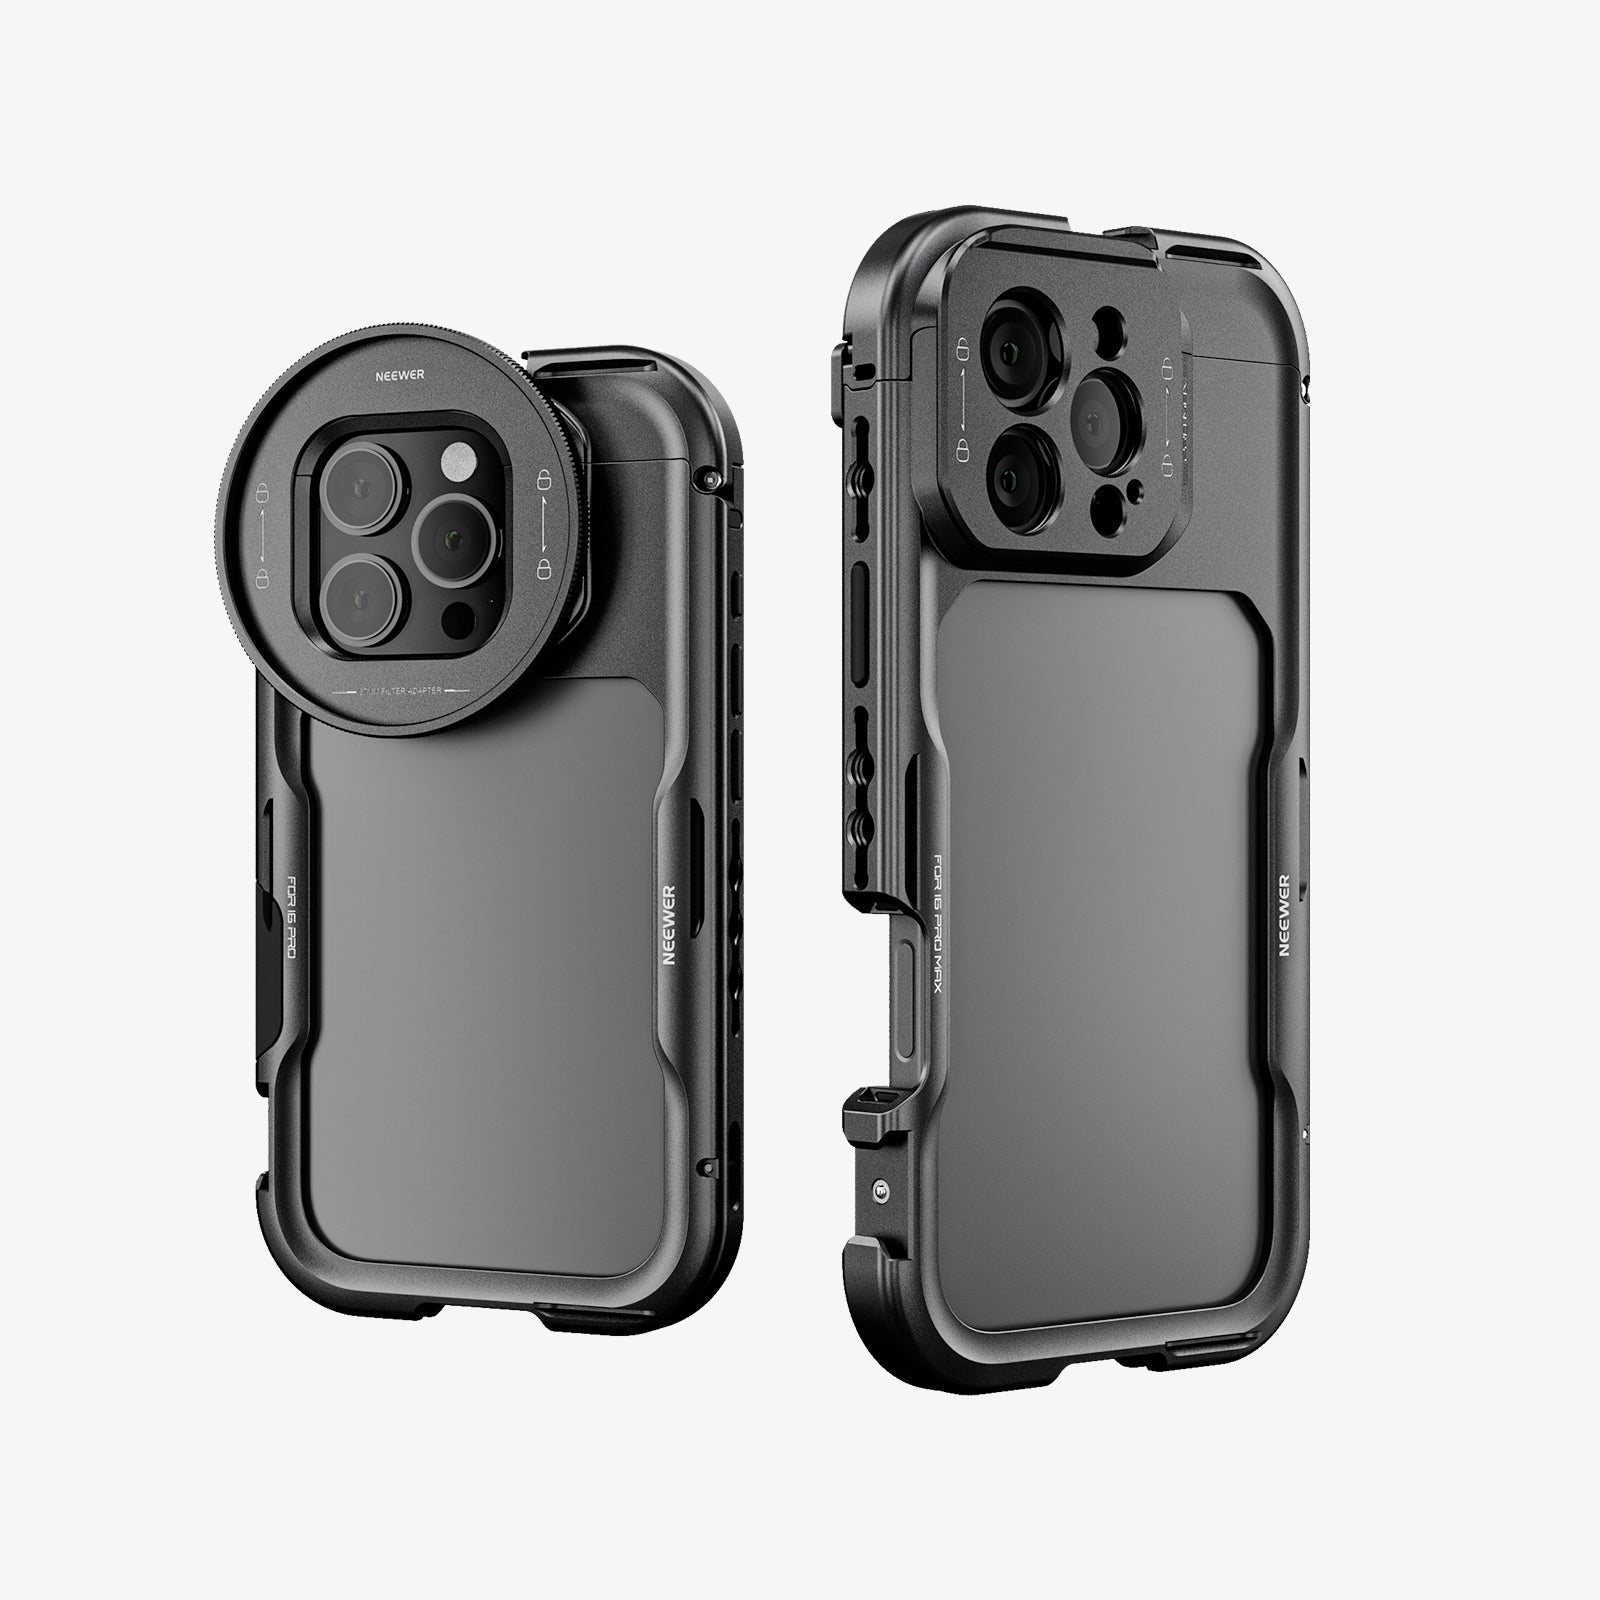
For a zero-to-shoot starter before upgrading to MS150C keys, also consider the NEEWER NK103 2-Pack softbox kit - 2× 45W bi-color bulbs in 24 in / 60 cm softboxes with stands and 2.4G remote.
b. NEEWER NL660: Why Panels Work Better as Interview Fill
In most interview rooms, the fill light ends up farther from the subjects than the keys. That is where panels become practical: a wide, even spread matters more than raw output.
The NL660 works well in this role because it can soften facial contrast without adding another softbox to a crowded room. Use one panel as shared fill for a wider two-shot, or add a second panel when each subject needs separate shadow control.

The Breakdown
|
Spec |
Detail |
|
Output |
40W; up to 3360 lux/m |
|
CCT / CRI |
3200K–5600K; CRI ≥96 |
|
Control |
0%–100% dimming; |
|
Power |
AC adapter included; |
|
Stand |
Optional |
Pros
- Sets up quickly as fill without a large modifier
- Barn doors help keep fill off the backdrop
- Bi-color range makes it easier to match the key lights before white balance is locked
Cons
- Wide spread needs careful aiming in small rooms
- Batteries are optional, not included
Best For: Creators who need practical, repeatable fill for interviews, podcasts, and two-camera talking-head setups.
For tighter fill control in narrow rooms, also consider the NEEWER NL480 - 28W bi-color panel with barn doors.
c. NEEWER BASICS BP132: Compact Background Separation for Small Rooms
The BP132 should not be treated like another key light. Its job is simpler: add just enough light behind the subjects so they do not blend into a dark wall or flat backdrop.
Use one panel from the 2-Pack behind the subjects, aimed at the wall from close range. Keep the background visibly dimmer than the faces, especially if the wall is white or light gray.

The Breakdown
|
Spec |
Detail |
|
Output |
10W; 810 lux/0.5 m |
|
CCT / CRI |
3200K–5600K (10 dimming steps); CRI 95+ |
|
Kit |
2 panels + 2 stands (19.7–53.2 in / 49.5–135.5 cm) |
Pros
- Small enough to hide behind seated subjects
- Comes with stands for quick background placement
- Useful as a second accent or hair light when one panel lights the backdrop
Cons
- Best for close-range backdrop work, not a full-room wash
- 10-step dimming is less precise than continuous dimming
Best For: Small home studios where the background sits close behind the subjects and only needs a subtle lift.
For RGB background washes on a wider wall, also consider the NEEWER HS60C - 60W RGBWW COB with HSI and 18 scene FX.
FAQs
What is the minimum shopping list for a 2-person interview lighting setup?
Start with two key lights, one shared fill, one background light, and four stands. In this NEEWER setup, that means 2× MS150C for the two subjects, 1× NL660 as shared fill, and 1× BP132 panel for a close backdrop. Add a second NL660 only when each subject needs separate fill control.
Can two people share one key light in a 2-camera interview?
They can share a light in a wide-only shot, but it is not a strong setup for 2-camera interviews. Once Camera A and Camera B cut between subjects, one centered key usually makes one face look flat or uneven. Use one MS150C key per subject and keep both keys matched in color temperature.
Should the key lights be COB lights or LED panels?
Use COB lights such as MS150C when you want shaped, directional key light through a softbox. Use panels such as NL660 for fill because the wider spread opens shadows quickly with less setup time. For a deeper comparison, see the COB vs panel guide.
Do I need two fill lights for a 2-person interview?
Not always. One NL660 can work as shared fill when the room is wide enough and both faces need only a gentle lift. Use two fill panels when the subjects sit farther apart, when each camera angle reveals a different shadow pattern, or when one person consistently looks darker than the other.
How big should the room be for a 2-person, 2-camera interview?
A 10×10 ft (3×3 m) room is workable if you control spill with softboxes and barn doors. Keep MS150C keys about 4–6 ft (1.2–1.8 m) from the subjects, pull the backdrop close enough for BP132 to be effective, and leave a clear path between the two cameras. Wider rooms above 12 ft (3.7 m) make cross-key placement and separate fill easier.
Final Takeaway
In most small studios, interview lighting problems come from spill and uneven key placement — not lack of power. Build around two controlled keys first, then add fill and background only where the cameras need them.
Start with MS150C for the two key lights, NL660 for fill, and BP132 for close background separation. Once the camera angles look balanced, then decide whether you need a second fill panel, a larger softbox, or a stronger background accent.