


Table of Contents
Even if you only use the standard iPhone camera app, an ND (Neutral Density) filter is essential for photography in bright light. It acts like sunglasses for your lens, preventing "blown-out" white skies and allowing you to capture professional long-exposure effects—like silky waterfalls—directly in your Photos app.
What Is an ND Filter for iPhone?
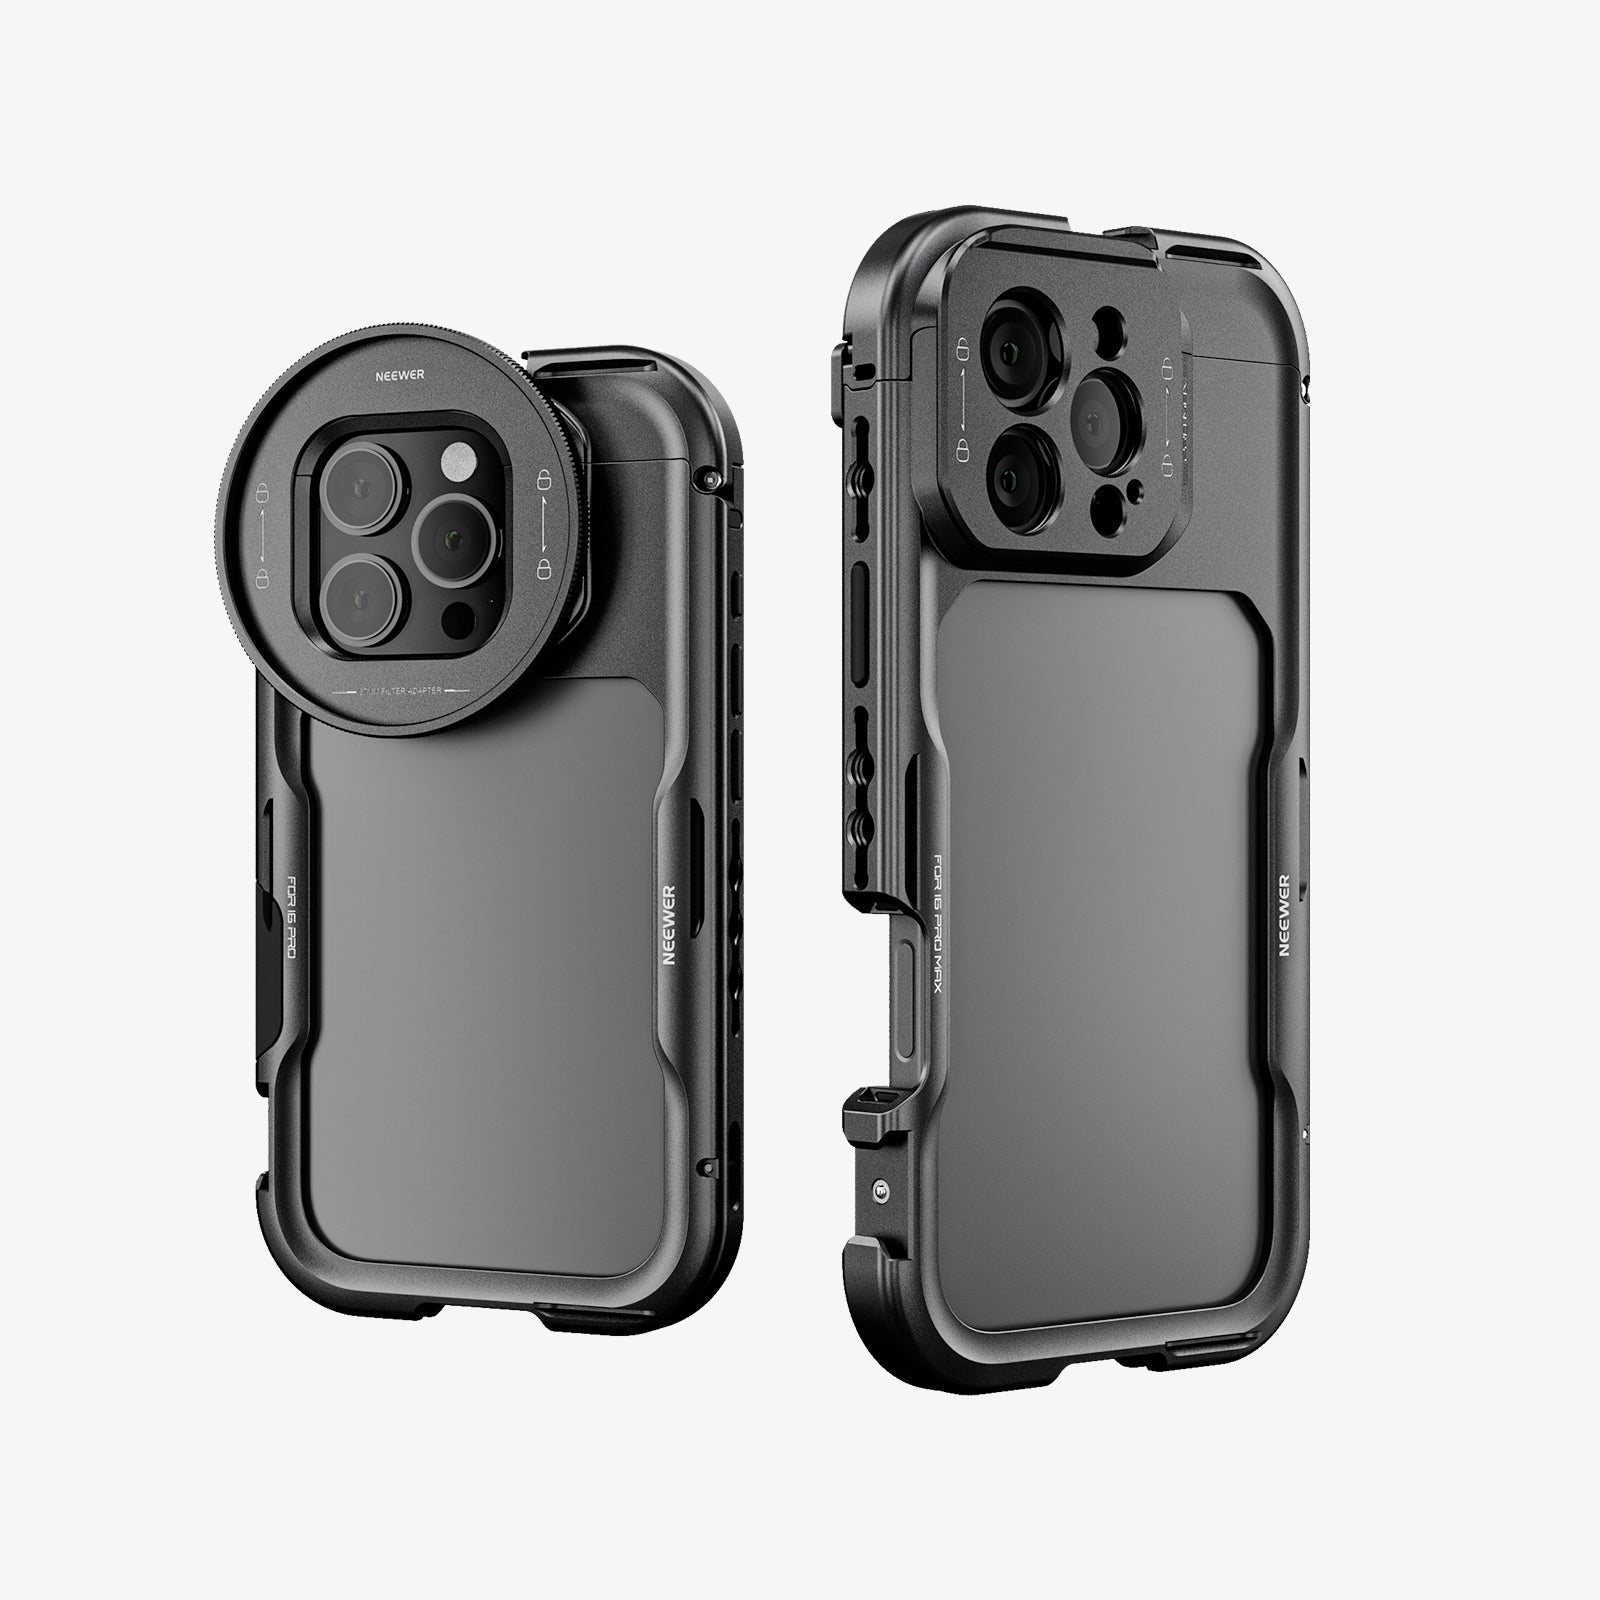
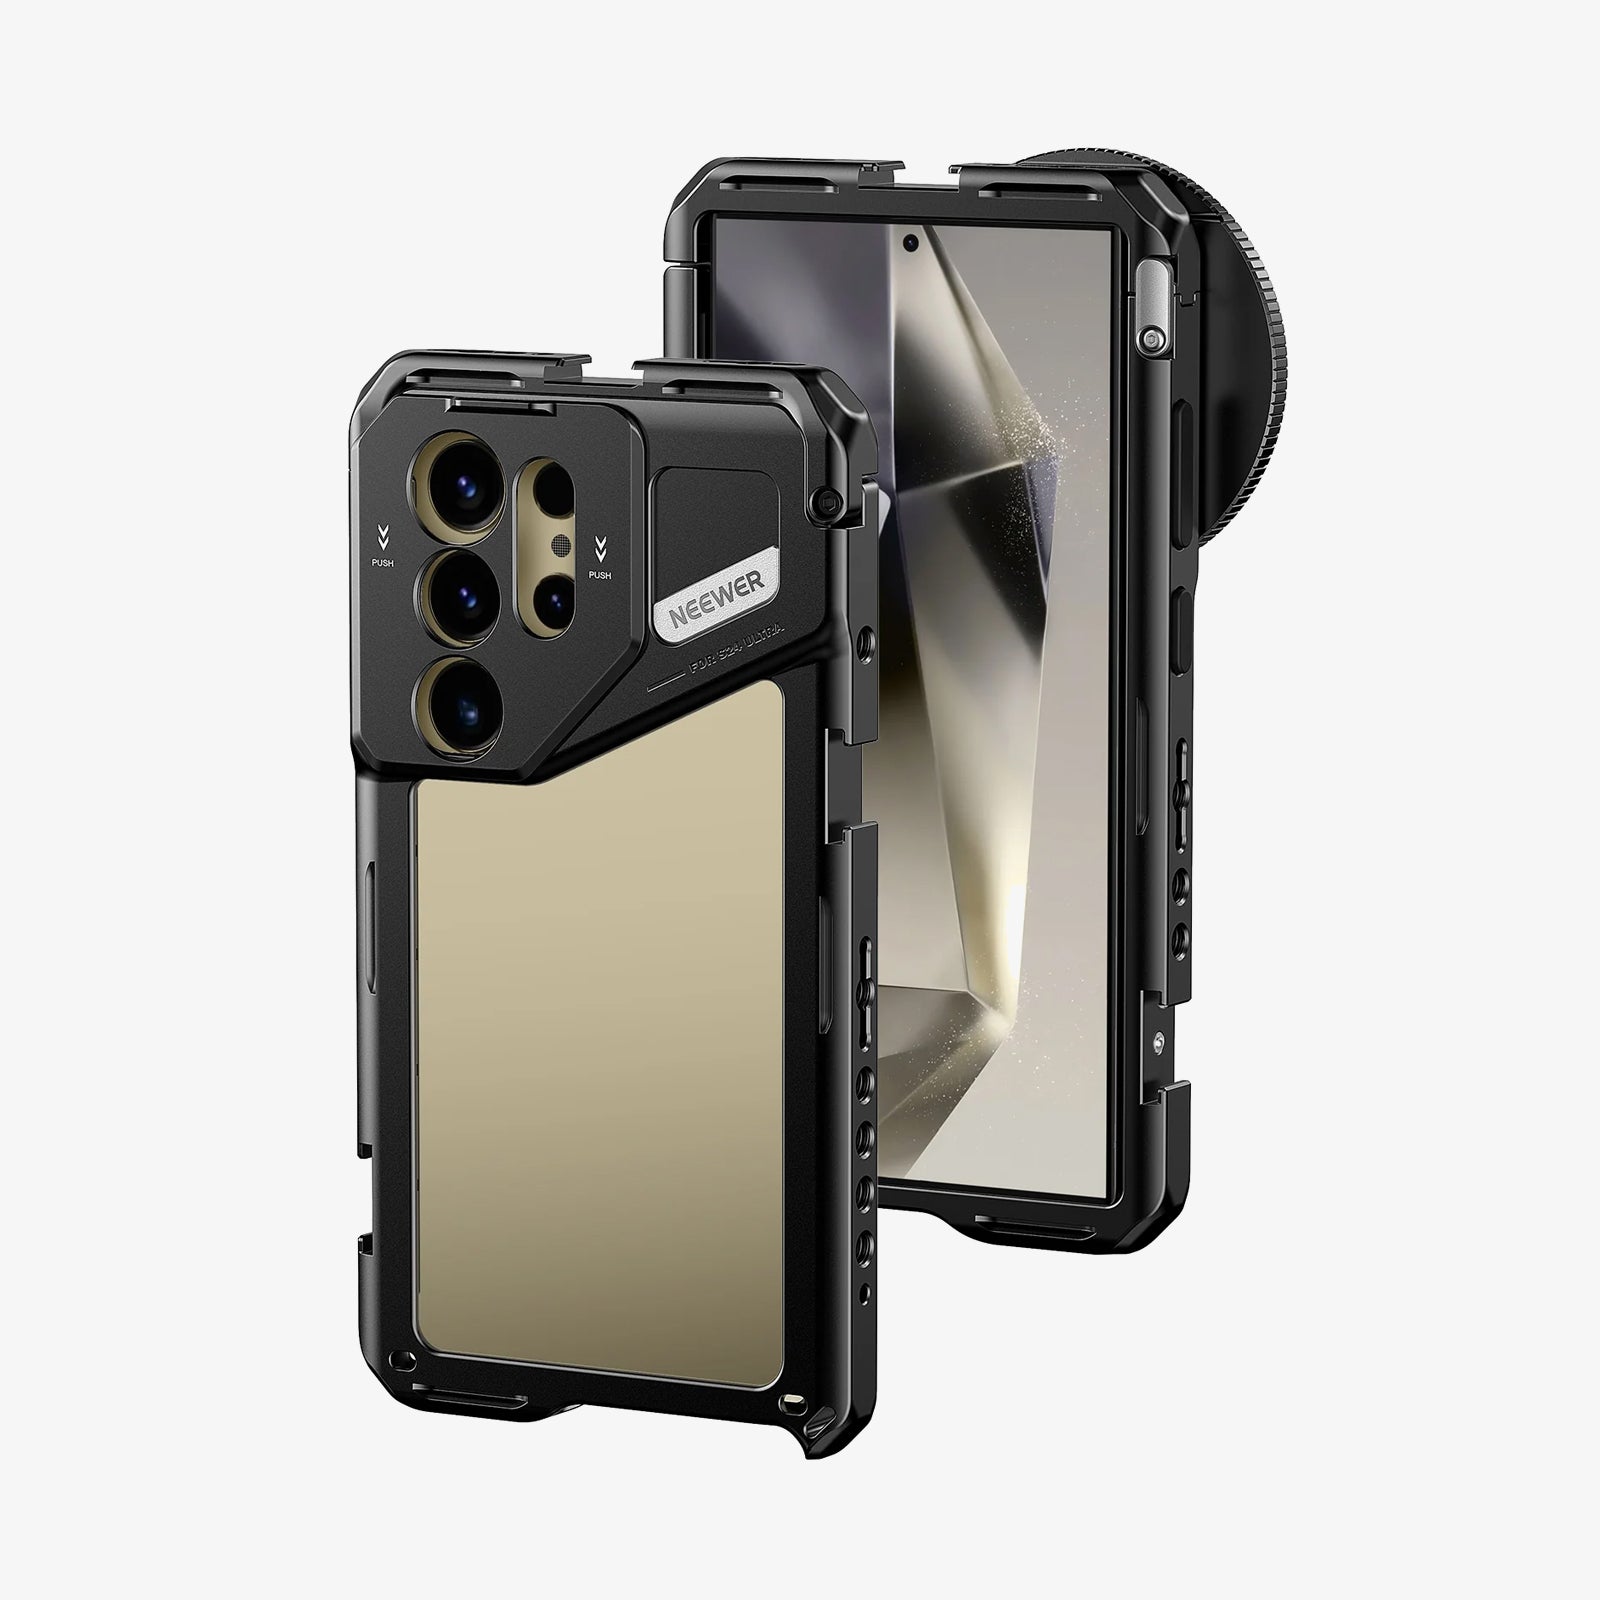
An ND filter for iPhone is an accessory that reduces the amount of light entering your phone’s camera lens. You can think of it like sunglasses for your iPhone camera. Most high-quality iPhone ND filters are made from optical glass with multiple protective coatings to help reduce glare, reflections, and fingerprints. The frame or housing is typically made from lightweight aluminum alloy for better durability and portability.
Do iPhones Need an ND Filter?

Yes, iPhones need a quality ND filter to overcome the limitations of mobile sensors. In bright sunlight, your iPhone often struggles with harsh highlights and "choppy" looking videos. A quality ND filter darkens the light entering the lens, helping the iPhone maintain a lower ISO for cleaner images.
For photographers, it allows you to use the Live Photo feature to create stunning long-exposure shots that would otherwise be impossible (and overexposed) in the middle of the day.
When to Use ND Filters on an iPhone?

- Long-exposure landscapes: Blur waterfalls, rivers, or moving clouds for a dreamy, professional look. iPhones can’t do this naturally in bright sun without an ND filter.
- Outdoor portraits in harsh sun: Soften bright backgrounds and avoid blown-out skies. You’ll get cleaner skin tones and more balanced exposure.
- Driving or motion shots: Reduce glare and keep motion looking natural. Prevents jittery-looking movement in bright conditions.
- Midday sun shooting: Cut down extreme light so you can use lower ISOs for sharper, less grainy photos and videos.
How to Use ND Filters on an iPhone?
- Start with a clean lens: Wipe both your iPhone lens and the ND filter glass to avoid blurry spots or dust in your footage.
- Attach the filter properly: Clip or mount the filter securely over your iPhone’s main camera lens. Ensure it is centered to avoid dark corners (vignetting).
- Choose the right strength: Use lighter ND filters (ND4–ND16) for video in normal daylight; go darker (ND32–ND1000) for long exposures in strong sun.
- Lock Exposure & Adjust: Tap and hold your subject until "AE/AF LOCK" appears. Then, slide the sun icon down next to the focus box to manually lower the exposure and prevent blown-out highlights.
- Keep the phone steady: Use a tripod or stabilizer for long exposures, especially with dark ND filters, to prevent blurry results.
- Test and Rotate: Take a test shot. If you are using a Variable ND (VND), rotate the outer ring of the filter to find the perfect balance between light and motion before taking the final photo.
Here are practical tips:
- Clean both sides every time: Even tiny dust shows up sharply on iPhone’s high-resolution sensors. Wipe the filter and lens before every shoot.
- Avoid vignetting: Make sure your ND filter is centered. If you see dark corners, remove the phone case or use a filter designed for your exact iPhone model.
- Be careful with night use: ND filters block light—they’re almost never needed at night. They’ll just force you to raise ISO and add grain.
- Match ND strength to motion: For video, darker isn’t always better. Too strong and motion becomes unnaturally smooth; stick to ND8–ND64 for most daylight 4K video.
How to Choose an ND Filter for iPhone?
1. Choose the Right ND Strength for Your Shooting Style
Pick your ND density based on what you actually shoot, not just what looks impressive. For most daylight 4K video on an iPhone, an ND8 to ND64 works perfectly. It keeps your shutter speed smooth without making motion look fake. If you love long exposures like blurring waterfalls or clouds, go for ND1000—this dark filter lets you shoot slow shutter speeds even in bright sun. Avoid buying extremely strong filters if you only film casual videos; they’ll just force you to use high ISOs and ruin image quality. Match the filter to your daily scenes, and you’ll get consistent, clean results every time.
2. Prioritize High‑Quality Optical Glass Over Cheap Plastic
Always choose an ND filter made of professional optical glass. Good glass keeps colors neutral, sharpness consistent, and details crisp—critical for iPhones because their sensors pick up every flaw. Cheap filters often add blue or yellow casts that are hard to fix in editing. Spend a little more for multi‑coated glass; it reduces lens flare and maintains the natural look of your photos and videos. Your footage will look far more professional with almost no extra effort.
3. Pick a Secure, Precise Clip‑On Design
The mount matters more than many people realize. Look for a light, balanced clip‑on system that fits your iPhone model perfectly, even without removing the case. A loose or poorly aligned filter causes vignetting—dark corners in your frame—or blurry edges. The best clips attach firmly, center automatically, and don’t scratch your phone. Avoid bulky, heavy attachments; they can shift while filming and make stabilization harder. A clean, slim, secure mount ensures you can attach the filter quickly in the field and trust it won’t move during important shots.
FAQs about ND filters for iPhone

1. Can You Use ND Filters on Any iPhone Model?
Yes, you can use ND filters on nearly every iPhone model that has a rear camera, from older generations all the way up to the latest versions. The key is not the iPhone model itself, but the type of filter you use. Clip‑on ND filters work universally across most phones because they attach directly over the lens rather than connecting to any internal system. Even iPhones with multiple lenses, smaller camera bumps, or older designs can work with ND filters as long as the filter aligns properly with the main wide lens
2. Can ND Filters Improve iPhone Photography?
ND filters absolutely improve iPhone photography in real, noticeable ways that even the phone’s built-in software can’t replicate. Strong daylight often forces iPhones to use extremely fast shutter speeds, resulting in harsh, frozen motion and flat-looking images; an ND filter dims the incoming light, letting you use slower shutter speeds to soften water, blur clouds, and create smooth, cinematic motion.
An ND filter also helps you maintain a low ISO, keeping photos sharp, clean, and free of digital noise. For portrait and outdoor shots, ND filters prevent overexposed skies and help you keep more balanced exposure across the frame. They also give you more creative control over depth and movement, turning ordinary snapshots into polished, professional-looking images that stand out from typical phone photos.
3. How Do You Attach an ND Filter to an iPhone?
Most iPhone ND filters use a clip‑on design that fits securely over the phone’s camera module. The best clips hold tight without scratching your device and work with most slim cases. Once attached, double‑check that the glass sits flat against the lens area.