

Table of Contents
Traveling solo gives you the freedom to explore at your own pace and photograph a destination exactly the way you want. But when you’re also the person behind the camera, getting the right shot can take a little more planning.
From landscapes and city scenes to environmental portraits and quick selfies, you can capture great travel photos without needing someone else behind the camera.
The key is to plan your shot, choose the right camera support, and make the most of the light and surroundings.
Here are some practical tips for better solo travel photography.

Plan Your Shot Before You Set Up
A good travel photo usually starts before you take out your camera. Take a moment to look around and decide what you want the image to show.
1. Location
Look for locations that tell a story about where you are. This could be a mountain viewpoint, a historic building, a quiet street, a beach, or even a small local café.
Think about what makes the place interesting rather than simply looking for a visually impressive background.
Pay attention to what’s behind your subject. A clean background can help your main subject stand out, while a busy background can sometimes make the image feel distracting.
If you’re photographing yourself, check for objects that might appear directly behind your head or body.
Light can completely change the mood of a travel photo. Before setting up, notice where the sun is coming from and whether you’re working with direct sunlight, shade, or backlighting.
Morning and evening light are often easier to work with than harsh midday sun.
Decide what you want the viewer to notice first. You might place yourself to one side of the frame and leave more space for the landscape, or use architecture, roads, and other lines to guide the viewer through the image.

Choose the Right Camera Support
When you’re photographing alone, you don’t always have someone who can hold the camera or change its position for you. The right support can make a big difference.
1. Use a Travel Tripod for More Control
A travel tripod is one of the most versatile tools for solo travel photography.
It isn’t only useful for taking photos of yourself. A stable tripod can also help with landscapes, architecture, long exposures, night photography, and any situation where you want consistent framing.
For travel, look for four things:
· Lightweight: You’ll be carrying it between locations, so portability matters.
· Compact: A tripod that folds down easily is more convenient to pack.
· Height: More height gives you greater flexibility with landscapes, portraits, and composition.
· Stability: A stable platform is especially important for long exposures and low-light photography.
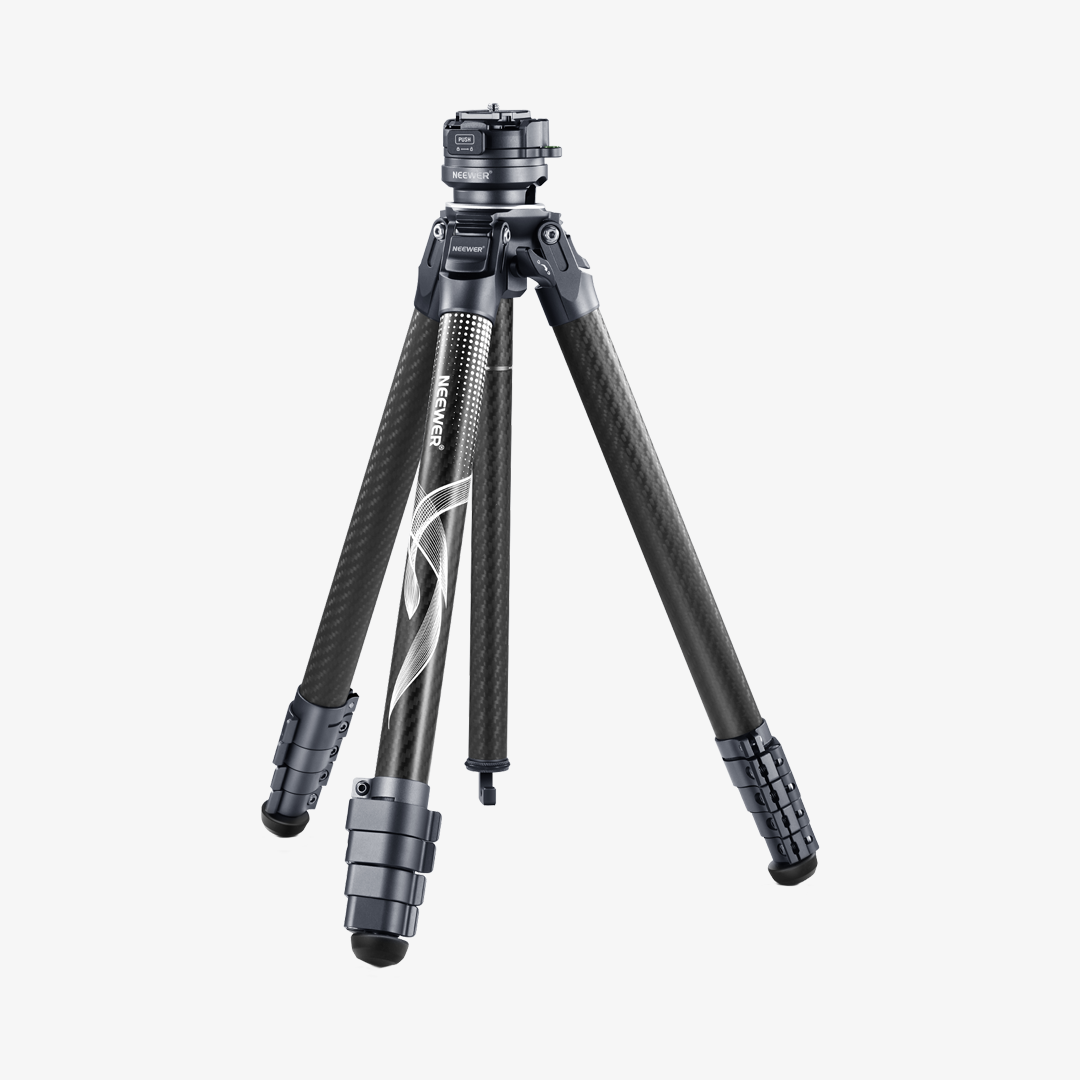
The NEEWER LT32 Carbon Fiber Travel Tripod is designed to balance portability and stability. It weighs about 2.6 lb (1.18 kg), folds down to approximately 17 inches, and extends to about 62 inches, making it practical for travel while still giving you enough height for portraits, landscapes, and other compositions.
For solo travel, the best tripod isn’t necessarily the smallest one. It’s the one that’s easy enough to carry throughout the day while providing the height and stability you need.
2. Use a Selfie Stick for Quick Shots
Not every travel photo needs a full-size tripod.
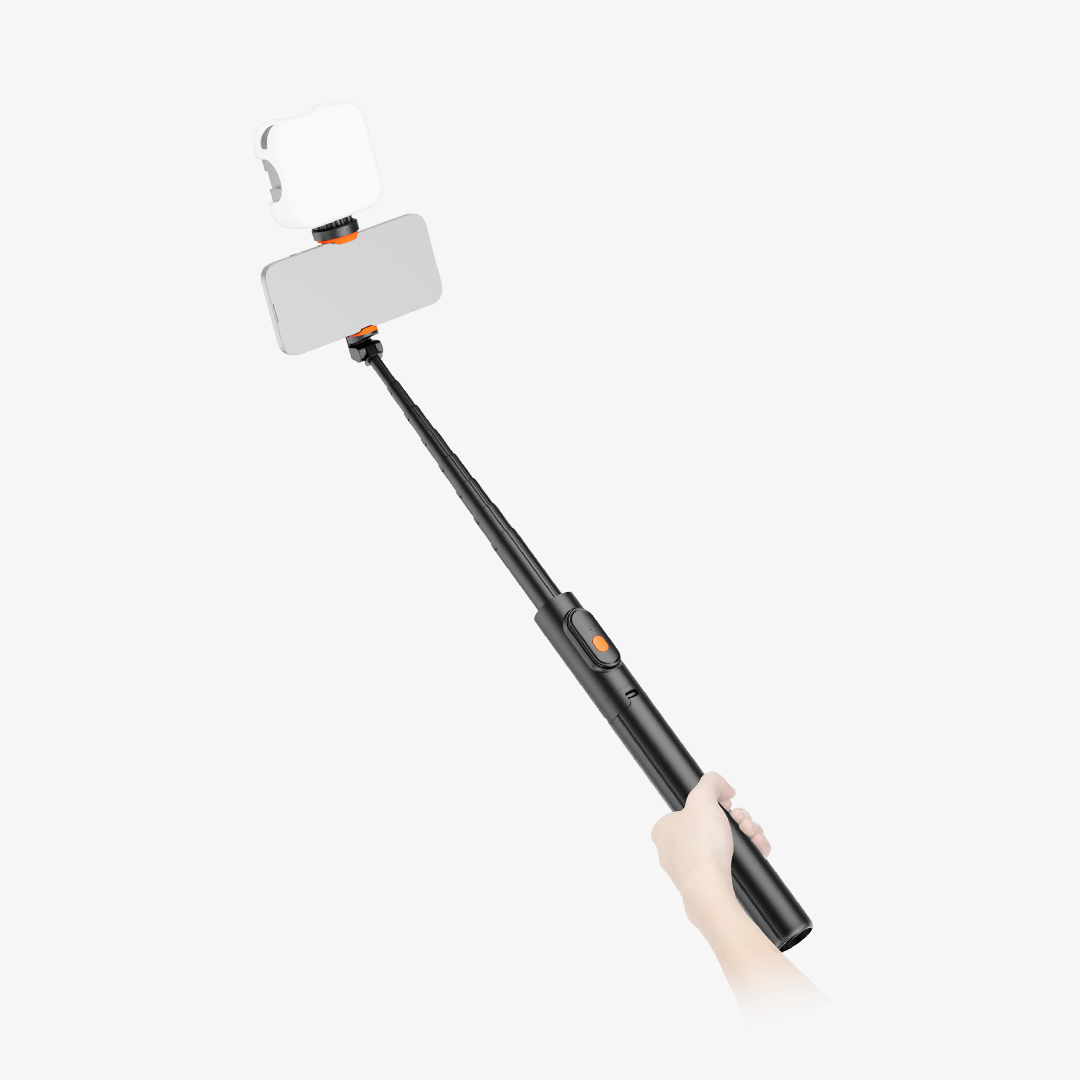
For quick selfies, walking shots, crowded tourist spots, or spontaneous moments, a selfie stick can be a much faster and more portable option.
Because you can hold the phone farther away from your body, a selfie stick can also capture more of the surrounding environment than a typical handheld selfie.
A simple rule of thumb:
· Travel tripod: Better for planned compositions, landscapes, full-body portraits, and night photography.
· Selfie stick: Better for quick, casual, and on-the-go photos.
Having both can give you more flexibility depending on the situation.

Use a Remote Shutter or Phone Control
A tripod gives you a stable camera position, but you still need a way to trigger the camera.
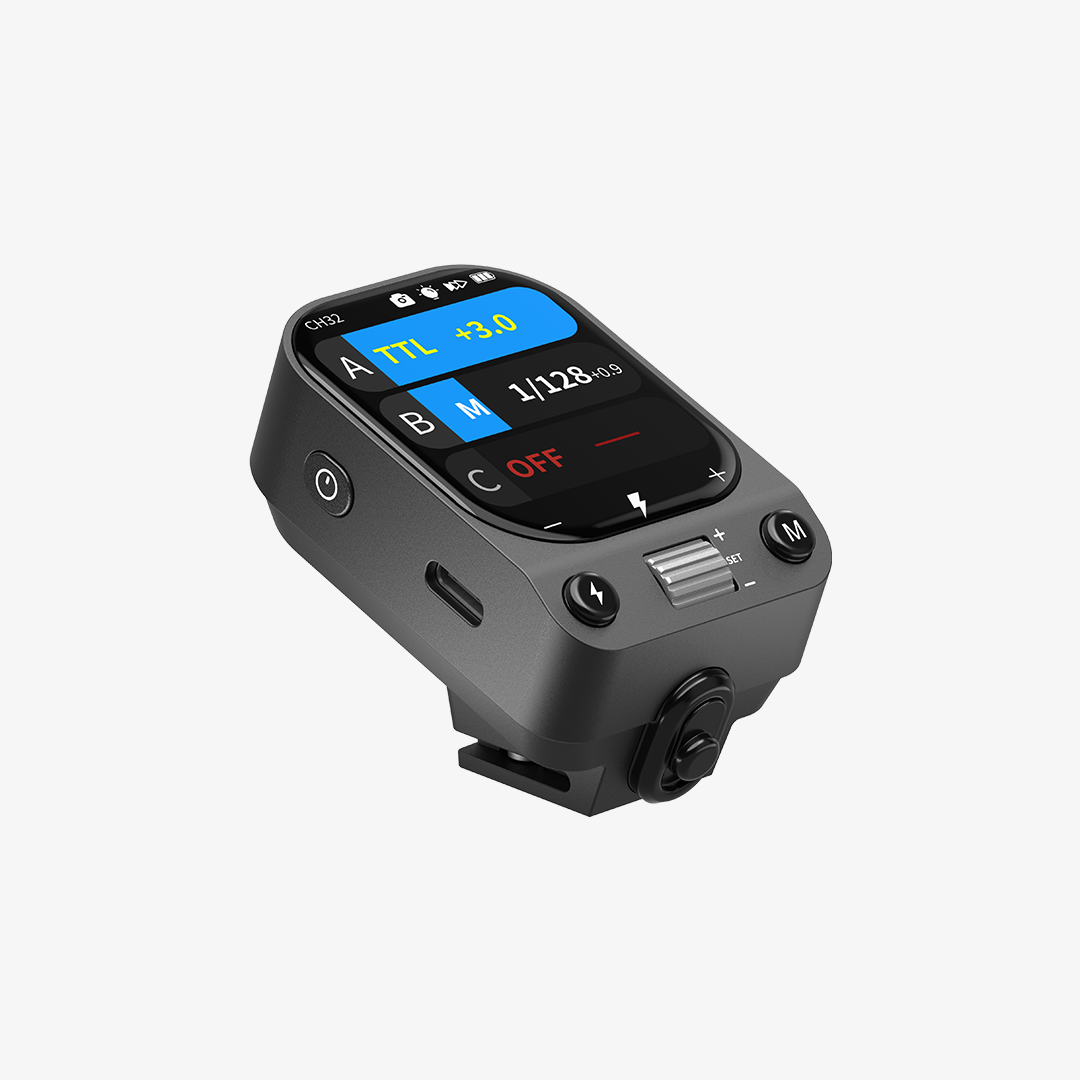
A remote shutter or phone control is particularly useful when you’re photographing yourself. Instead of running back and forth to the camera, you can trigger the shot from where you’re standing.
It can also be useful for creative compositions. Set up your camera, take a test shot, then experiment with different positions or movements while keeping the camera in exactly the same place.
Choose the Right Camera Angle and Perspective
The way you position your camera can change how both the subject and the destination look.
For natural-looking portraits, try positioning the camera around eye level. This creates a familiar perspective without heavily exaggerating proportions.
If you’re photographing yourself, make sure the camera is far enough away to include your entire body. Leave some extra space around the frame so you can move naturally.
A tripod makes this easier because you can set the camera position first and then step into the composition.
Place yourself to one side of the frame and leave more space for the surrounding landscape, architecture, or street scene. This creates an environmental portrait that says more about where you are.
A wider focal length can help capture large landscapes, architecture, or interiors while keeping yourself in the frame.
However, avoid placing yourself too close to the edge of an extremely wide frame, where distortion can become more noticeable.

Use Natural Light
You don’t always need additional lighting equipment to create beautiful travel photos. Learning to work with available light can often produce more natural-looking results.
The period around sunrise and sunset provides softer, warmer light that works particularly well for landscapes and portraits.
If you want to photograph a sunset scene with yourself in the frame, arrive early enough to set up your tripod and test your composition before the light changes.
When direct sunlight is too harsh, look for open shade. It can provide softer and more even light while still allowing you to keep the surrounding environment visible.
This works particularly well for portraits in cities or other locations where you can’t control the lighting.
Placing the sun behind your subject can create a sense of depth and atmosphere.
Try exposing for the highlights when you want a silhouette, or adjust your exposure to retain more detail in the subject for a brighter portrait.
Add Light When Natural Light Isn’t Enough
Natural light isn’t always available when you want to shoot.
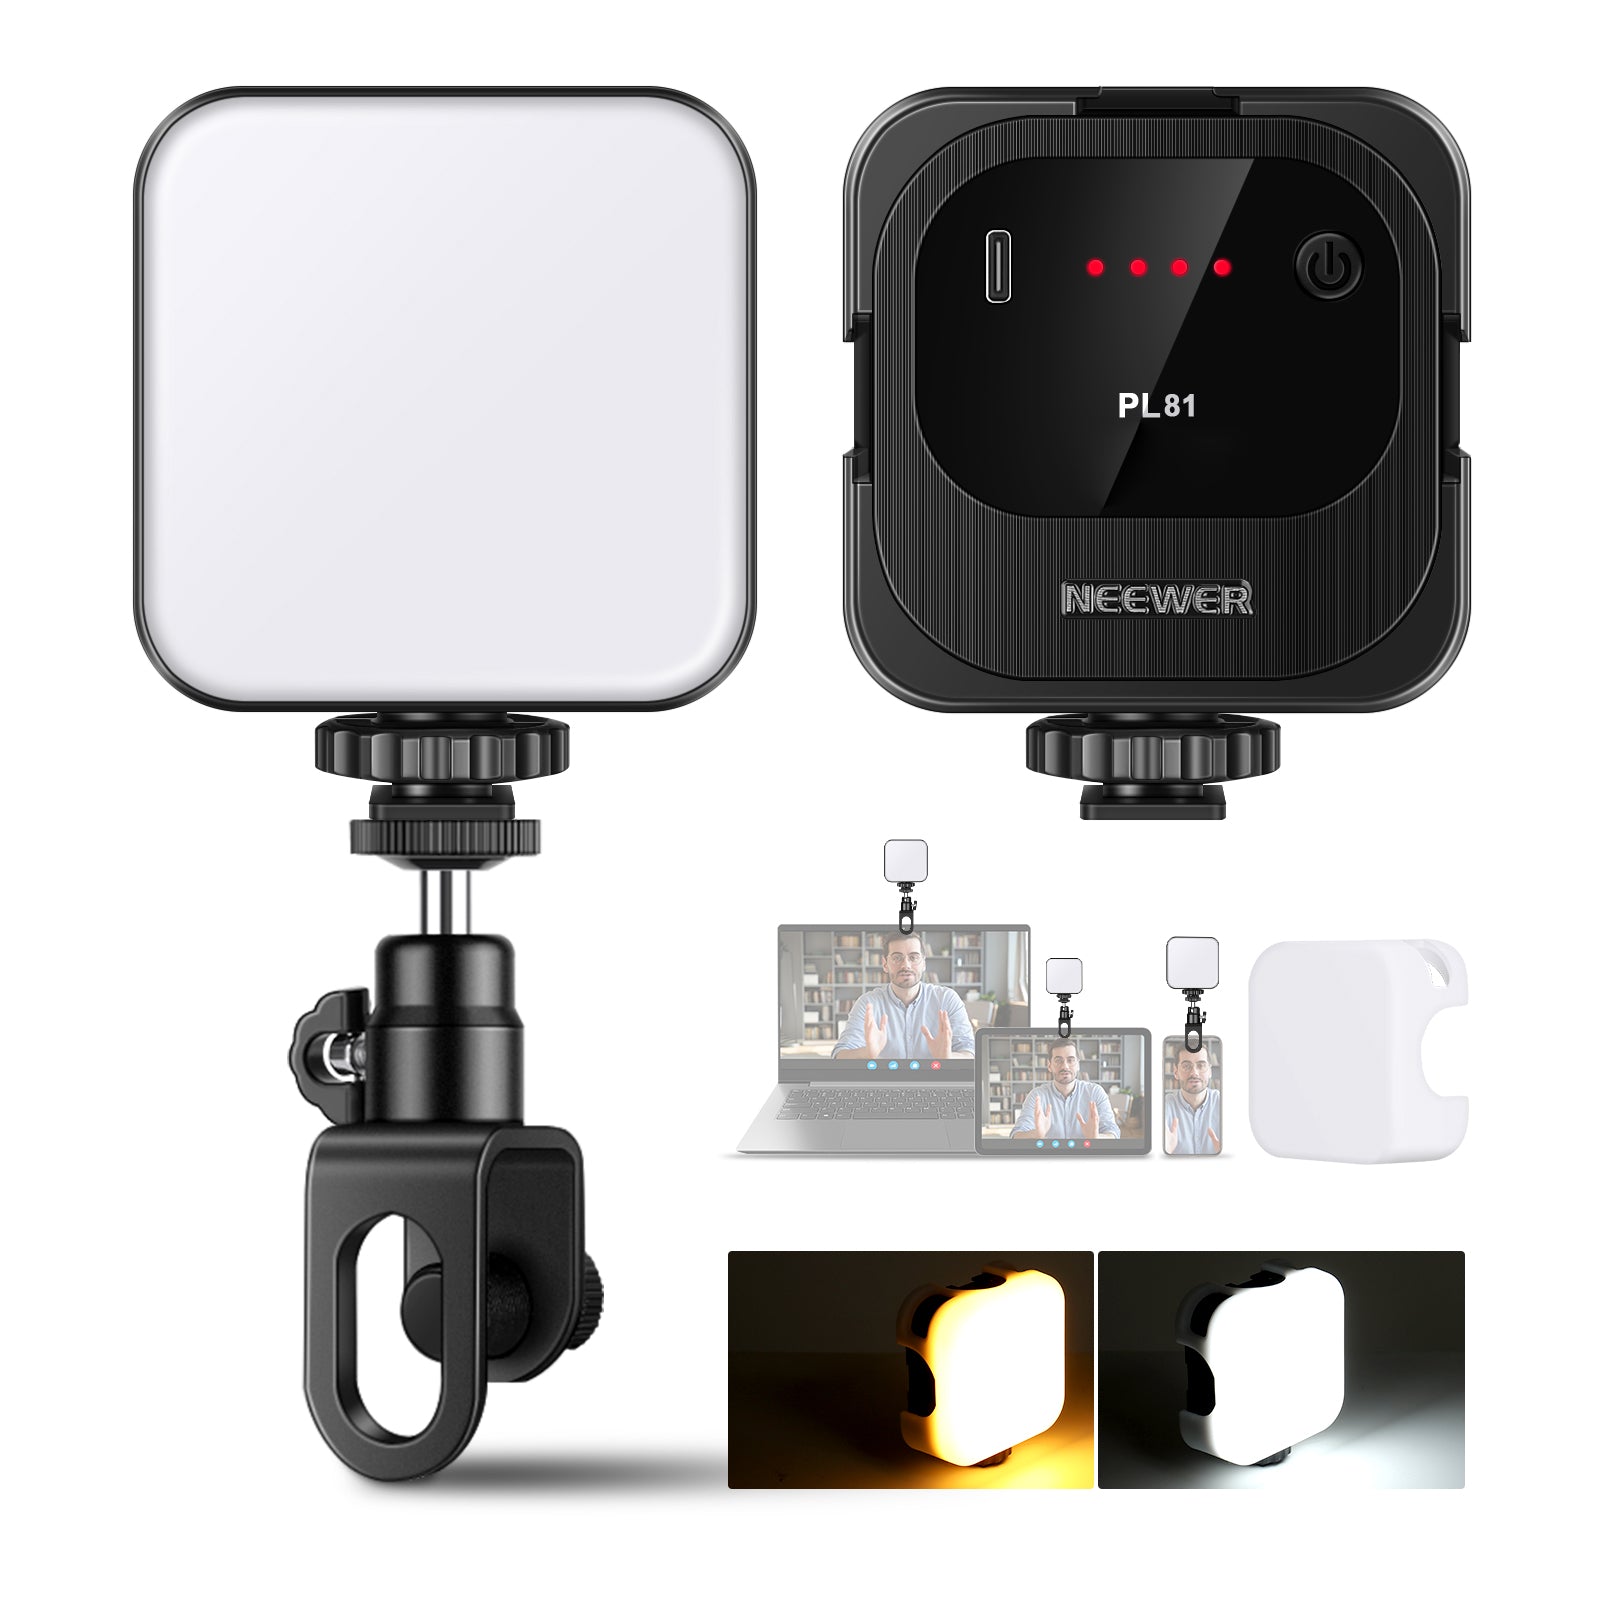
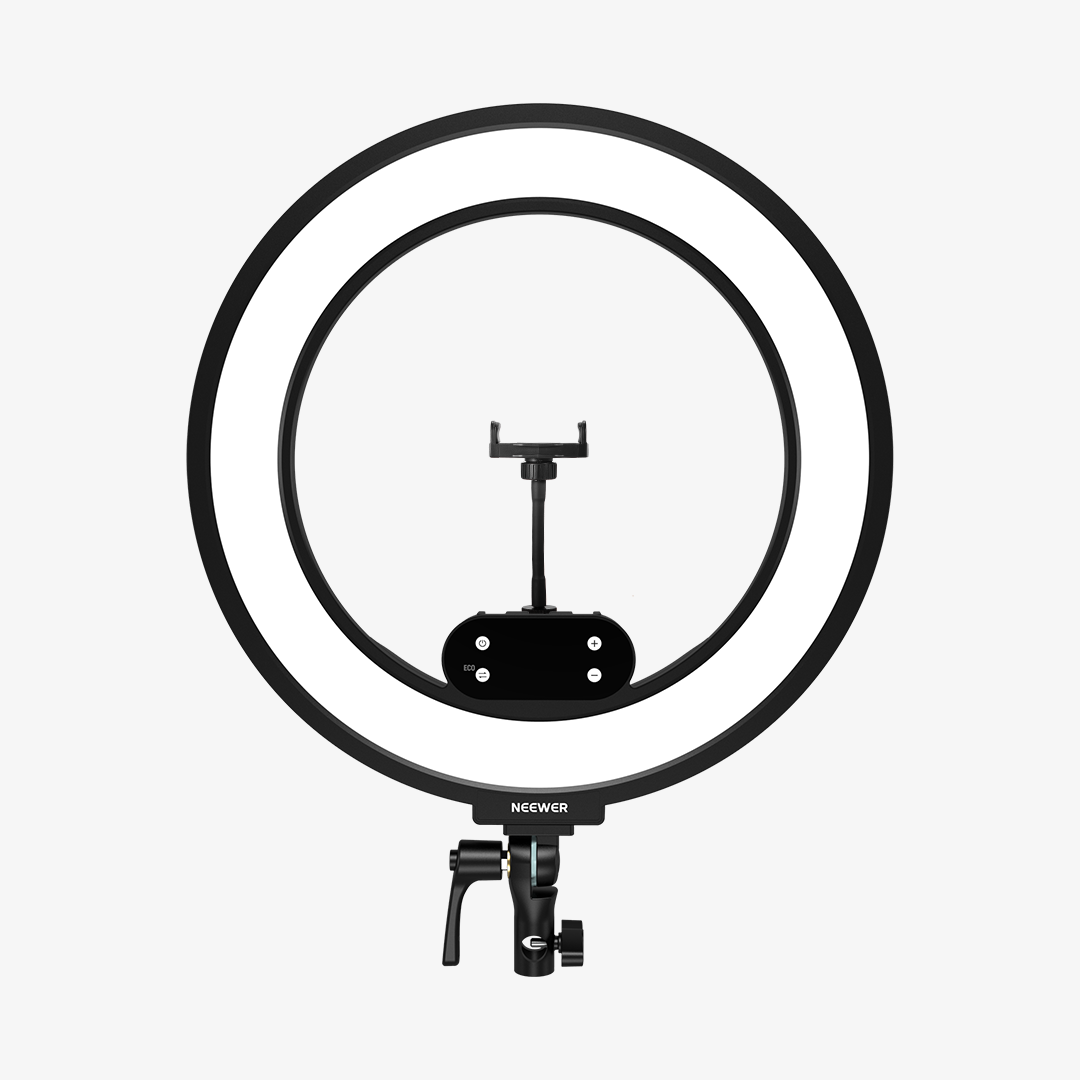
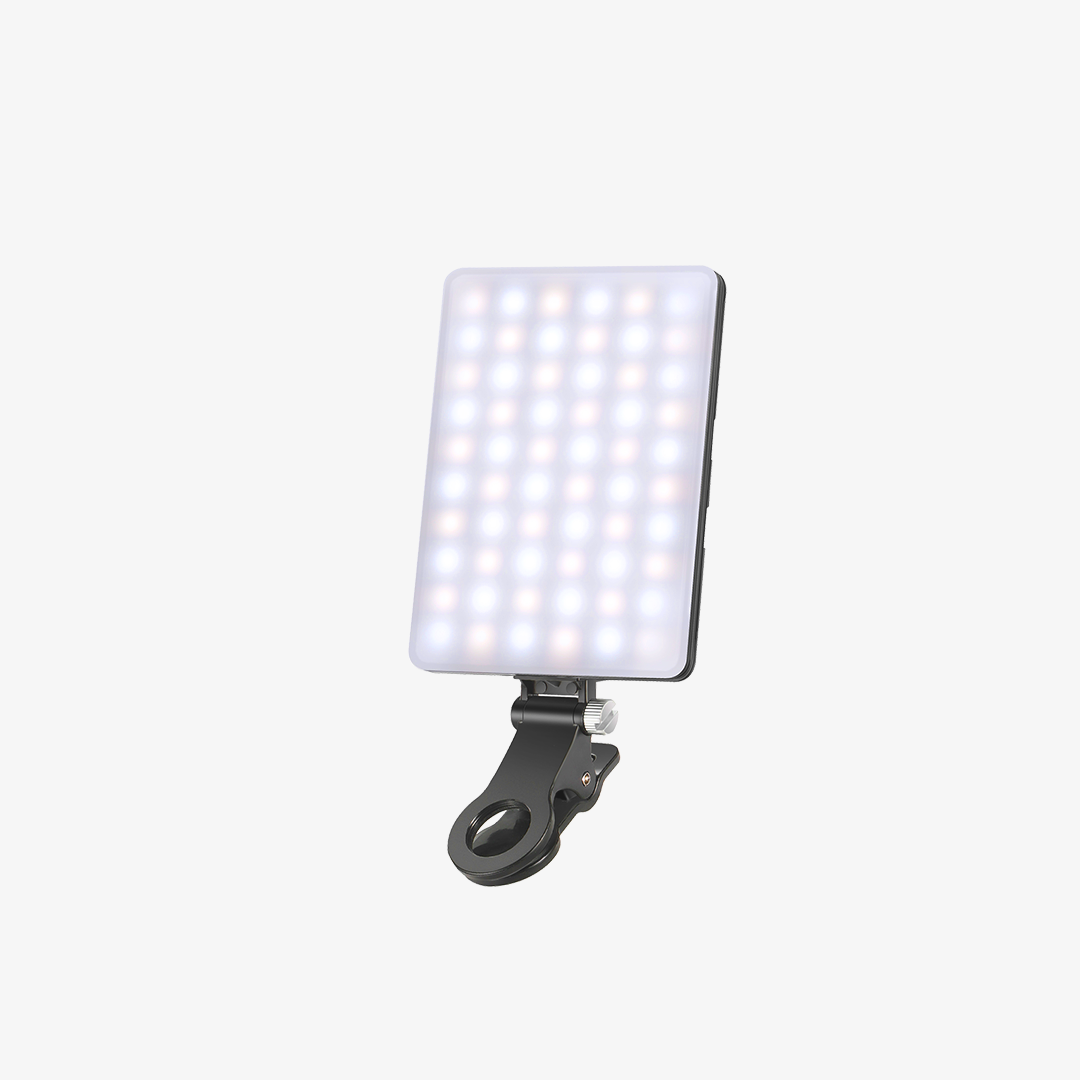
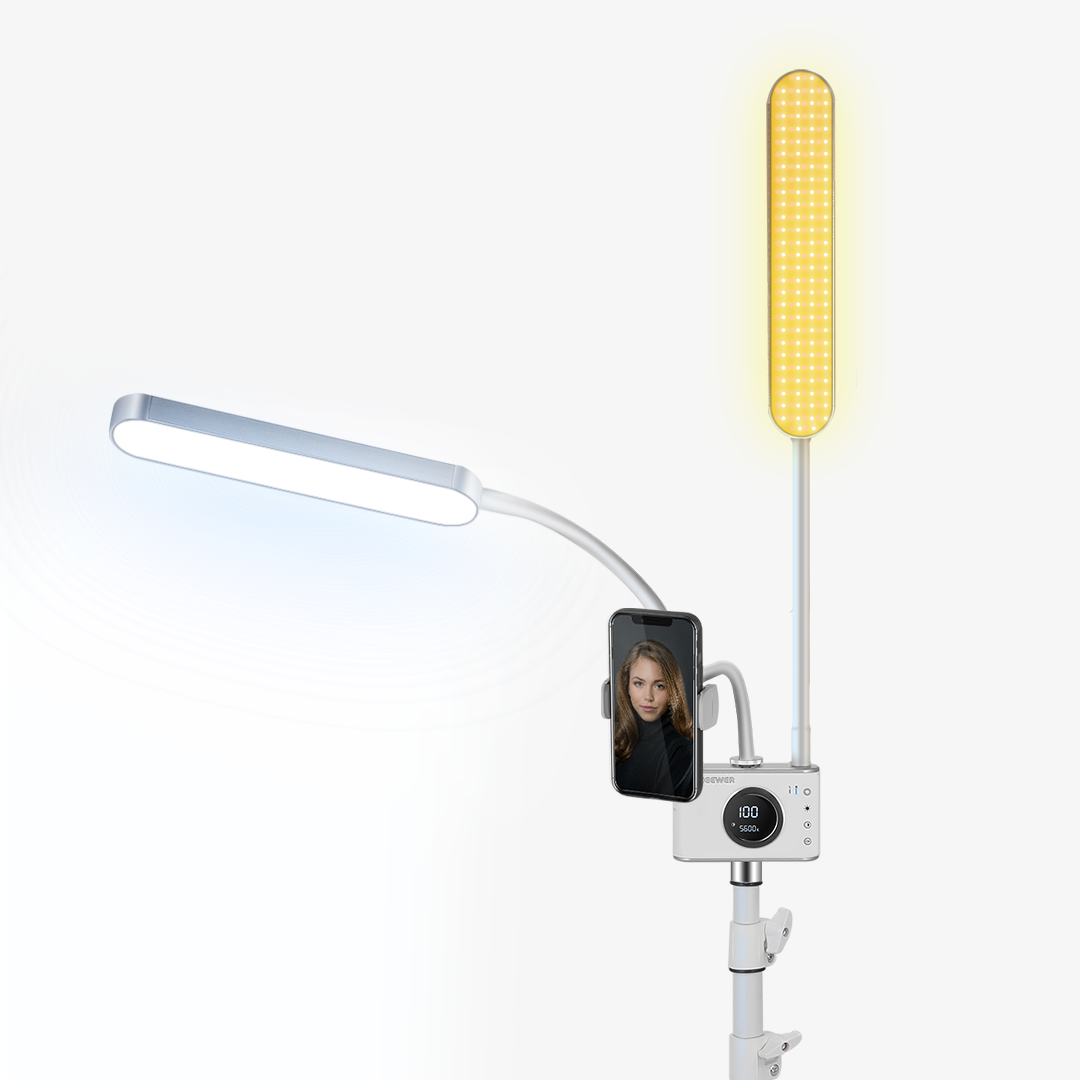
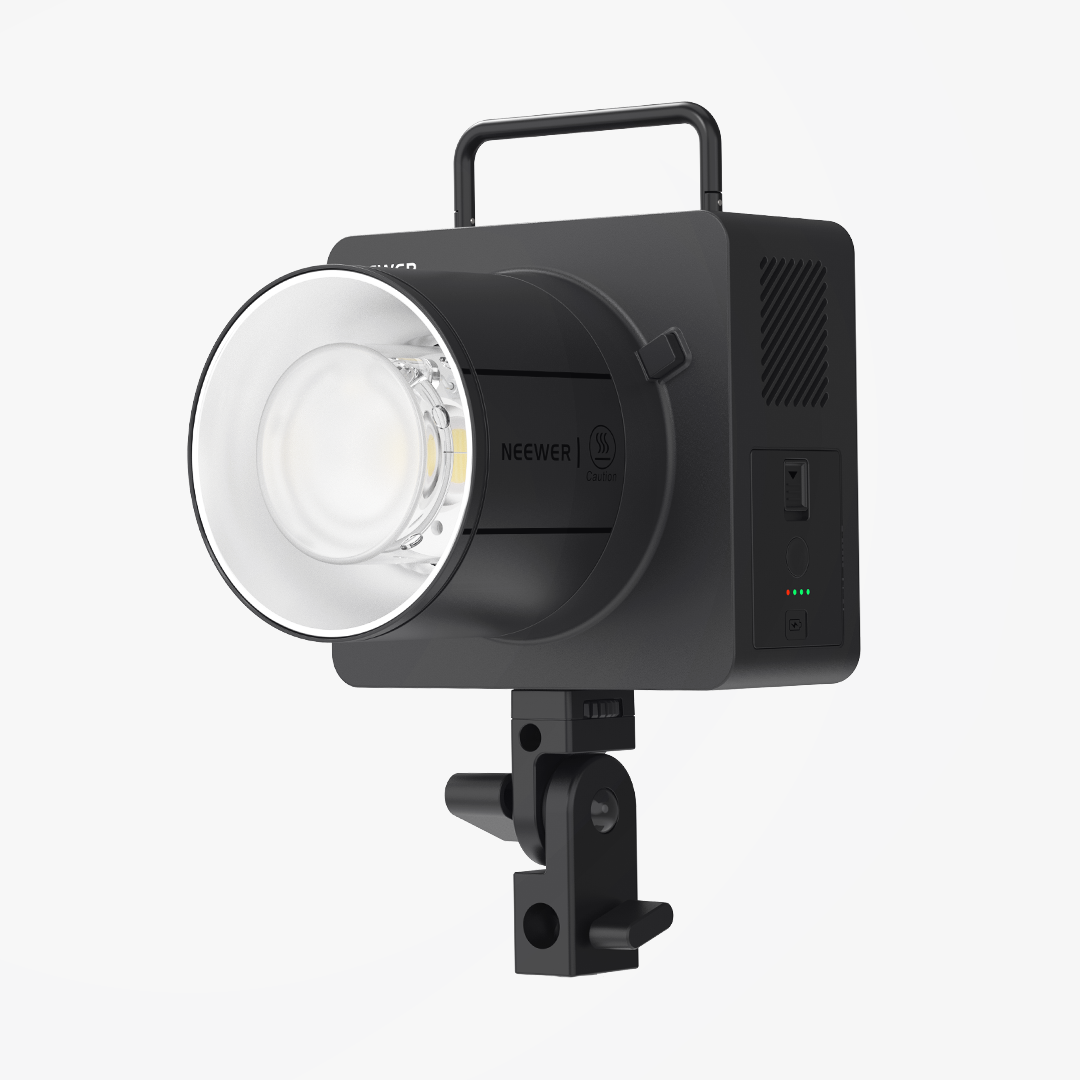
You don’t necessarily need a large lighting setup when traveling. A small LED light can add fill light to your subject, brighten a darker scene, or help create more controlled lighting indoors.
The goal is to keep your setup practical rather than carrying a full studio everywhere you go.
Solo Travel Photography Setup for Different Situations
Different situations call for different setups. You don’t need to bring every piece of gear for every shot.
|
Situation |
Suggested Setup |
|
Landscape photography |
Camera + travel tripod |
|
Landscape + yourself |
Tripod + remote |
|
Full-body portrait |
Tripod + remote |
|
Night photography |
Tripod + remote |
|
Indoor travel portraits |
Tripod + LED light |
|
Quick selfies |
Selfie stick |
|
Walking or on-the-go photos |
Selfie stick |
|
Casual phone photography |
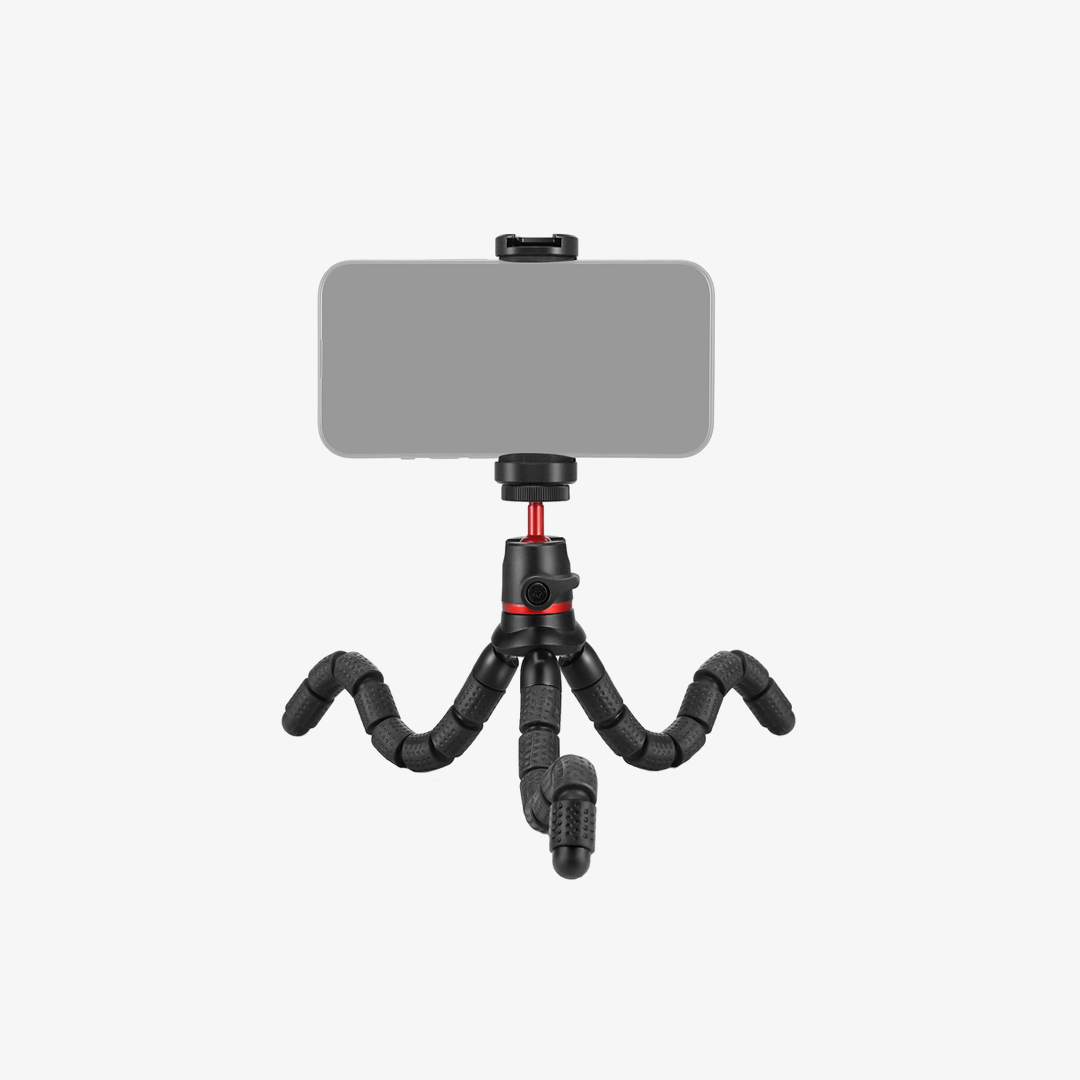
Phone + mini tripod or selfie stick |
For most trips, a camera or phone, a compact travel tripod, and a remote are enough to cover a wide range of situations. A selfie stick makes quick photos easier, while a small LED light can be useful when natural light isn’t enough.

Solo Travel Photography Quick Checklist
Before you start shooting, run through this quick checklist:
☐ Decide what you want the photo to show
☐ Check the location and background
☐ Look at the direction and quality of the light
☐ Choose the right camera angle and focal length
☐ Choose a tripod, selfie stick, or handheld setup
☐ Set up your camera or phone
☐ Connect your remote or phone control if needed
☐ Take a test shot
☐ Check focus, exposure, and framing
☐ Try a few different compositions
☐ Review your photos before leaving
Taking a few test shots is usually faster than discovering later that your subject was out of focus or an important part of the scene was cropped out.
FAQs
1. How do you take good photos when traveling solo?
Start by planning your composition and choosing a good location and light. A travel tripod can provide a stable camera position for landscapes, portraits, and night photography, while a remote shutter makes it easier to include yourself in the frame.
For quick and casual shots, a selfie stick can be a more convenient option.
2. What tripod is best for solo travel photography?
A good travel tripod should be lightweight, compact, stable, and tall enough for the types of photos you want to take.
The NEEWER LT32 Carbon Fiber Travel Tripod weighs about 2.6 lb (1.18 kg), folds down to approximately 17 inches, and extends to about 62 inches, making it suitable for landscapes, portraits, and other travel photography.
3. How do you take full-body travel photos?
Place your camera far enough away to include your entire body, then use a tripod and remote shutter or timer to take the photo. Leave some space around yourself so you can move naturally within the frame.
4. Can you take good solo travel photos with a phone?
Yes. Modern smartphones can produce excellent travel photos in a wide range of conditions.
Use a mini tripod, travel tripod, or selfie stick depending on the situation. Your phone’s timer or remote control can also help you capture hands-free photos.
5. Is a tripod useful for solo landscape photography?
Yes. A tripod provides a stable camera platform and can be particularly useful for night photography, long exposures, low-light scenes, and carefully composed landscape images.
Final Takeaway
Solo travel photography isn’t just about taking selfies. It’s about documenting the places you visit and the moments you experience, whether that’s a dramatic landscape, a quiet street, a night scene, or a portrait with the destination in the background.
A travel tripod gives you stability and control, while a selfie stick makes quick and spontaneous photos easier. Combine the right support with thoughtful composition and good light, and you can create a much more complete visual record of your trip—even when you’re the only person behind the camera.