

Table of Contents
Photographing the Sun may look simple, but getting sharp solar photos can be surprisingly difficult. Long telephoto lenses magnify not only the Sun, but also camera movement, focusing errors, and atmospheric distortion.
These challenges become even more noticeable during a solar eclipse, when lighting conditions change and important moments can pass quickly.
To get sharper Sun and eclipse photos, focus on five things: a stable setup, accurate focus, suitable shutter speed, good atmospheric conditions, and proper solar protection.

Choose the Right Lens and Focal Length
The best focal length for solar photography depends on how you want the Sun to appear in the frame.
|
Focal Length |
Typical Use |
|
100–200mm |
Sun with surrounding landscape |
|
Around 300mm |
Balanced composition and detail |
|
400mm+ |
Larger Sun and tighter compositions |
A longer focal length makes the Sun larger in the frame and can reveal more detail, but it also makes camera movement more noticeable and framing more difficult.
If you want to include mountains, buildings, or other foreground elements, a shorter telephoto lens may be more suitable. For close-up solar images, longer lenses can provide a tighter composition.
A longer lens is not automatically better. Choose your focal length based on the composition you want.

Keep Your Camera Stable
Camera stability is especially important with long telephoto lenses. Even small movements can make the Sun look soft.
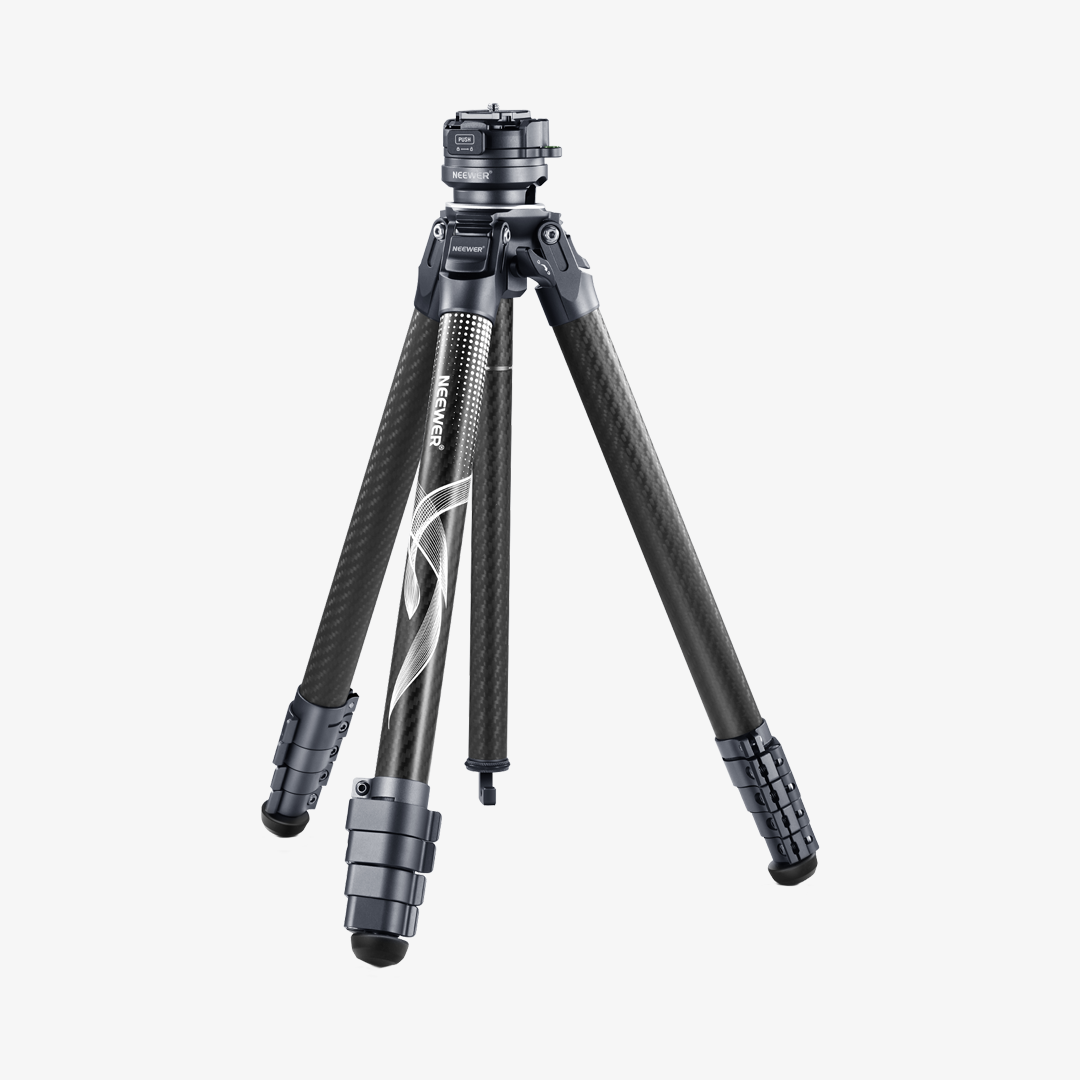
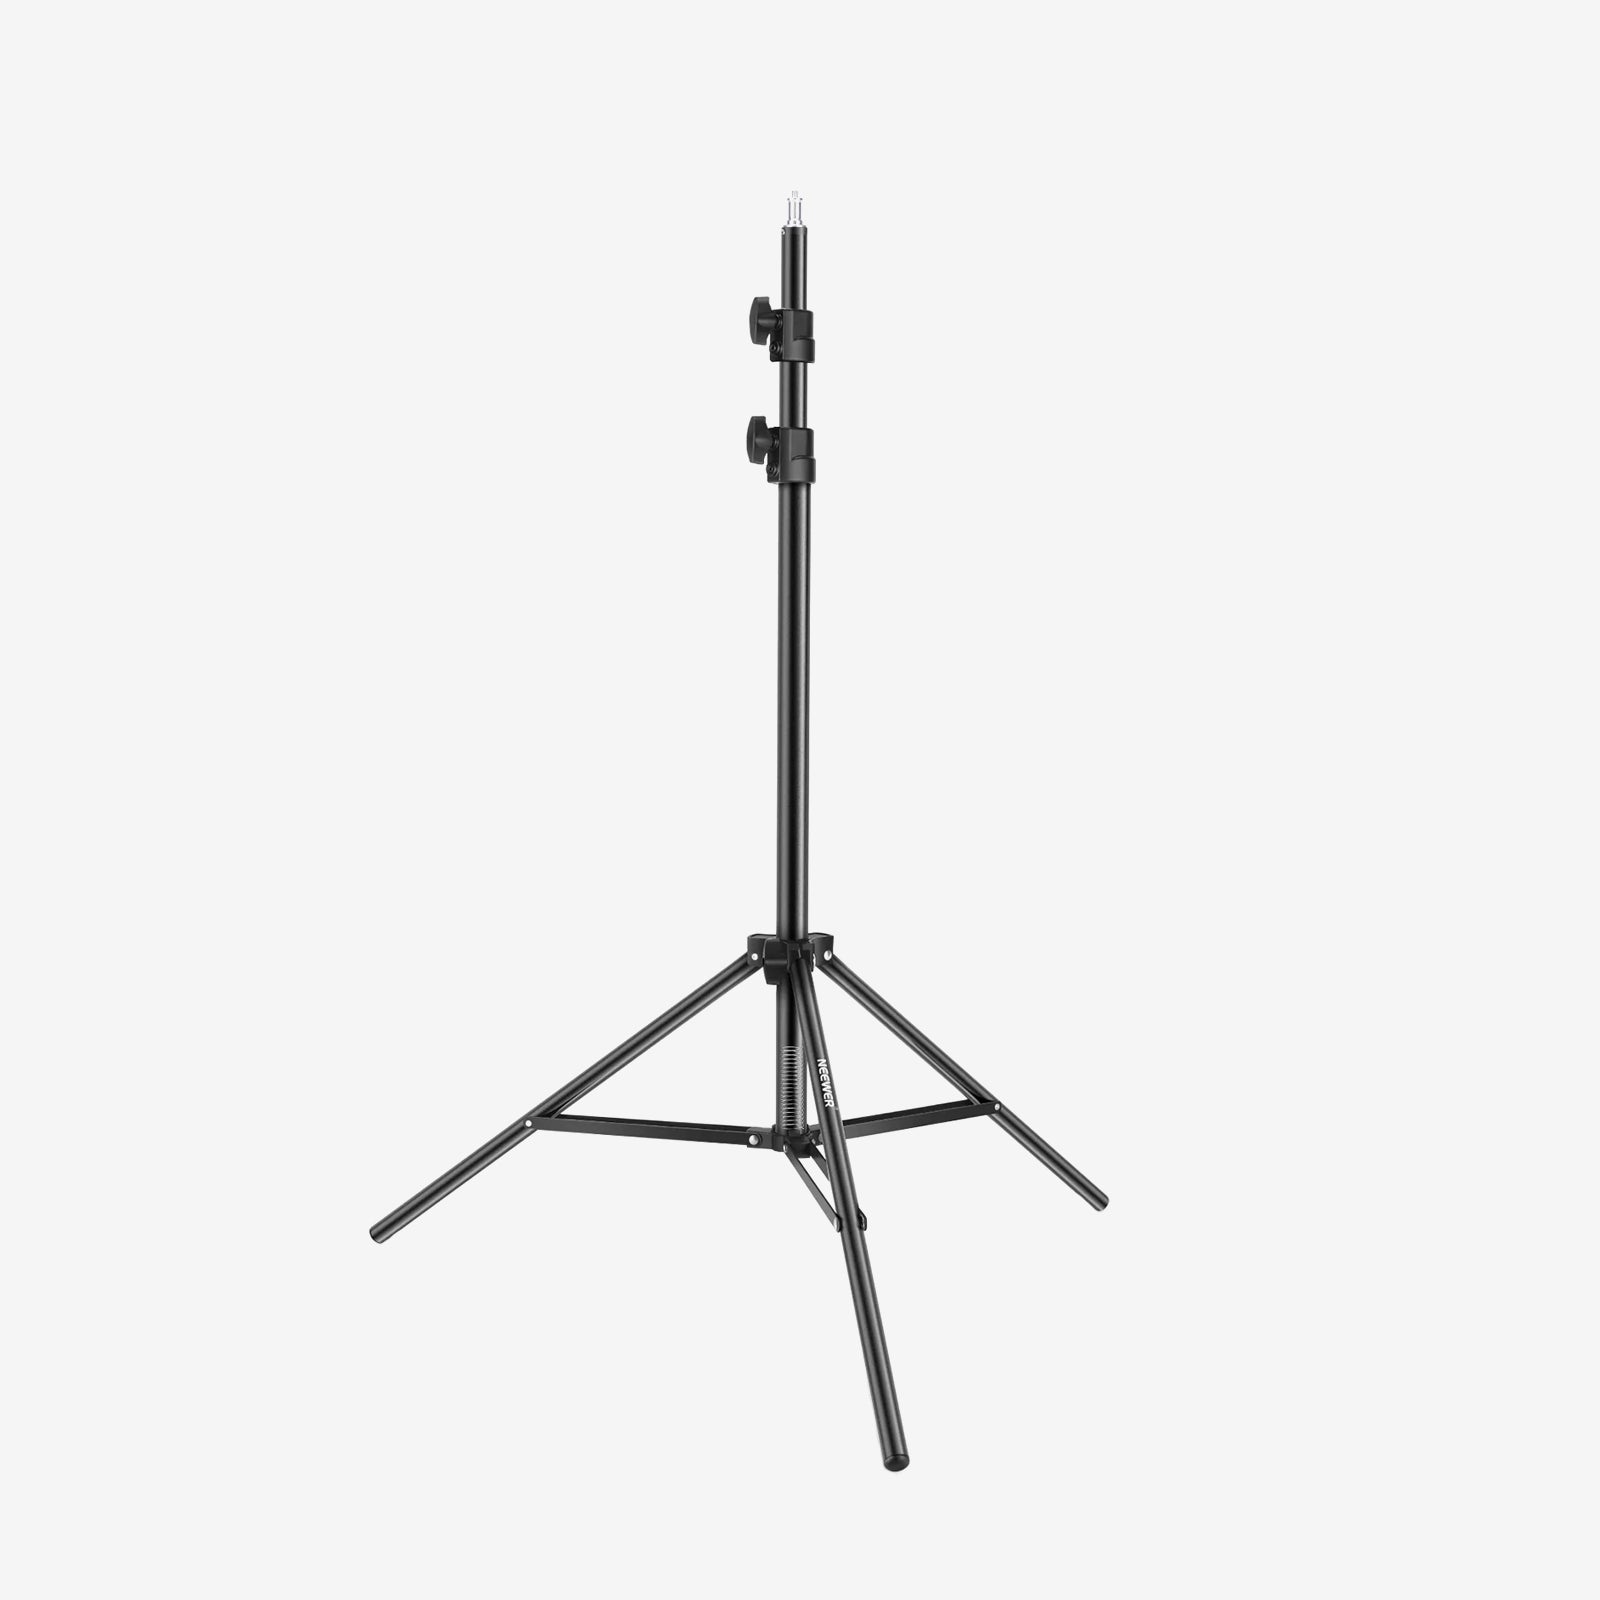
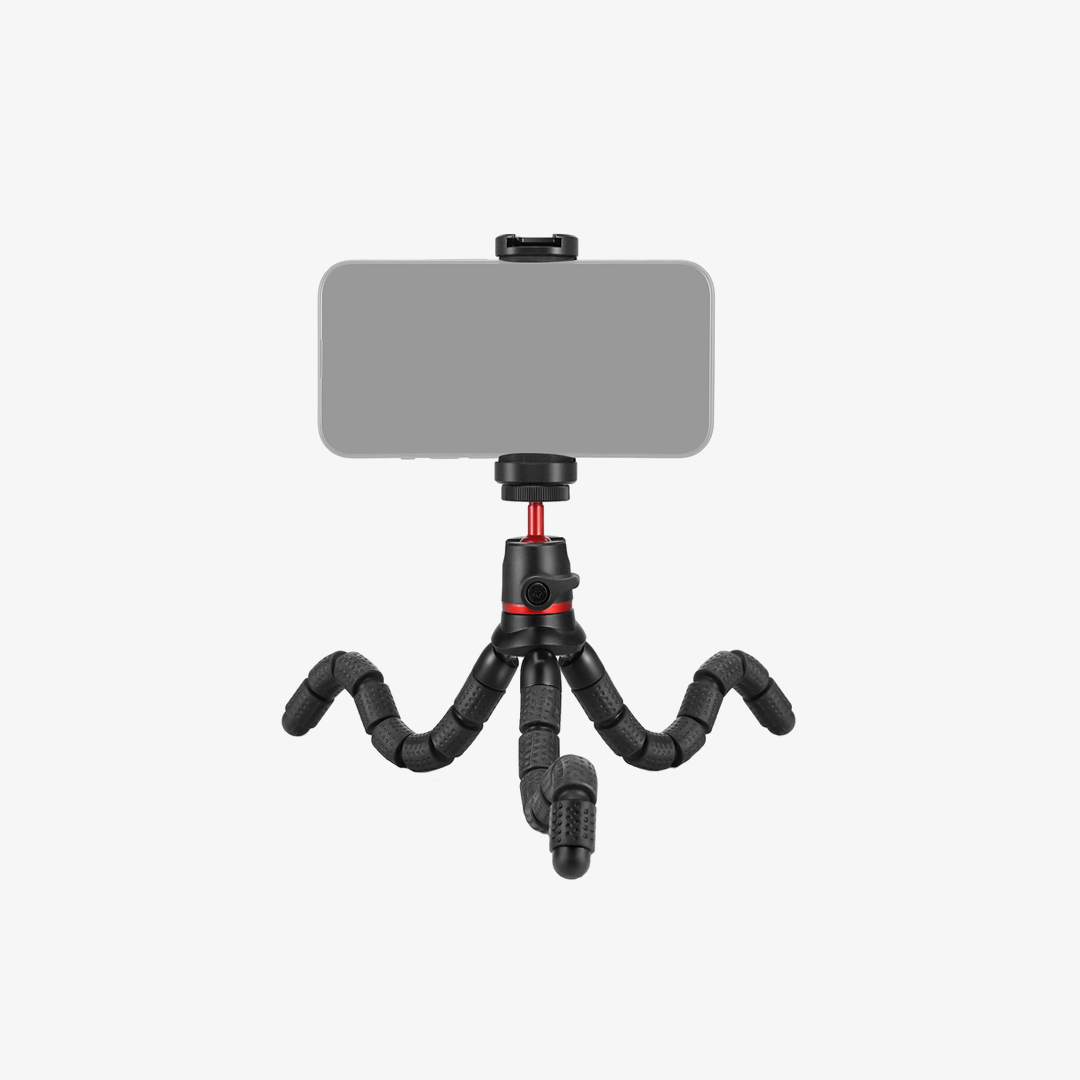
A sturdy tripod provides a stable base for your camera and lens. Make sure the tripod can comfortably support the combined weight of your camera, lens, and accessories.
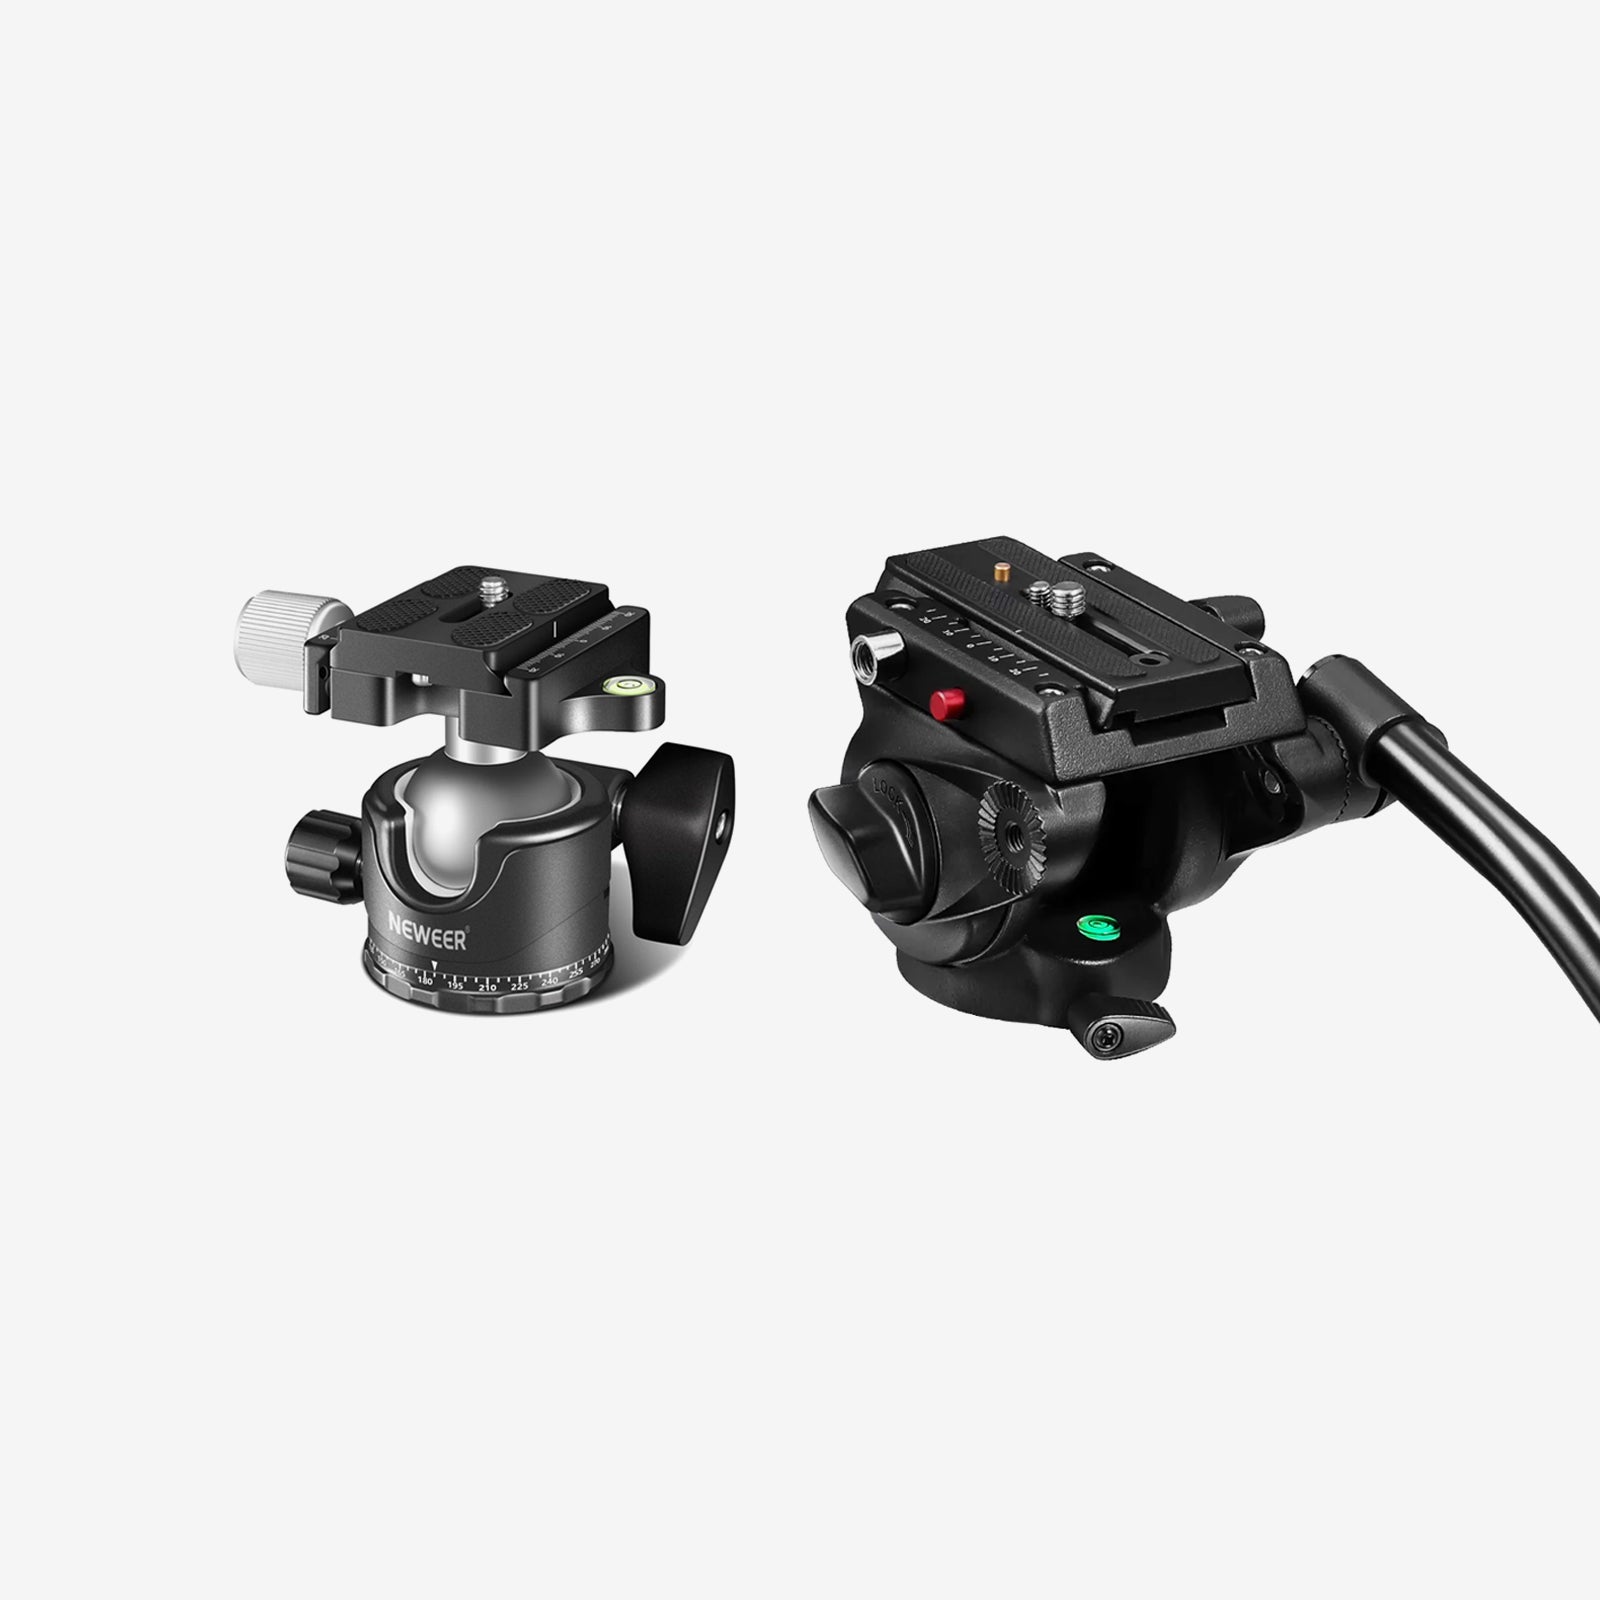
The tripod head also matters. A ball head works well for many setups, while a gimbal-style head can make heavier telephoto lenses easier to balance and reposition.
Wind and vibration can still affect image sharpness. Place the tripod on a stable surface, avoid touching the camera during exposure, and allow the setup to settle after repositioning it.
Reduce Camera Shake
Use a remote shutter release or the camera’s self-timer to avoid introducing movement when pressing the shutter button.
If your lens has image stabilization, check the manufacturer’s recommendations for tripod use rather than assuming it should always be on or off.
Focus Carefully on the Sun
Even a perfectly stable camera can produce a blurry image if the focus is slightly off.
Manual focus can give you more control when photographing the Sun. Use your camera’s magnified live view to examine the edge of the Sun or visible details, then make small focus adjustments.
Take a test image and zoom in to check sharpness. If the image looks soft, adjust the focus and test again.
Once you find a sharp focus point, avoid accidentally moving the focus ring while repositioning the camera.
Choose an Appropriate Shutter Speed
Shutter speed affects both exposure and the appearance of movement in your images.
There is no single shutter speed that works for every solar photography setup. Your settings depend on:
· Focal length
· Available light
· Solar filter
· Aperture and ISO
· Camera and lens
· Atmospheric conditions
Take several test exposures and check them at full resolution rather than relying on one fixed setting.
During a solar eclipse, the amount of visible sunlight can change significantly. Be prepared to adjust your exposure as the eclipse progresses.
Don’t Ignore Atmospheric Conditions
Sometimes soft solar images have nothing to do with your camera or lens.
Haze, humidity, clouds, heat shimmer, and atmospheric turbulence can reduce visible detail. This can be especially noticeable when shooting with a long telephoto lens across a large distance.
If your camera is stable, your focus is accurate, and your exposure looks right but the image still appears soft, the atmosphere may be the limiting factor.
Sometimes the limitation is the atmosphere, not your gear.

Use Proper Solar Protection
Solar safety is essential when photographing the Sun.
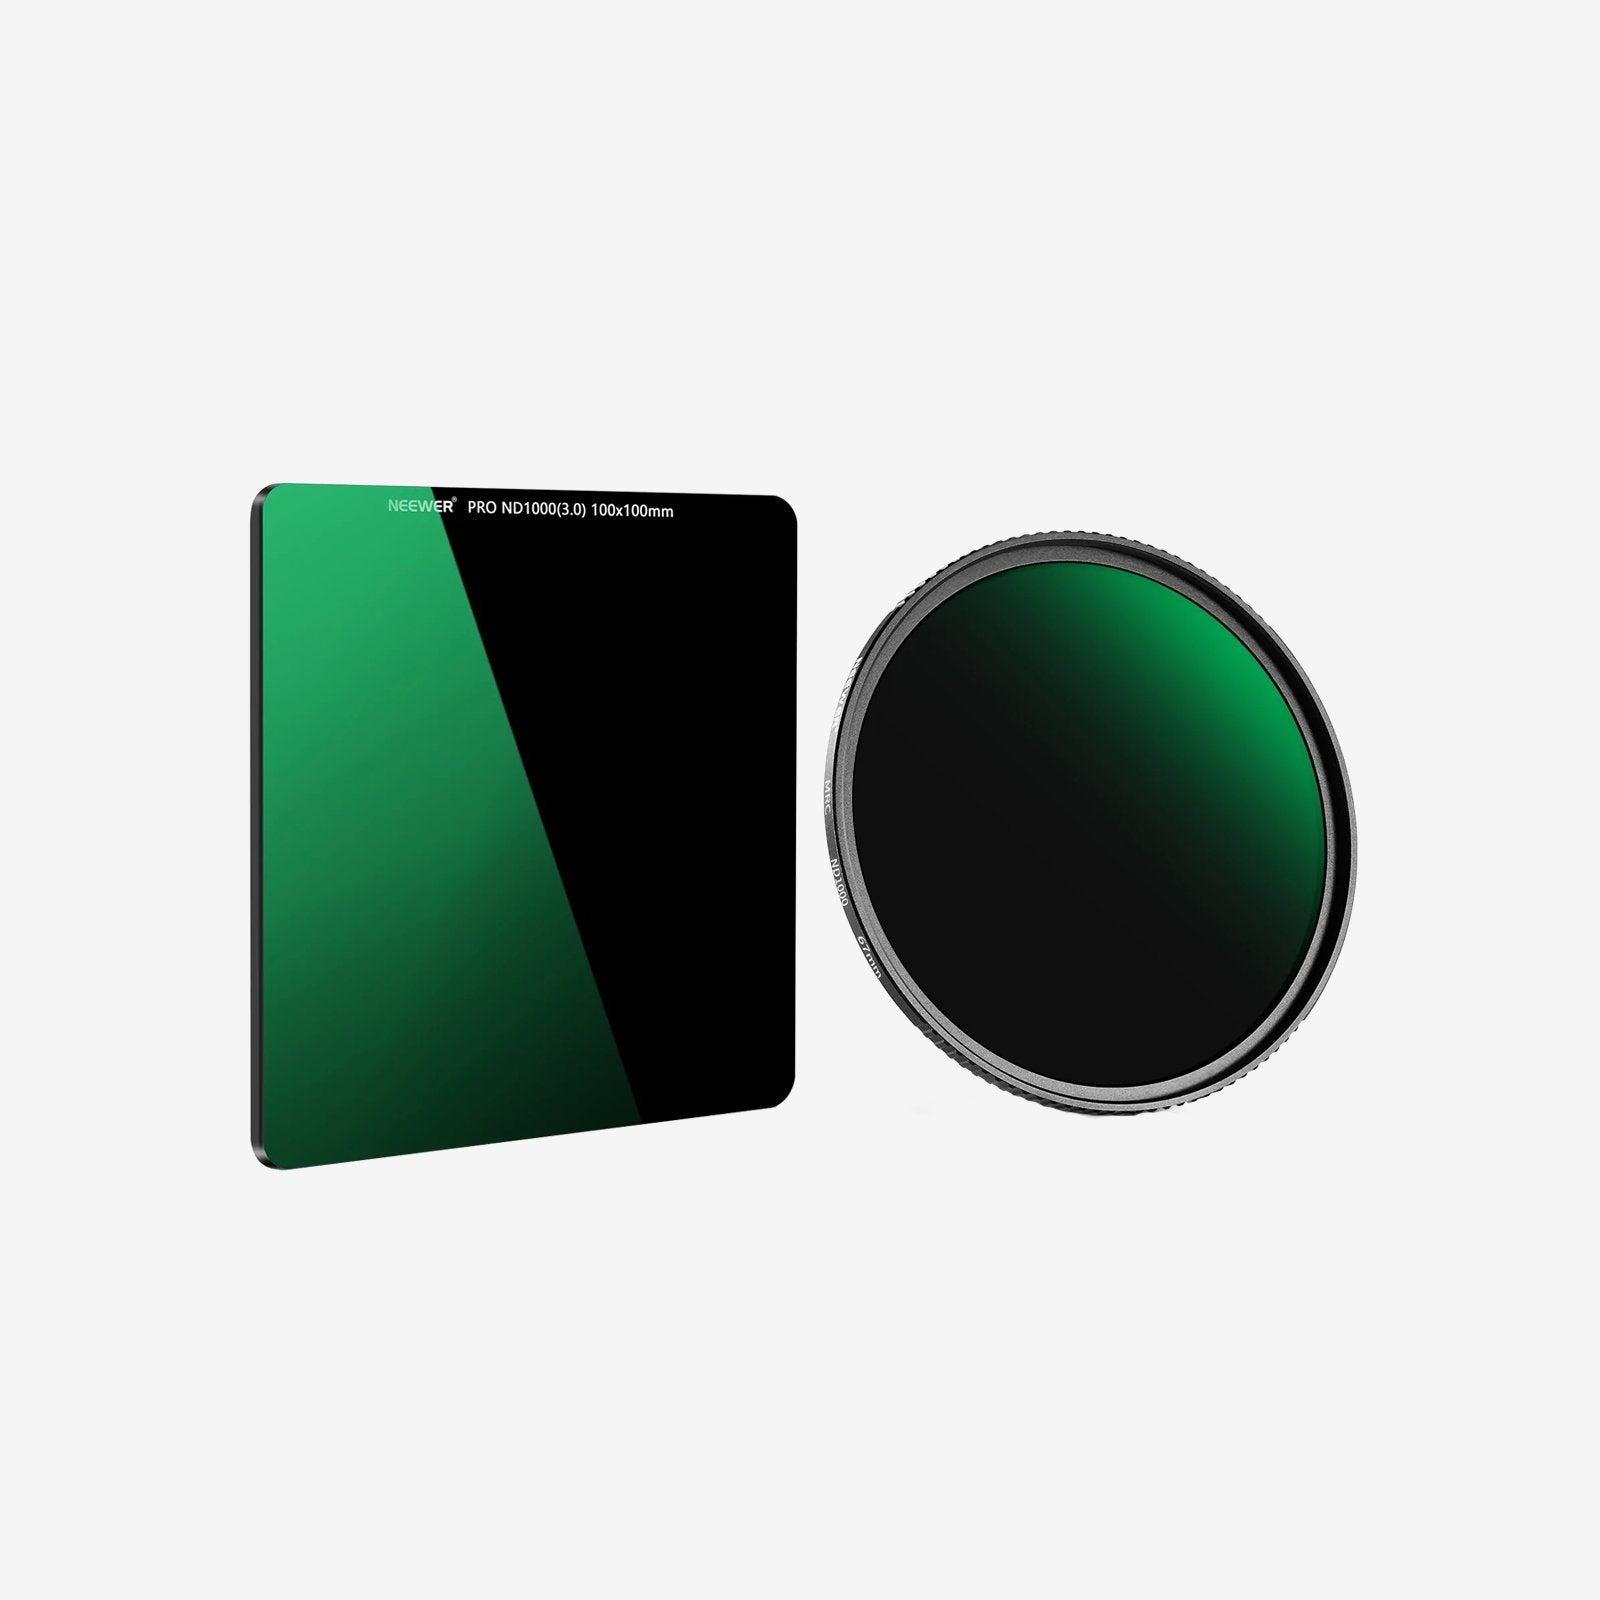
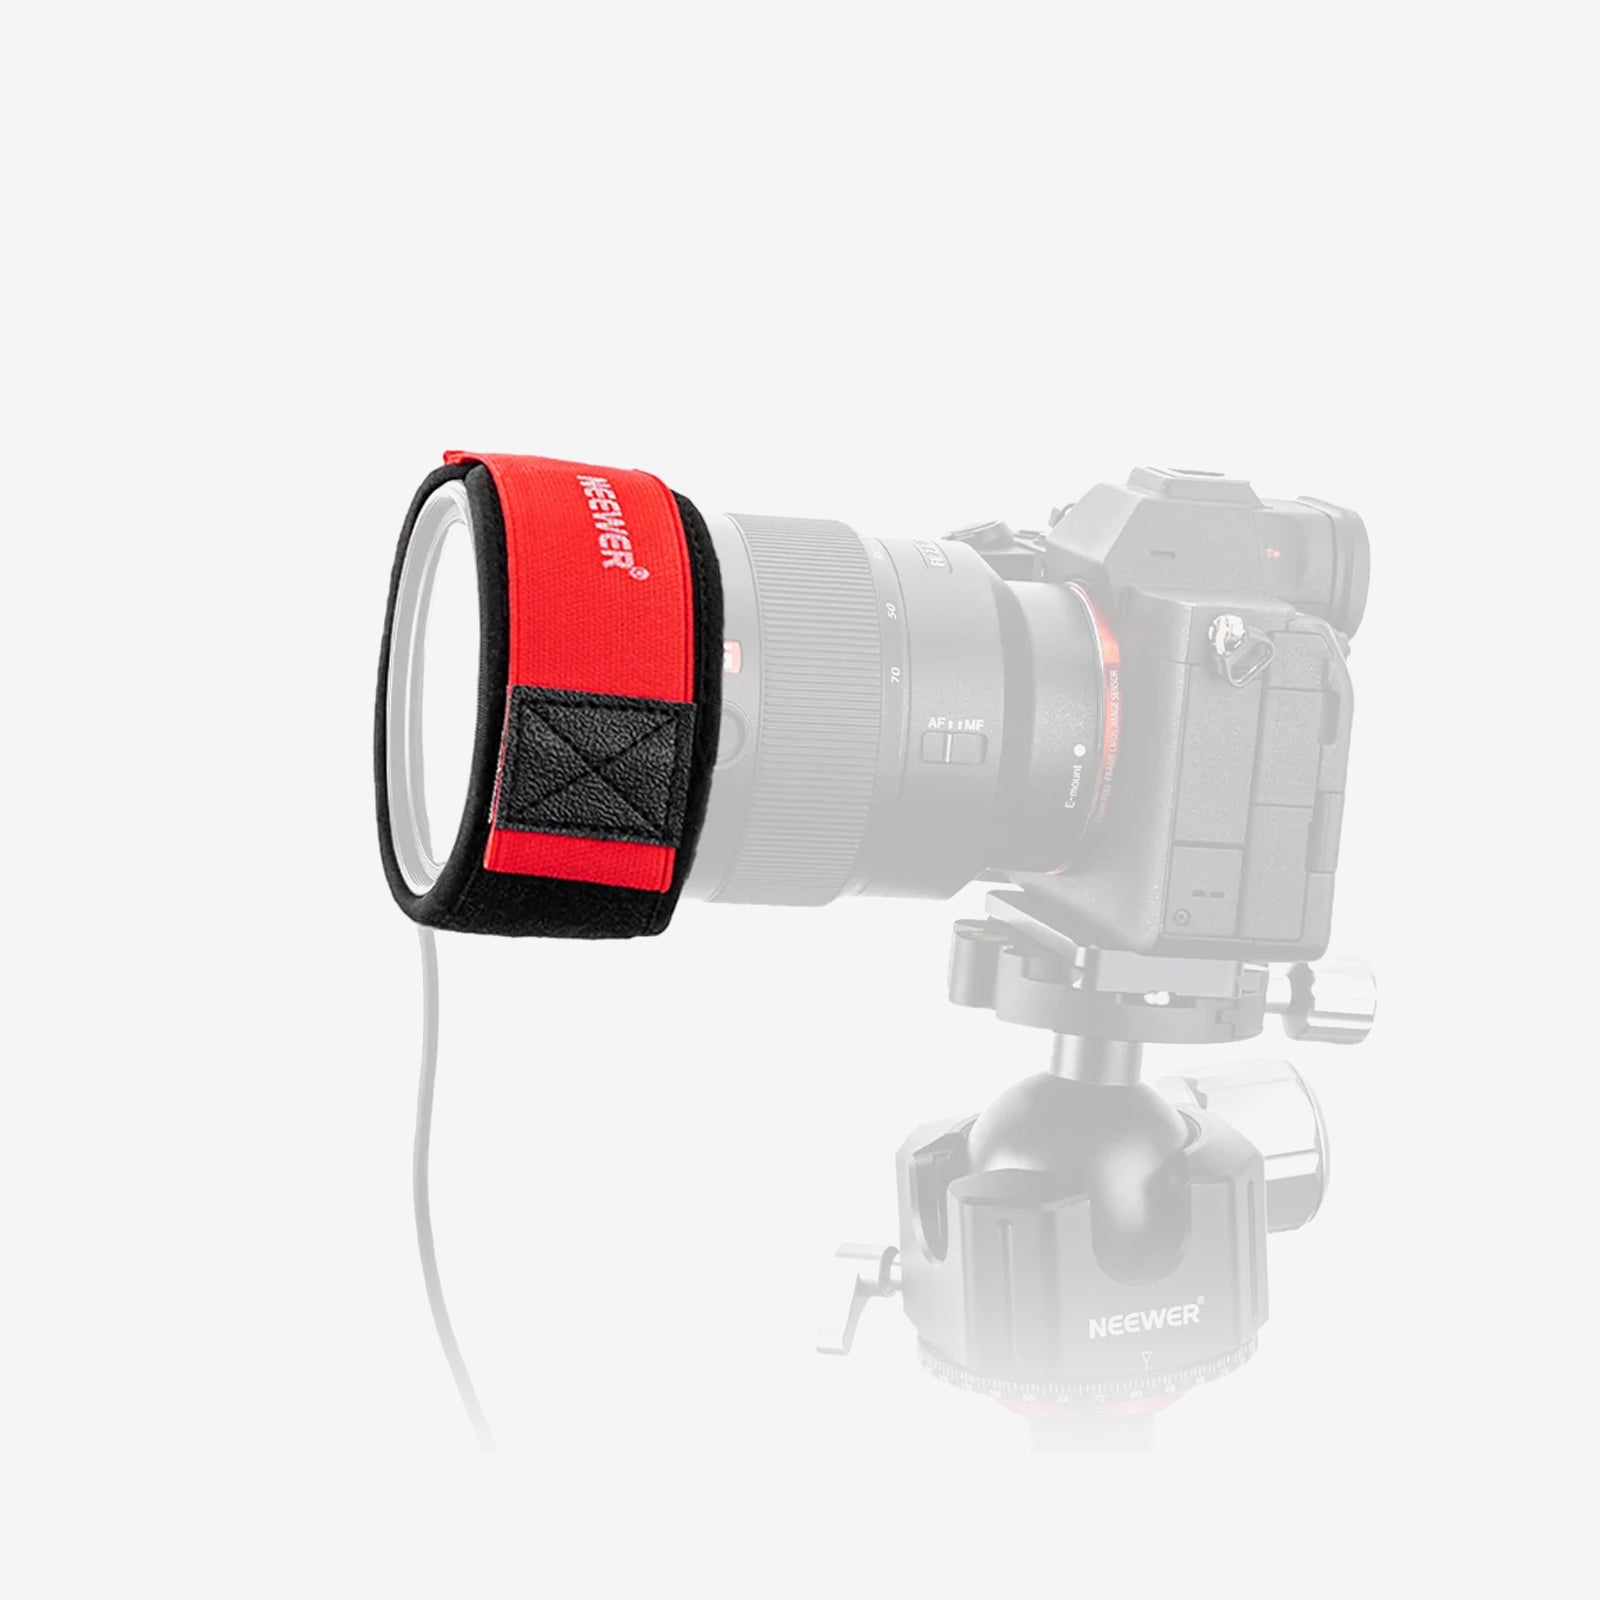
When the bright Sun is visible, use a proper solar filter specifically designed for solar photography and securely mount it over the front of the lens. A standard photographic ND filter should not automatically be treated as a solar filter.
For a total solar eclipse, the solar filter can be removed only during totality, when the Moon completely covers the Sun’s bright surface. The filter must be put back before the bright solar surface reappears.
For partial or annular eclipses, a proper solar filter is required throughout the event because the bright solar surface remains visible.
Always follow the safety instructions provided by your solar filter and camera equipment manufacturer.

Tips for Sharper Solar Eclipse Photos
An eclipse is much easier to photograph when your setup is prepared in advance.
Before the event:
· Set up your camera and tripod on stable ground.
· Test your focus using magnified live view.
· Take test exposures and check them at full resolution.
· Test your remote shutter or self-timer.
· Confirm that your solar filter is correctly installed.
· Practice repositioning the camera without accidentally changing focus.
During the eclipse, take multiple frames rather than relying on a single exposure. Small changes in focus, vibration, exposure, and atmospheric conditions can affect individual images.
If you want to include buildings, mountains, or people in the composition, leave enough space around the Sun instead of framing it too tightly.
FAQs
1. How do I get sharp photos of the Sun?
Use a suitable telephoto lens, a stable tripod, careful focus, an appropriate shutter speed, and a remote shutter or self-timer. Atmospheric conditions can also affect sharpness.
2. What focal length is best for solar eclipse photography?
There is no single best focal length. Around 100–200mm works well for wider compositions, while 300mm and longer lenses make the Sun larger and are better suited to tighter images.
3. Why are my Sun photos blurry?
Common causes include camera shake, inaccurate focus, vibration, unsuitable exposure settings, and atmospheric turbulence. Check each factor before assuming there is a problem with your camera or lens.
4. Should I use autofocus or manual focus for the Sun?
Manual focus can provide more consistent control. Magnified live view can help you fine-tune focus and check the Sun’s edges for maximum sharpness.
5. Can I use a regular ND filter to photograph the Sun?
Do not assume a regular photographic ND filter is safe for direct solar photography. Use a proper solar filter designed for solar imaging and follow the manufacturer’s safety instructions.
6. Can I photograph a total solar eclipse without a solar filter?
Only during totality of a total solar eclipse, when the Moon completely covers the bright solar surface. Solar filters are required during the partial phases before and after totality.
Final Takeaway
Sharp Sun and eclipse photos come down to controlling the factors you can control: stability, focus, exposure, and preparation.
Use a stable setup, fine-tune your focus, test your exposure, and pay attention to atmospheric conditions. Most importantly, always make proper solar protection part of your setup whenever the bright Sun is visible.