

Table of Contents
You don’t need a dedicated room or a large collection of equipment to build a functional home studio. A bedroom, home office, living room, or even a small corner can work as long as you make good use of the space you have.
For many creators, a small home studio can also double as a desk photography setup for product shots, tabletop videos, unboxing content, tutorials, or other small-scale projects.
The key is to start with the essentials: one good light, a way to position it, and the gear you actually need for what you shoot. From there, you can add modifiers, a second light, or other equipment as your needs grow.

Start with Your Space
Before buying equipment, look at the space you already have.
A bedroom, home office, living room, or unused corner can all become a practical shooting area.
Consider Your Shooting Distance
The amount of space you need depends on what you shoot.
· Talking-head videos and streaming require relatively little space.
· Desk photography and product videos can often be shot on a tabletop.
· Portraits need more distance between the camera and subject.
· Full-body videos require more shooting distance and floor space.
Think about where your camera will go, where your subject will sit or stand, and where your light needs to be positioned.
If your desk is also your shooting area, you don’t need to cover it with equipment.
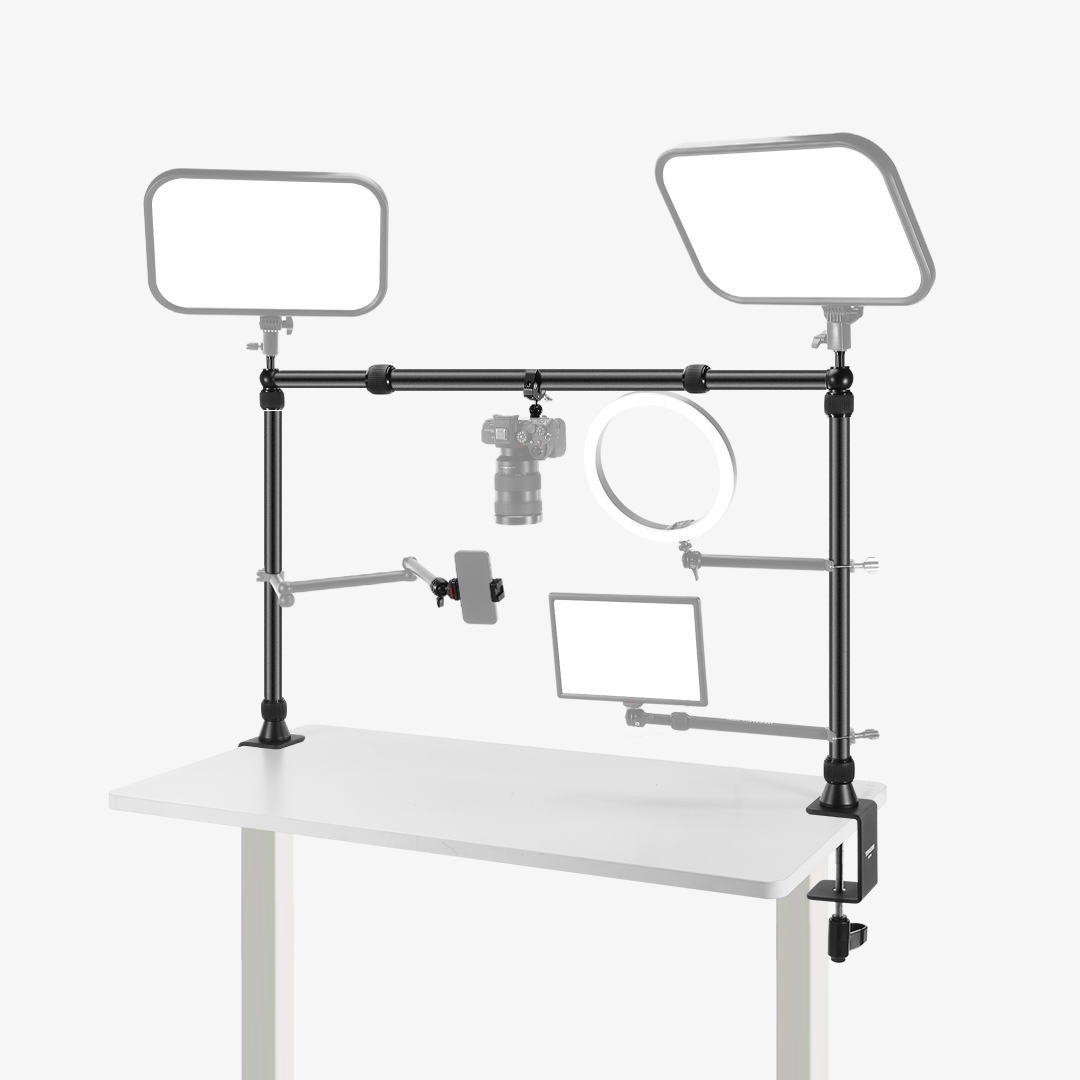
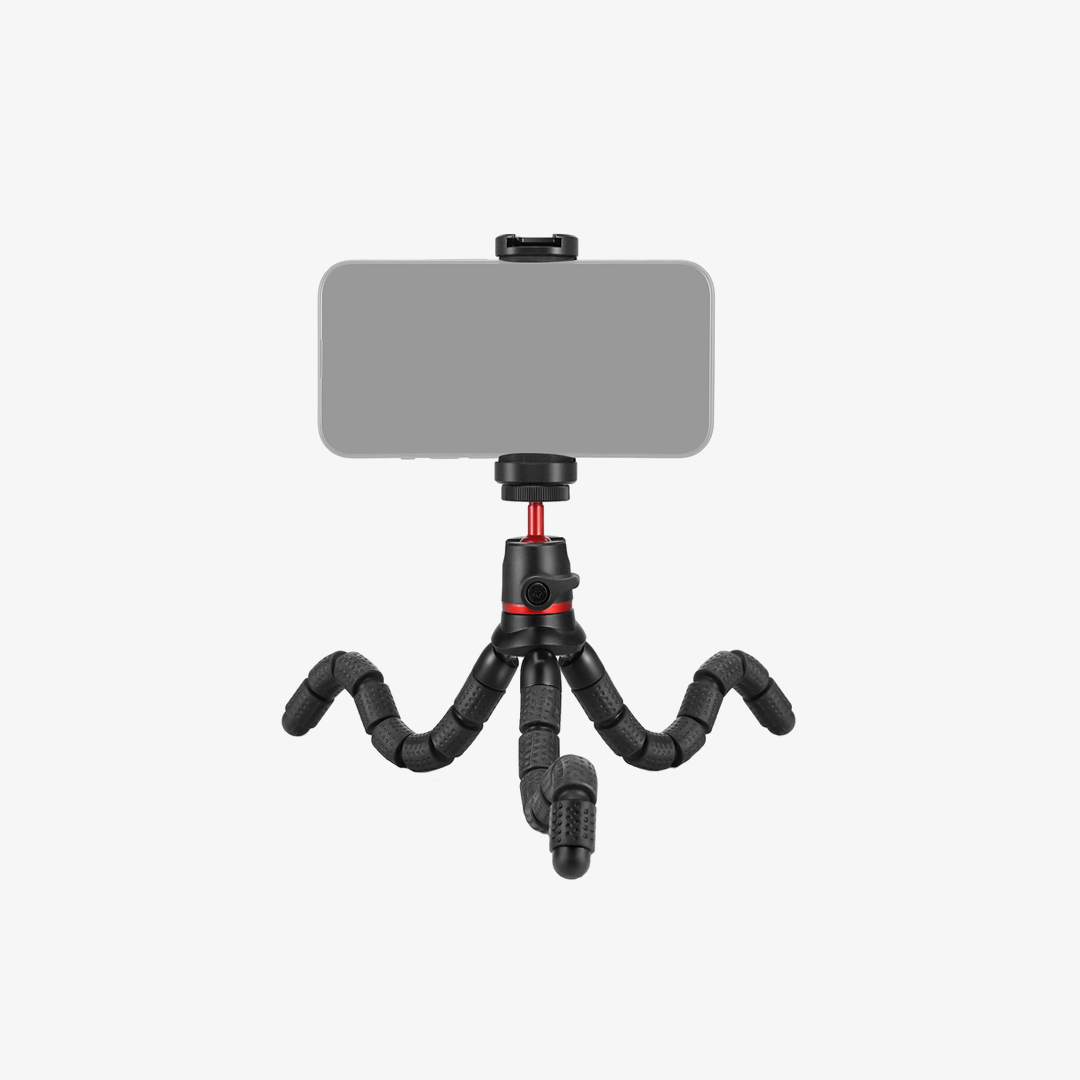
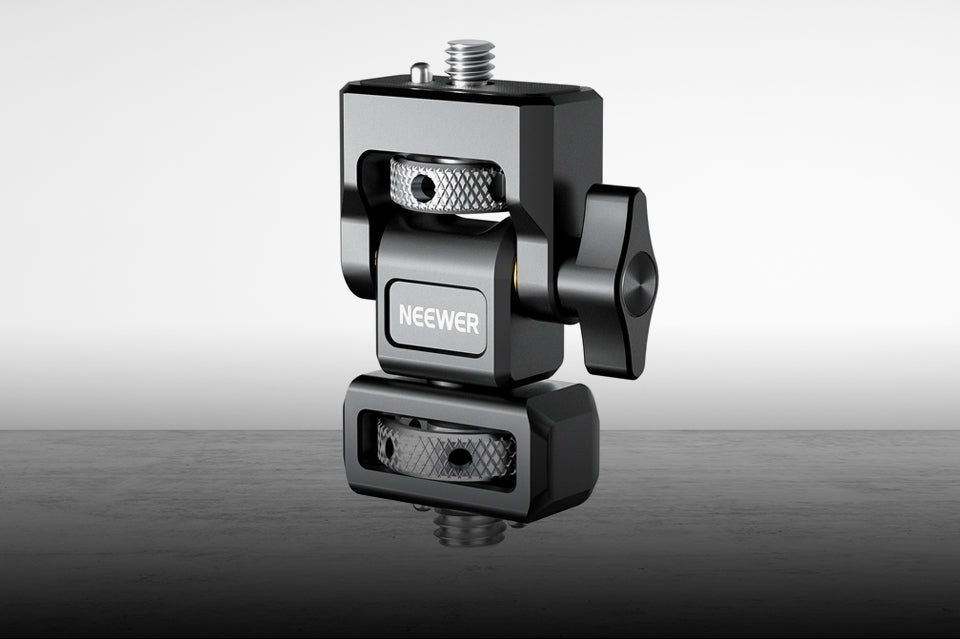
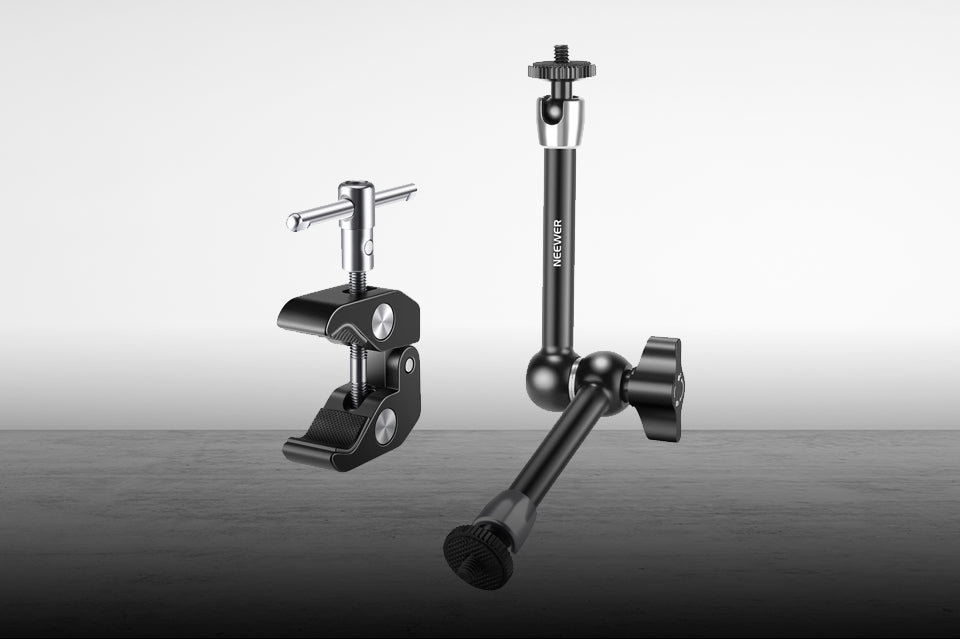
A desk-mounted support can keep your camera, phone, or light elevated while leaving more usable space for your subject.
This can be particularly useful for:
· Product photography
· Flat lays
· Food photography
· Unboxing videos
· Craft and DIY content
· Product demonstrations
The goal is simple: keep the equipment you need accessible without letting it take over your workspace.

Choose Your Key Light
For most beginners, one key light is enough to get started.
A key light is the main light illuminating your subject. Place it slightly to the side of the camera and above eye level, then adjust its distance and angle until the light looks natural.
1. LED Panel for Compact Setups
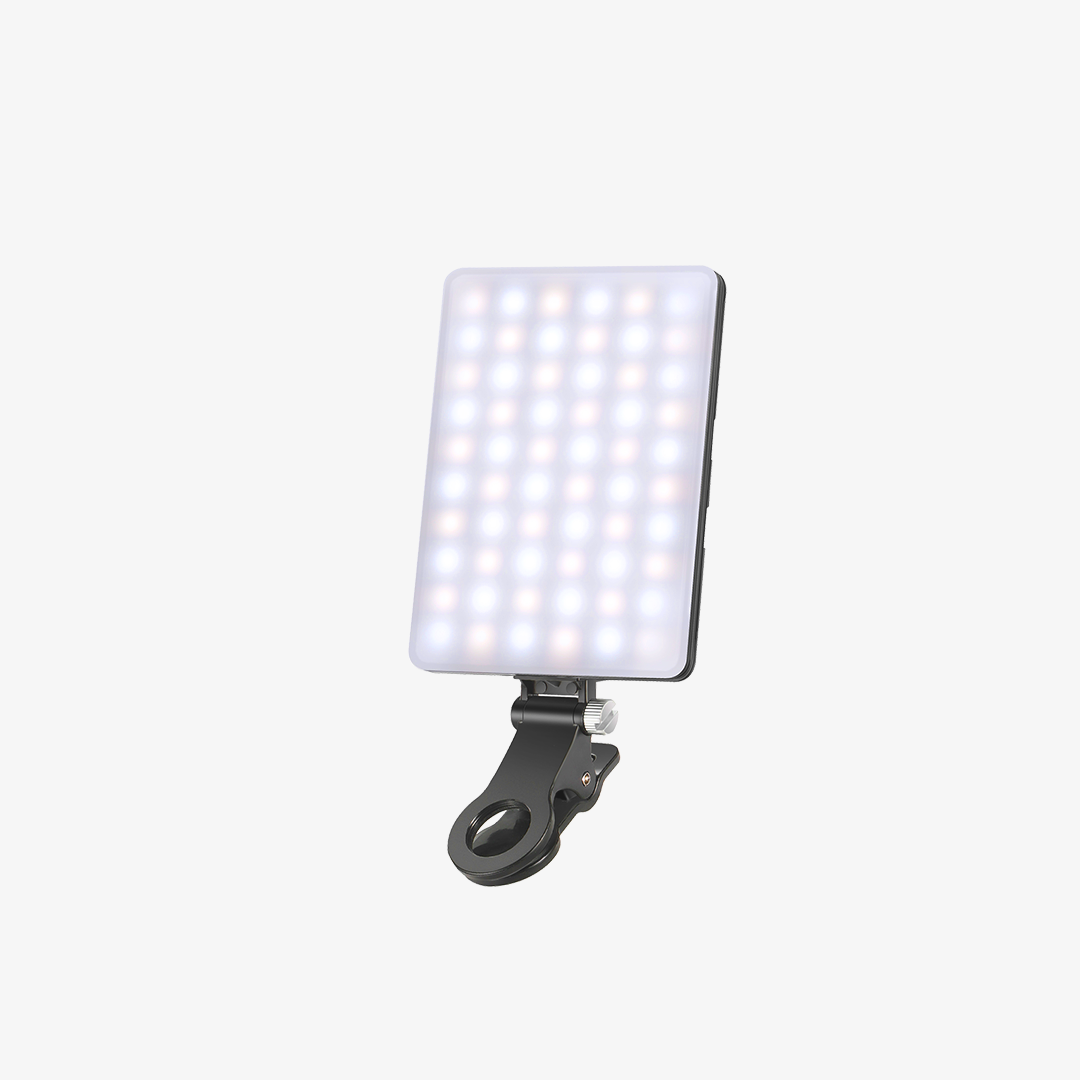
LED panels are a practical choice when space and simplicity are priorities.
They’re particularly useful for:
· Streaming
· Talking-head videos
· Video calls
· Desk-based content
· Small product photography
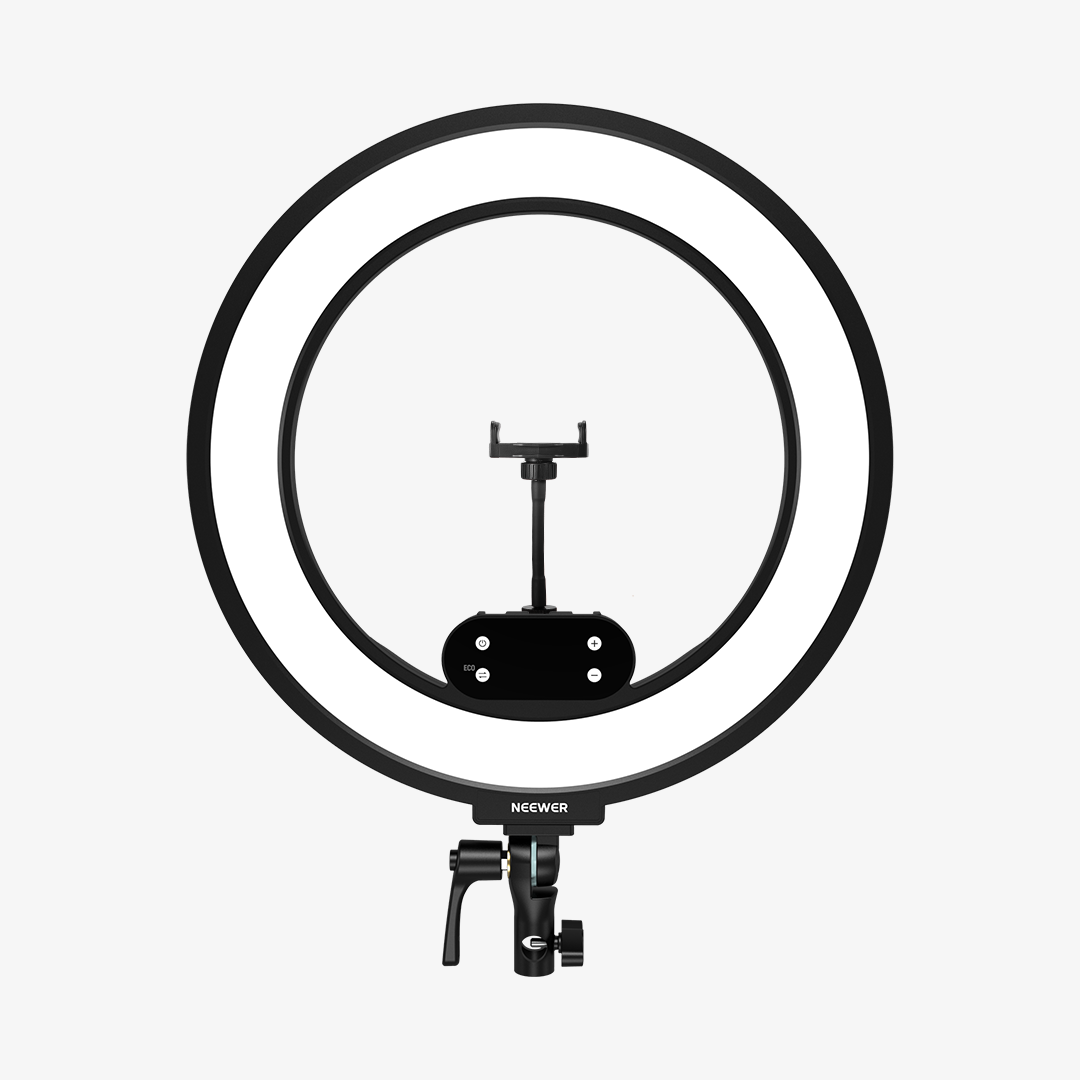
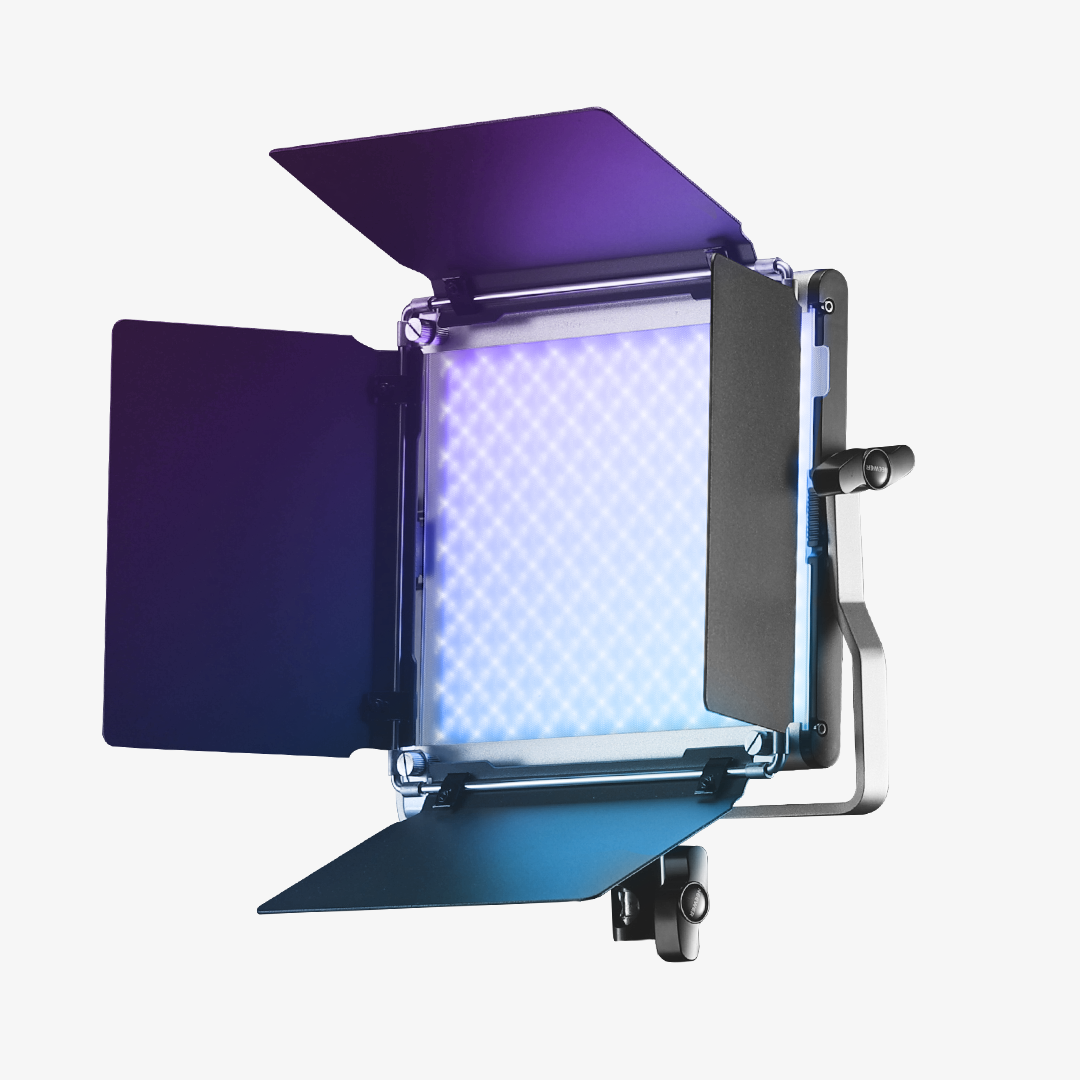
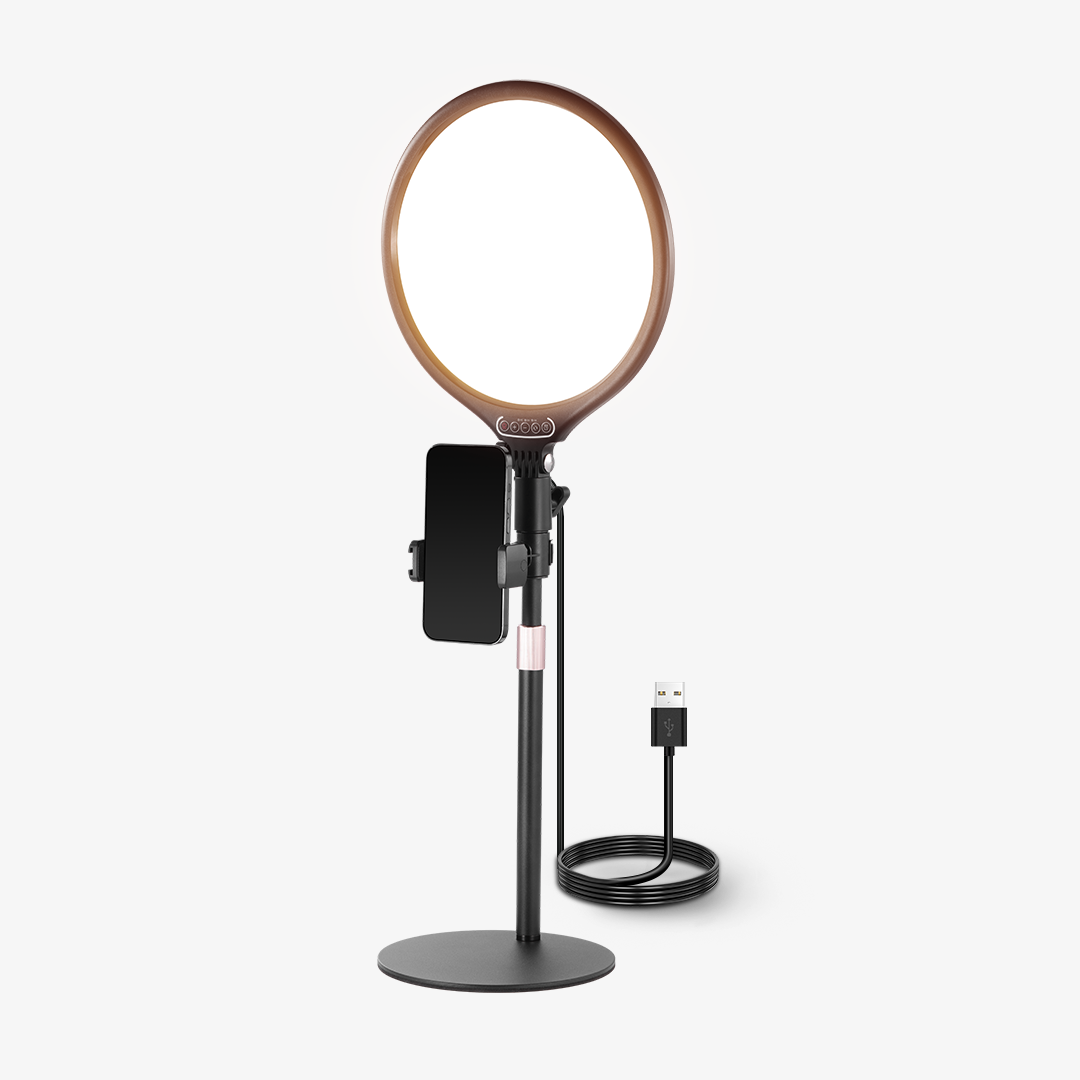
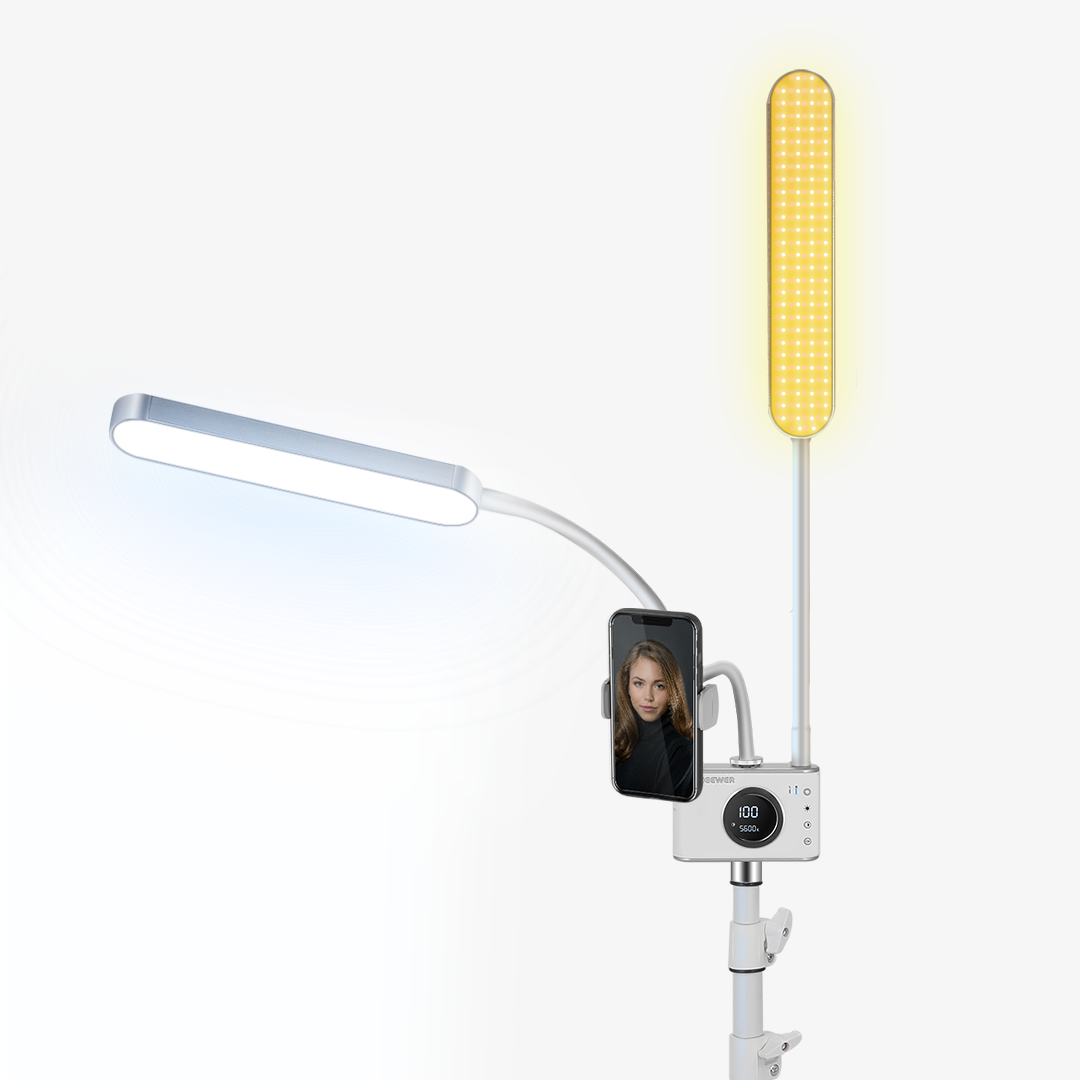
The NEEWER GL25B 12.9” Streaming Key Light is a good example of this type of setup. Its compact panel design and desk mounting option make it easy to integrate into a small workspace without requiring a full-size light stand.
For desk photography, the light can be positioned beside or above the shooting area to illuminate products and other small subjects.
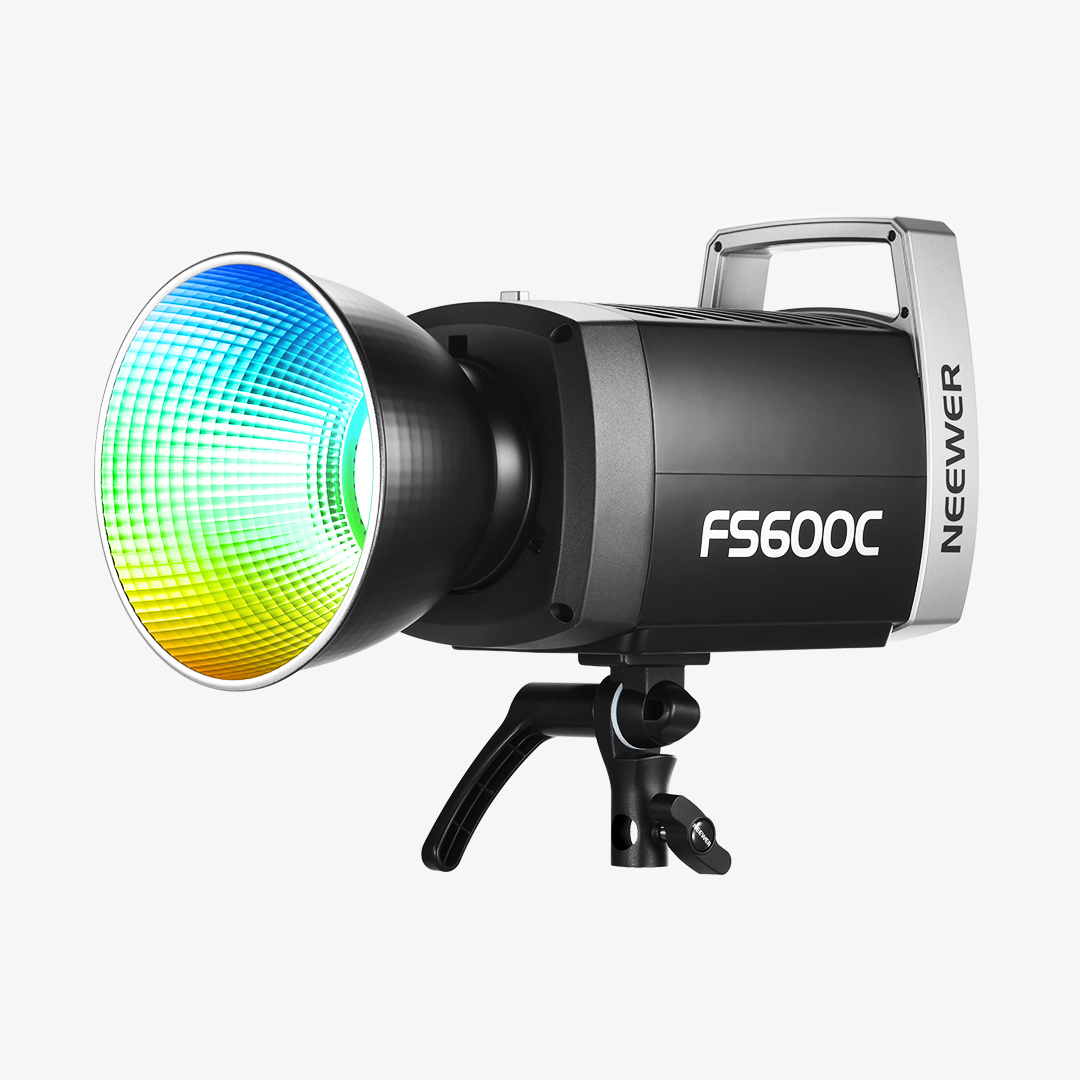
If you have more room and want greater control over the quality and direction of your light, a COB light can be a better option.
COB lights can be paired with modifiers such as softboxes and reflectors, making them useful for:
· Portraits
· YouTube videos
· Product photography
· Product videos
· More controlled lighting setups
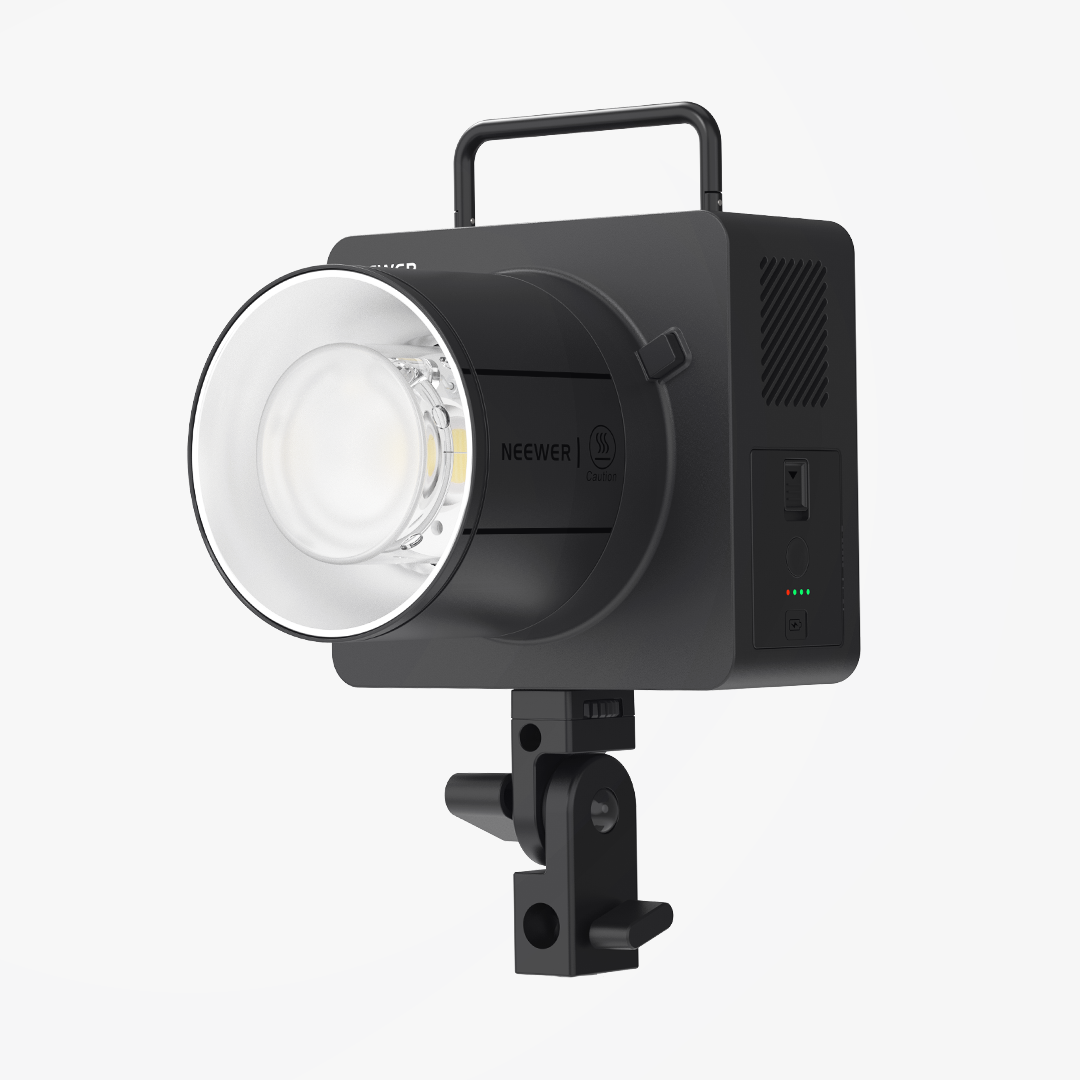
The NEEWER HB80C can work as a flexible key light when you want to move beyond a simple desktop setup.
Choose an LED panel when compactness is your priority. Consider a COB light when you want more control and flexibility.

How to Get Softer Light in a Small Home Studio
A light source can look very different depending on its size, distance, and modifier.
A bare light can produce stronger shadows, while a larger diffused light source can create softer and more flattering illumination.
1. Use a Softbox
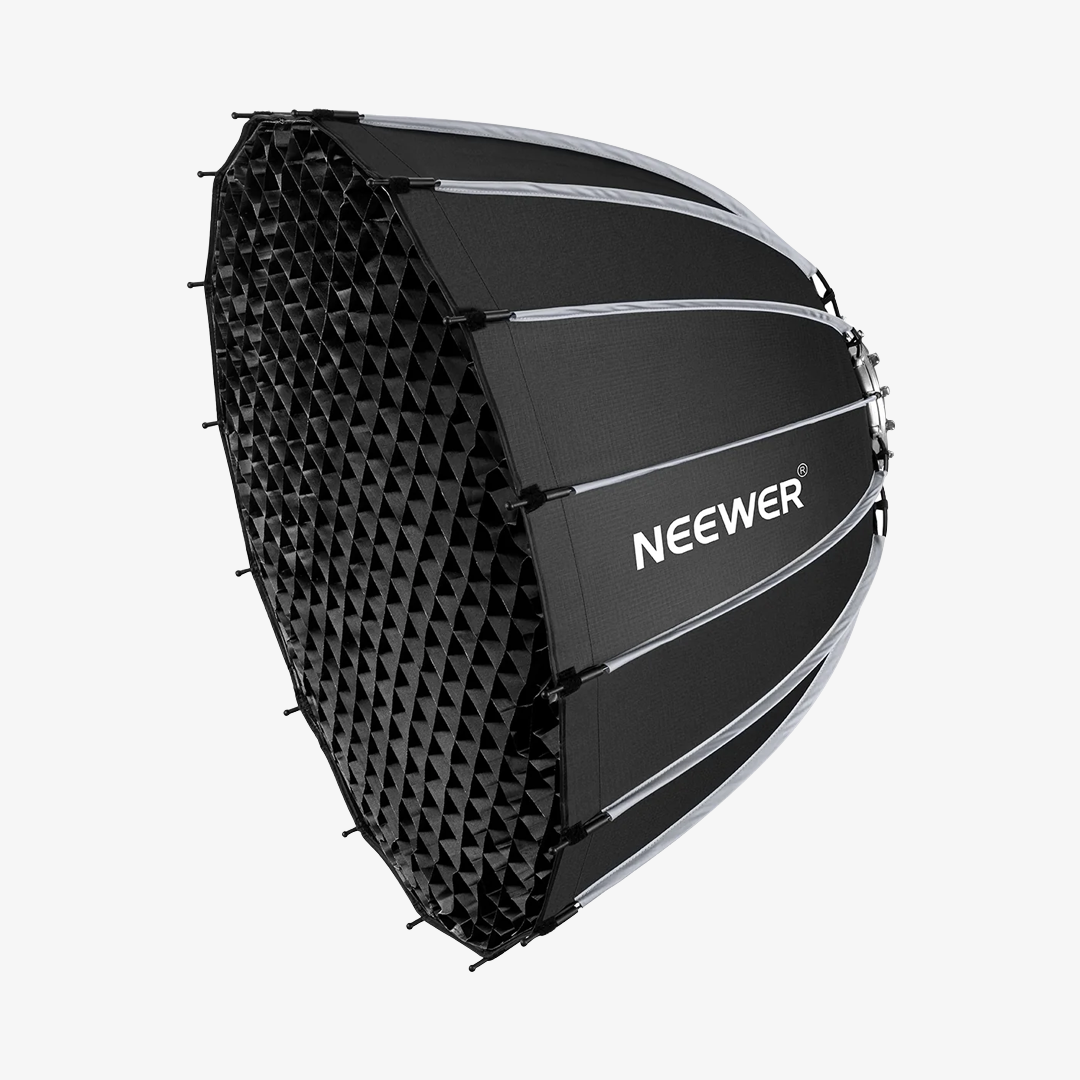
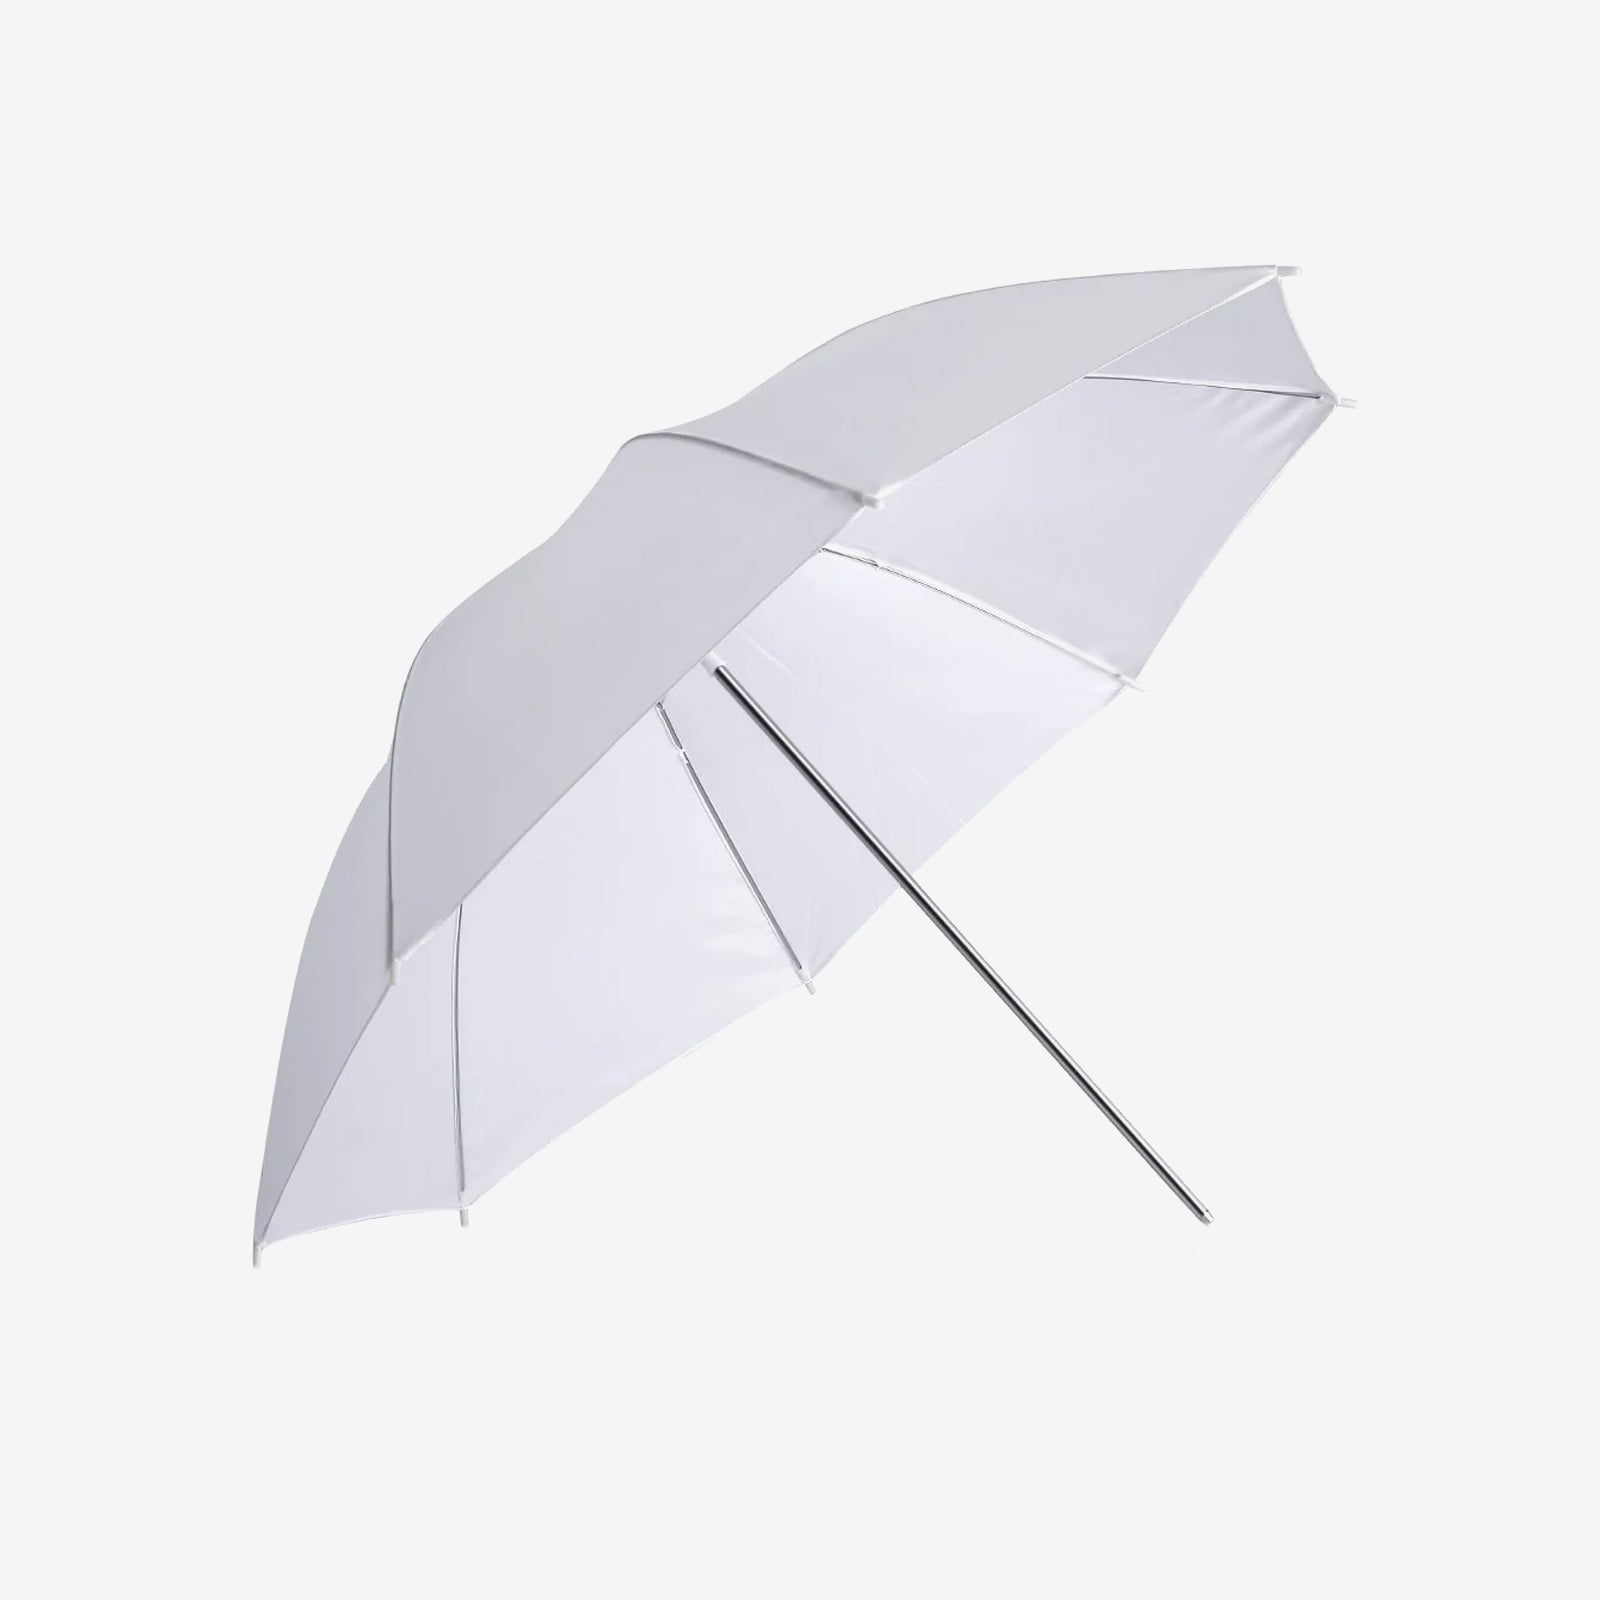
A softbox increases the apparent size of the light source, helping produce softer shadows and smoother transitions.
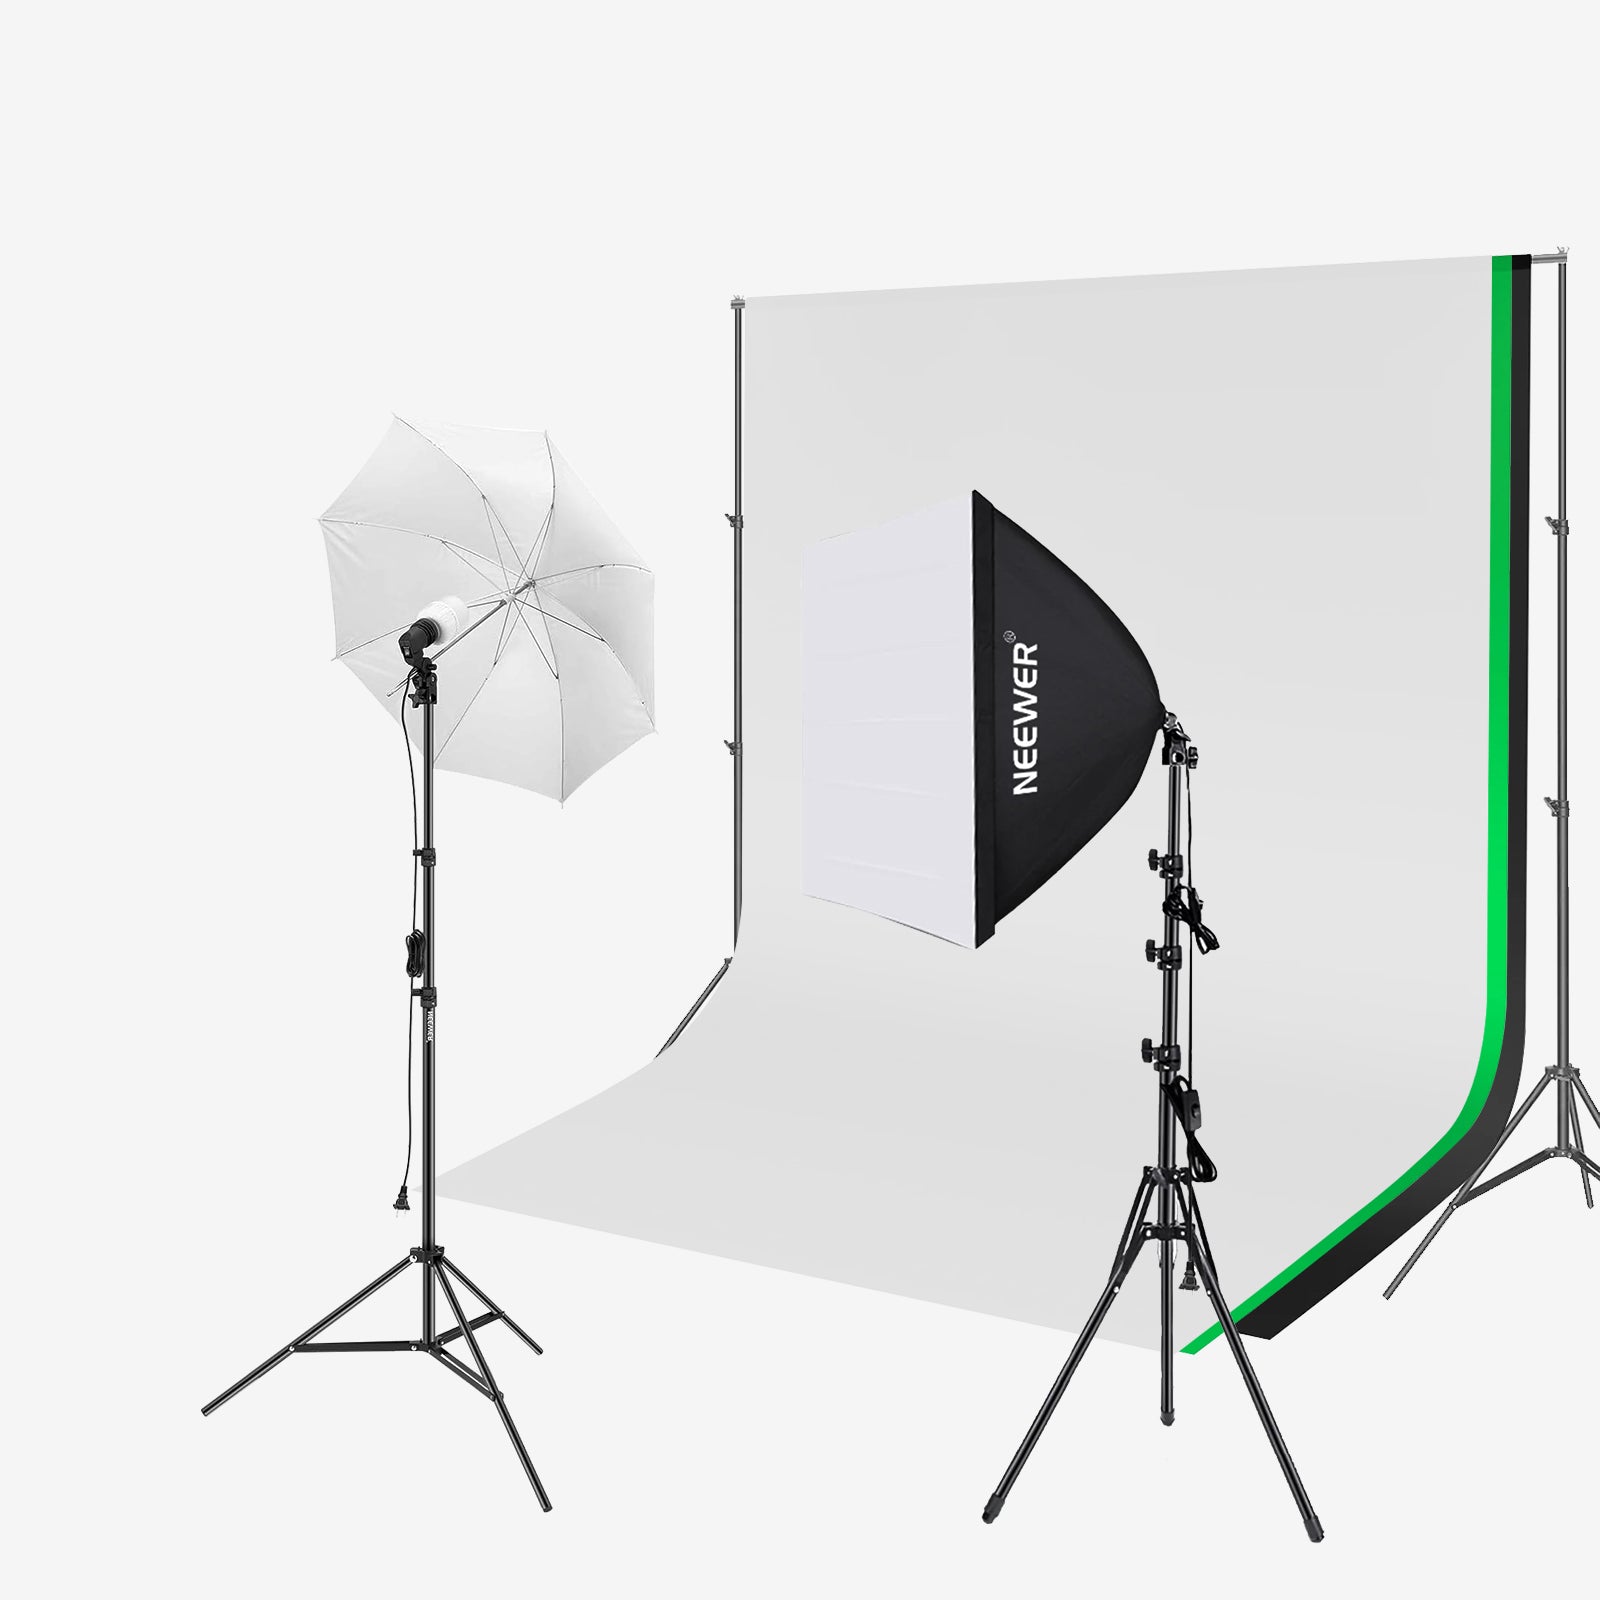
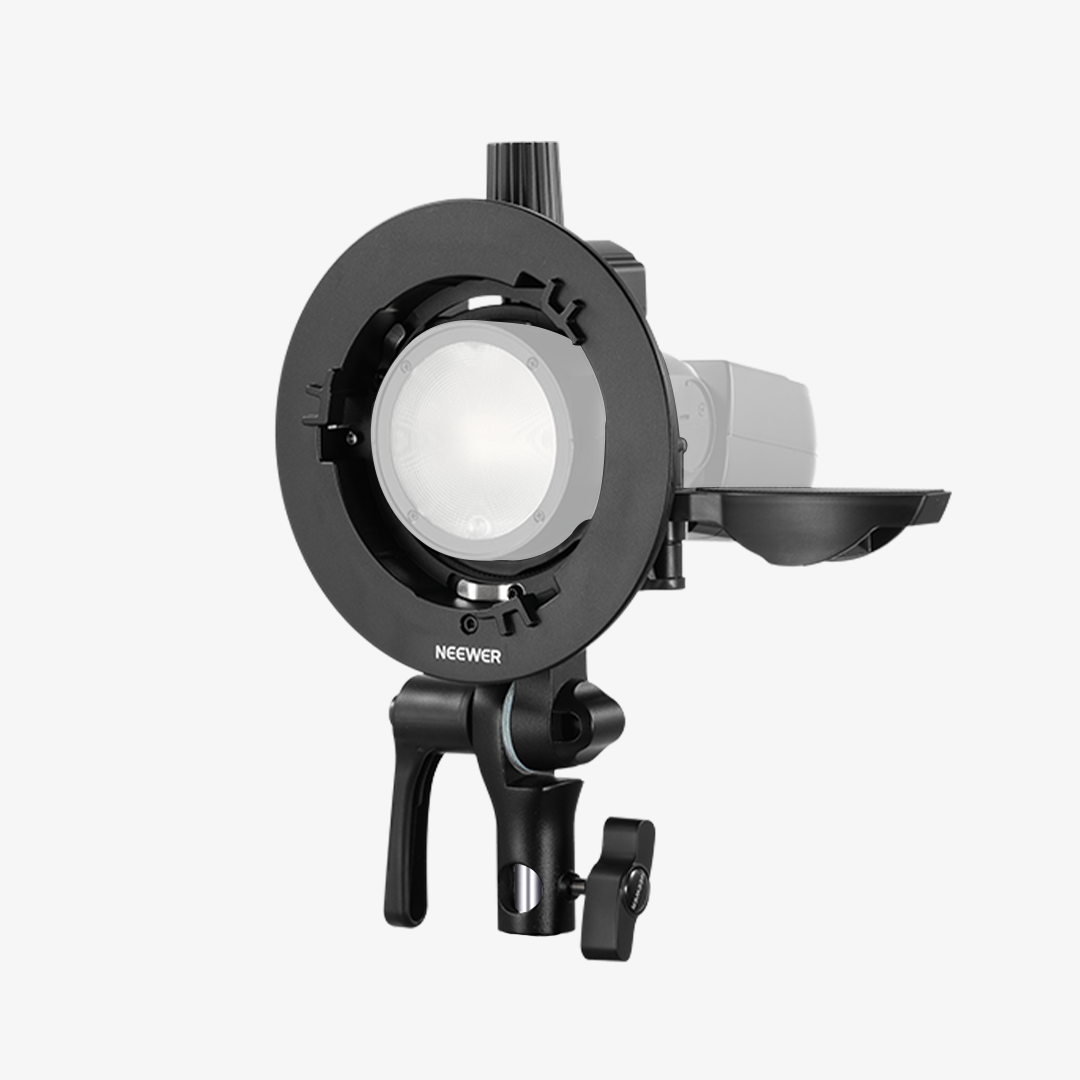
For a small home studio, you don’t necessarily need a large studio softbox. A compact softbox paired with a compatible COB light can provide softer light while keeping the setup manageable.
This can be useful for both people and products.
Before adding another light, try adjusting:
· The distance between the light and subject
· The height of the light
· The angle of the light
· The direction the subject is facing
For product photography, changing the light angle can also help control reflections and highlight the shape or texture of the product.
Save Space with the Right Mounting Solution
In a small studio, how you mount your equipment can be just as important as what equipment you buy.
1. Use a Desk Mount for Tabletop Shooting
Desk-mounted equipment is particularly useful when you have limited floor space.
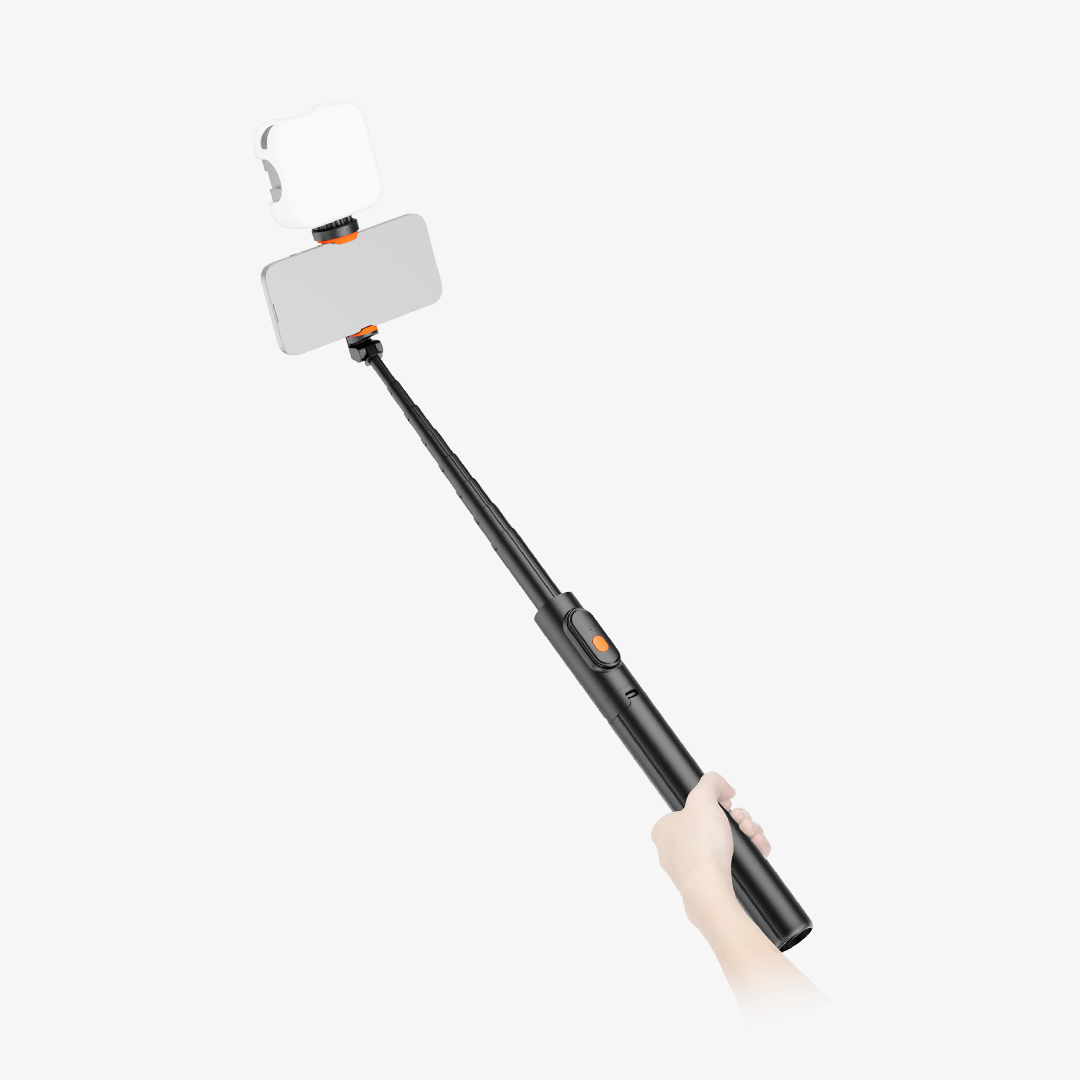
Depending on your setup, a desk mount can hold or position a light, camera, or smartphone above or beside your workspace.
This is useful for:
· Desk photography
· Product demonstrations
· Streaming
· Tutorials
· Overhead shots
· Small-space content
Keeping equipment off the desk can also give you more room to arrange products, props, or other objects.
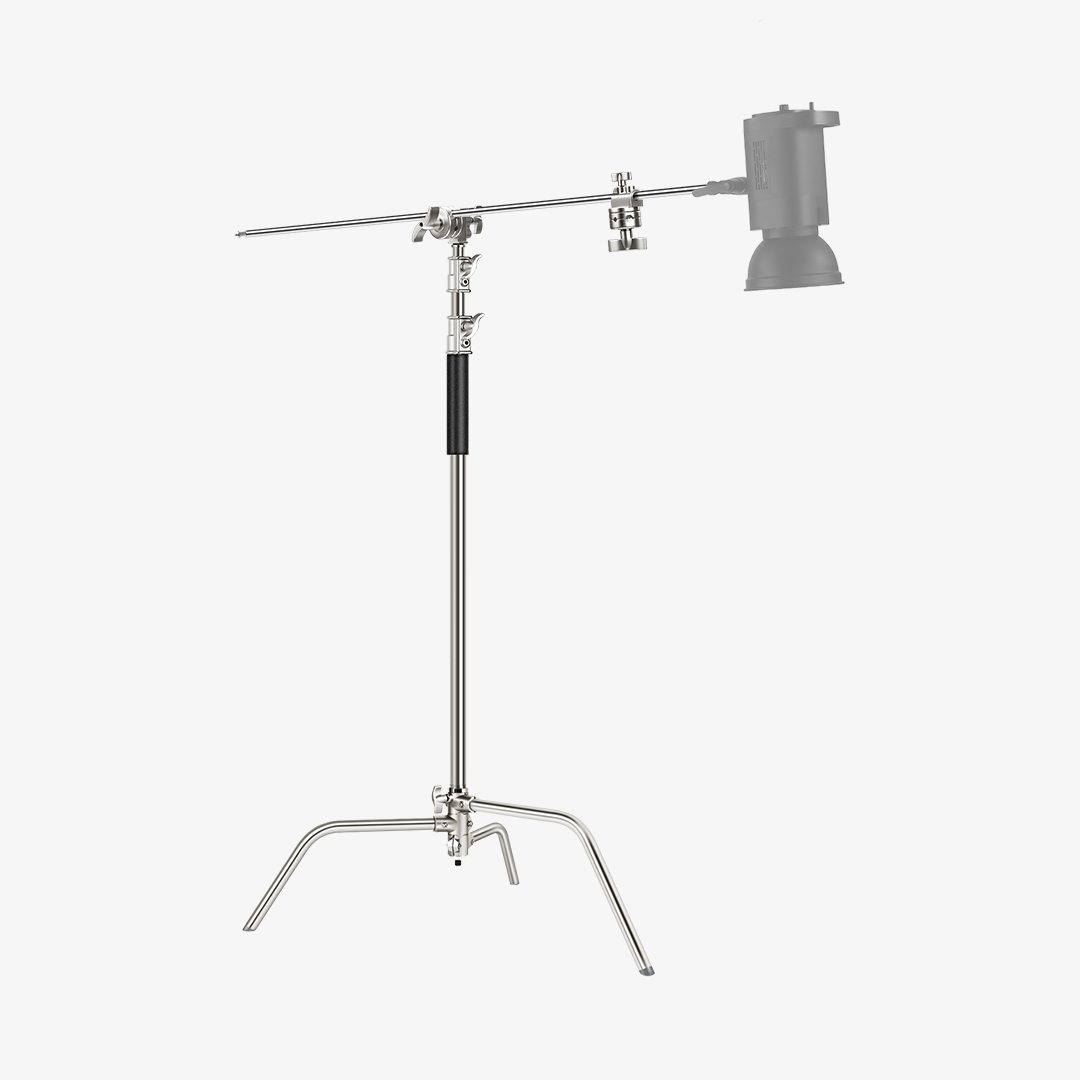
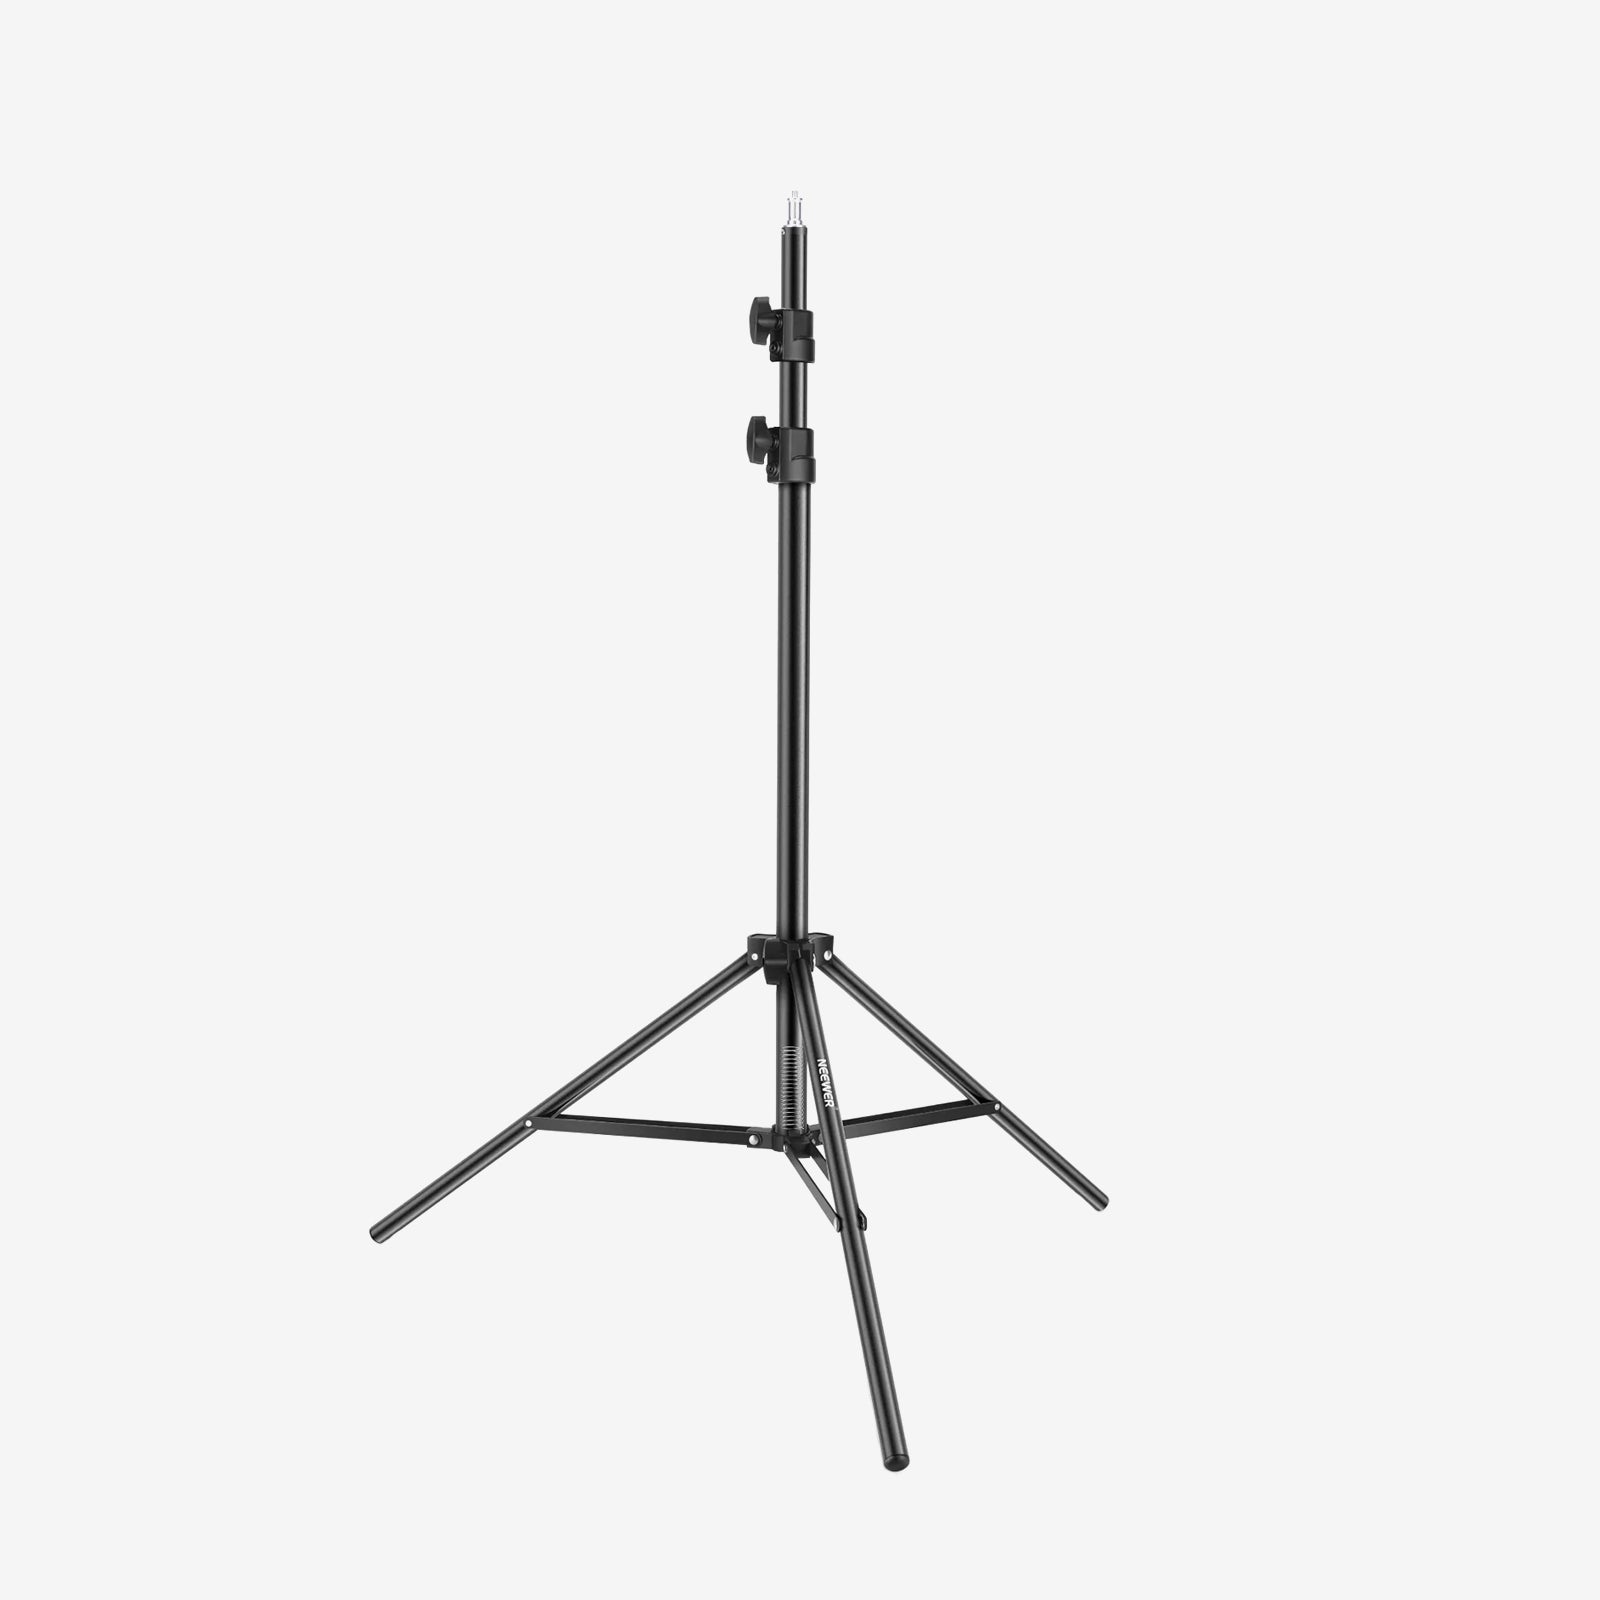
2. Use a Light Stand When You Need More Flexibility
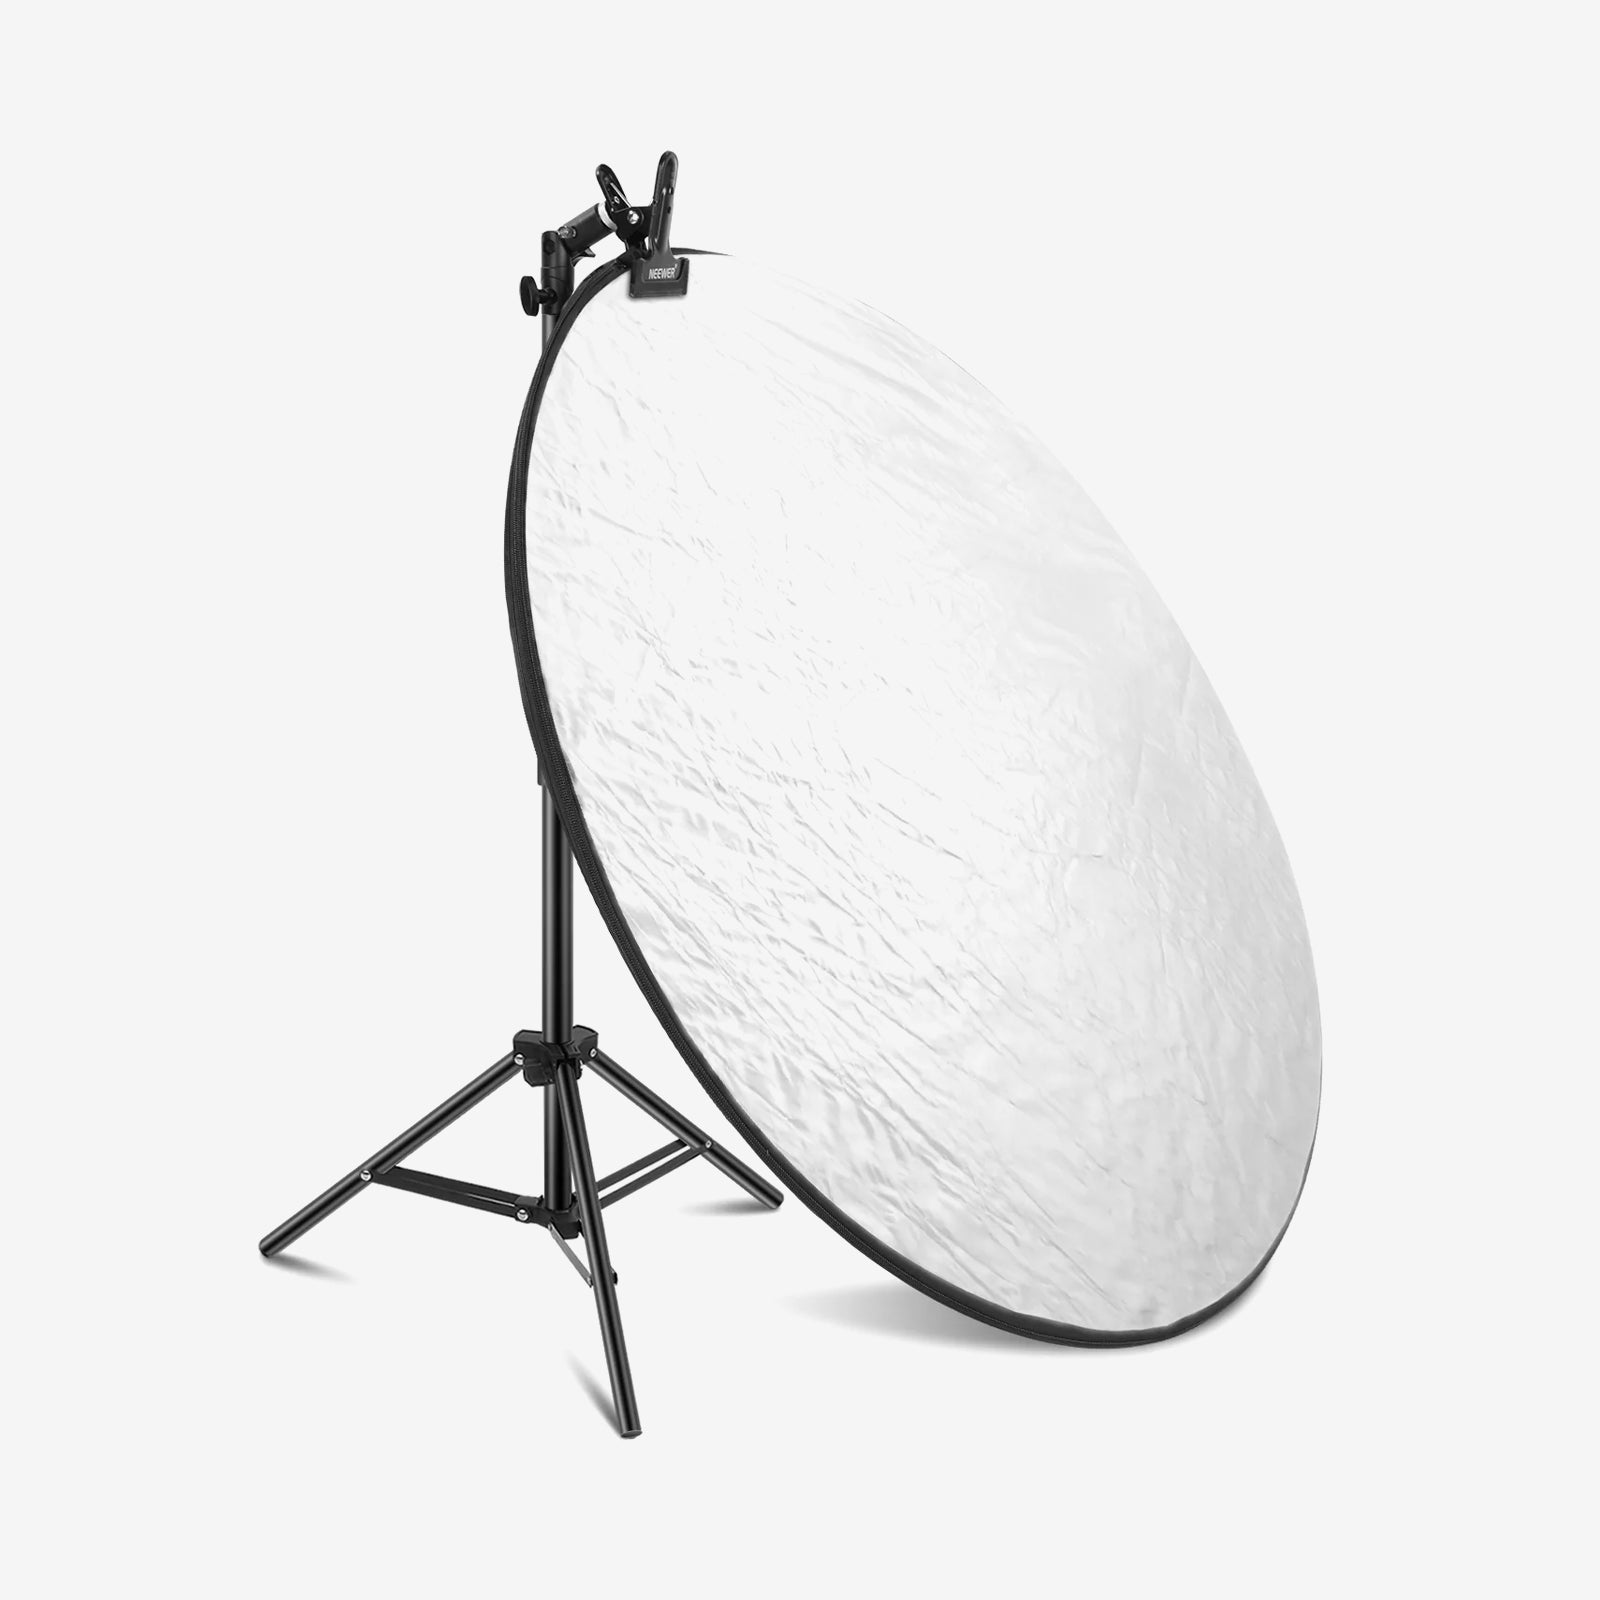
A light stand makes more sense when you need to move your light around the room or use a larger modifier.
The NEEWER ST-200 Light Stand is an option when you need more height and positioning flexibility for a home studio lighting setup.
It can be useful for:
· Portraits
· YouTube videos
· Softboxes
· Larger shooting areas
A simple way to think about it is:
Use a desk mount when saving space is the priority. Use a light stand when positioning flexibility is more important.

When Do You Need a Second Light?
You don’t need multiple lights just because traditional studios often use them.
A second light becomes useful when you want to:
· Separate your subject from the background
· Add depth to the scene
· Create rim or accent lighting
· Add color to your background
Background and Accent Lighting
A small light placed behind or beside your subject can brighten the background and create more separation.
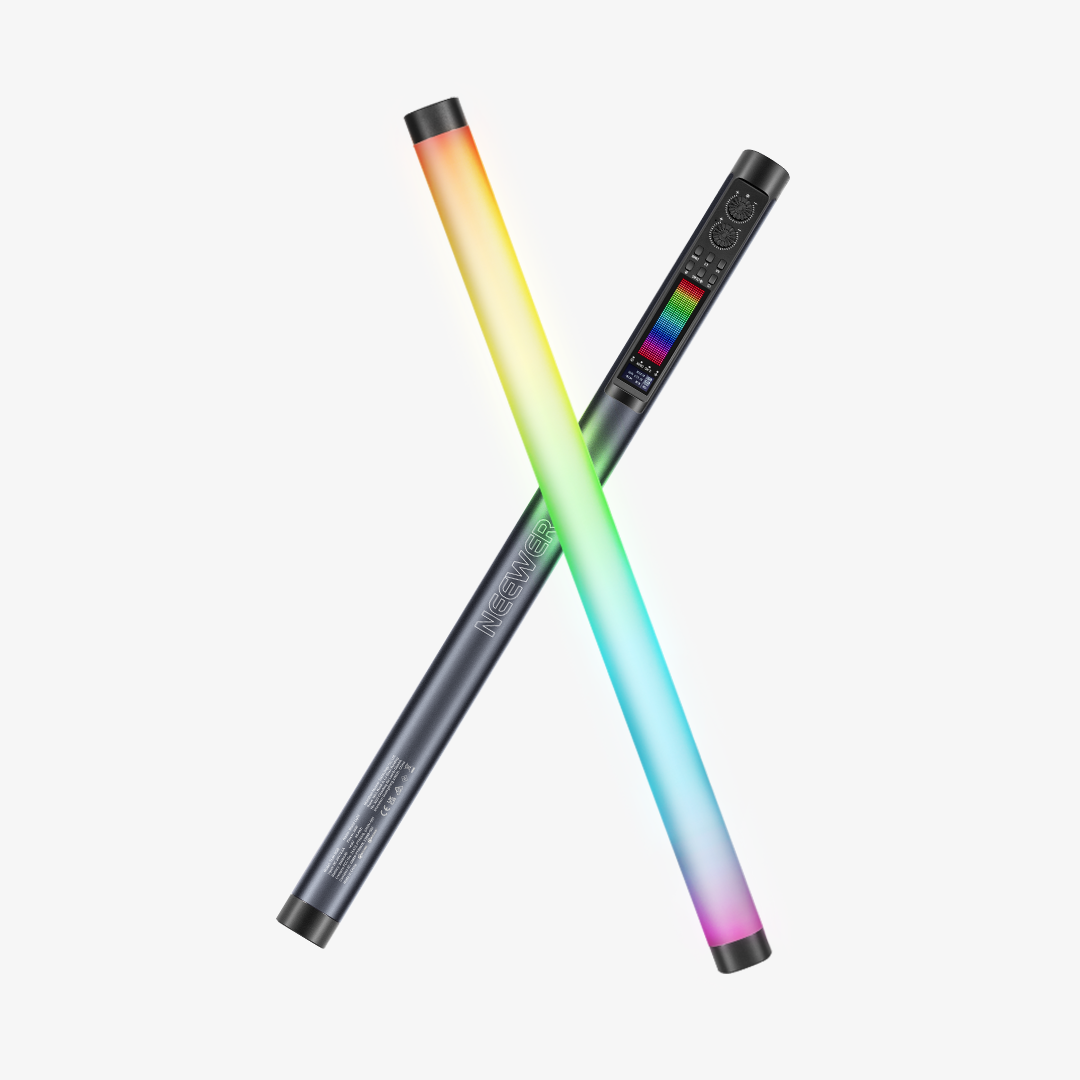
For creative videos, an RGB tube light such as the NEEWER TL120C can also be used as a background or accent light.
The important thing is to add a second light because you have a specific lighting goal—not simply because a studio is supposed to have multiple lights
Don’t Forget Audio
Good lighting can improve the look of your video, but good audio is just as important for content creation.
If you’re recording yourself speaking, consider adding a dedicated microphone.
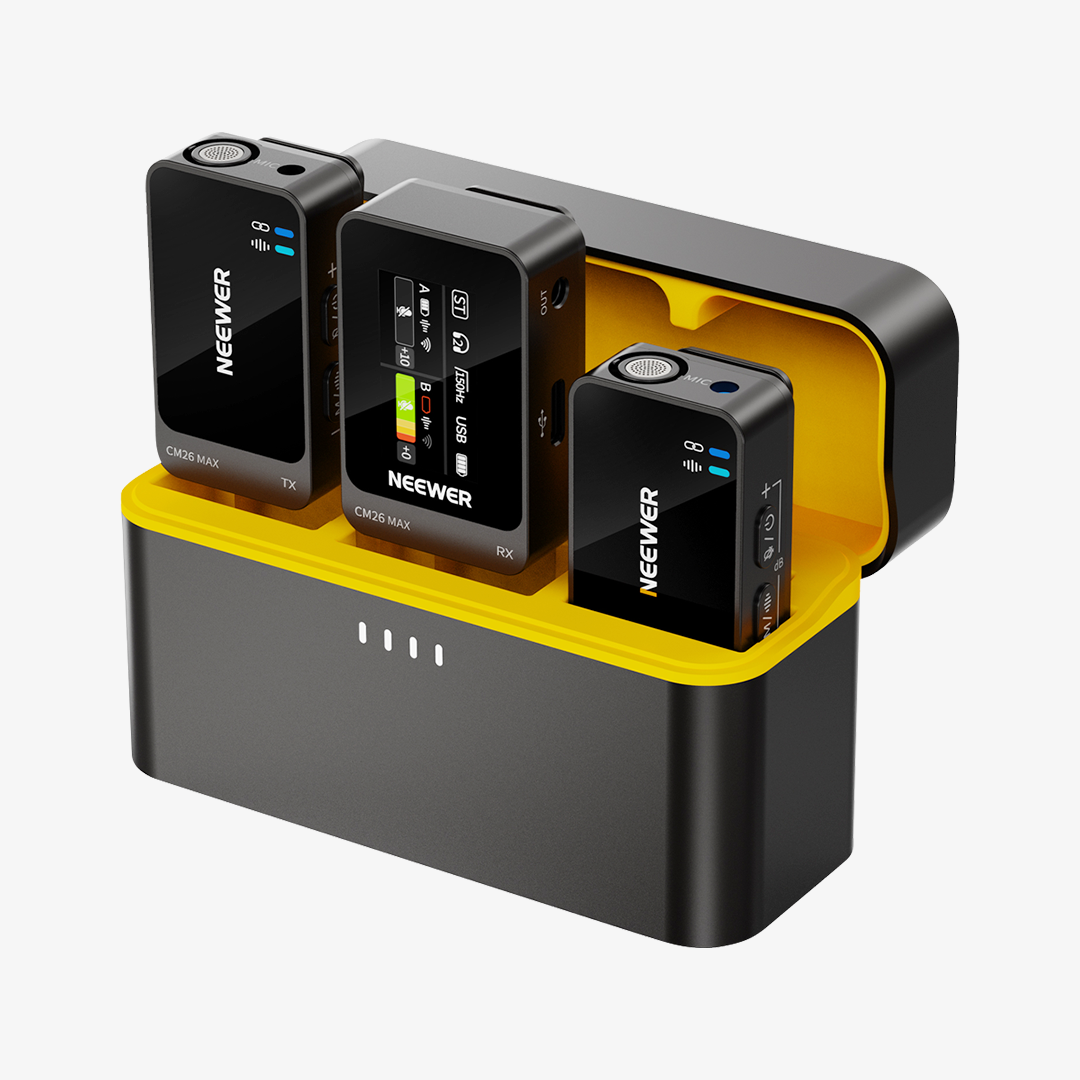
A compact wireless microphone such as the NEEWER CM28 can be useful for:
· YouTube videos
· Streaming
· Tutorials
· Interviews
· Talking-head content
For a small home studio, choose audio equipment that is easy to set up and doesn’t take up unnecessary desk space.
Choose Your Setup Based on What You Shoot
There isn’t one perfect home studio setup for everyone. The right equipment depends on your content and available space.
|
Use Case |
Recommended Setup |
|
Streaming |
LED Panel + Desk Mount + Microphone |
|
Talking-Head Videos |
LED Panel + Desk Mount + Microphone |
|
Desk Photography |
LED Light + Desk Mount |
|
Product Photography |
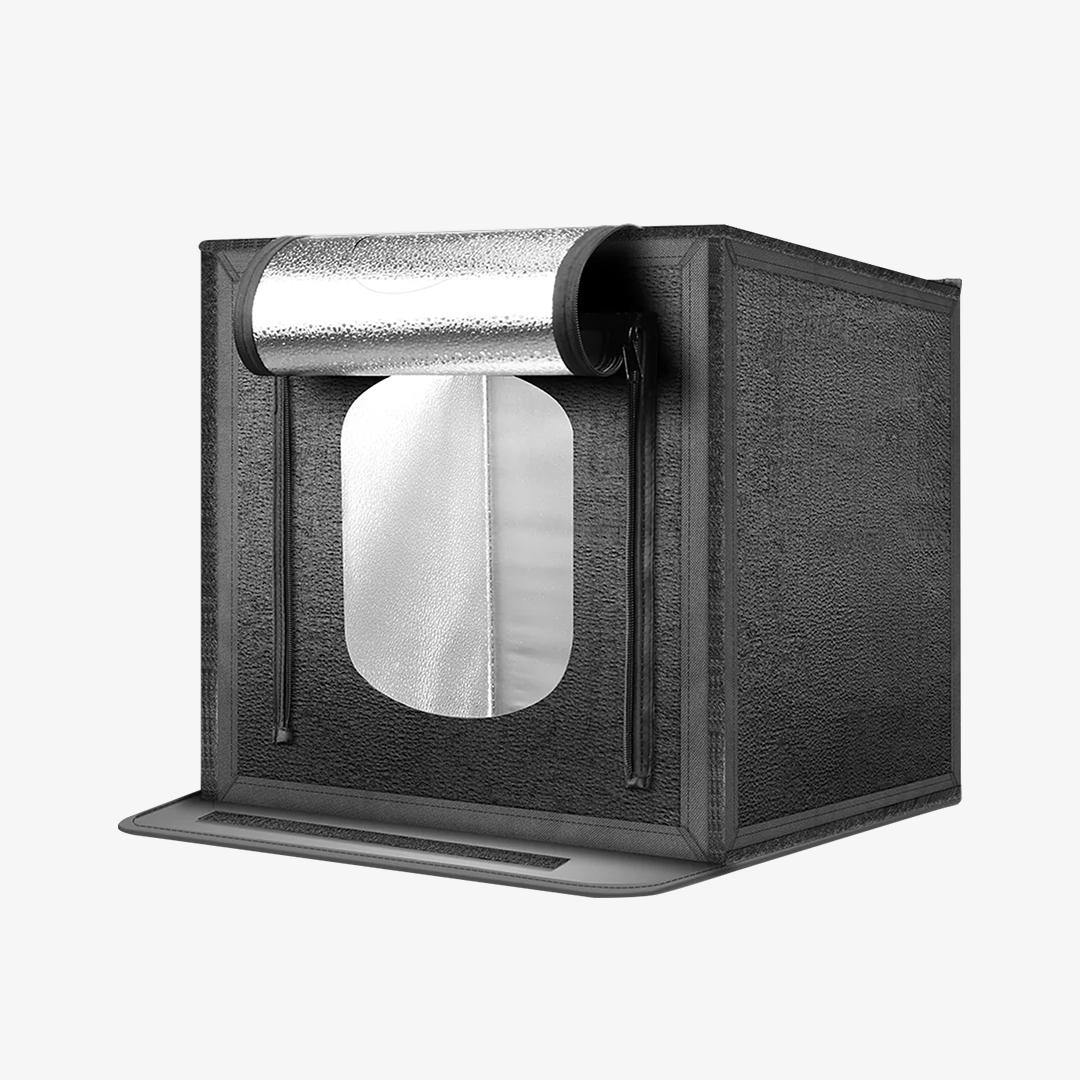
COB Light + Softbox + Mount |
|
YouTube |
COB Light + Softbox + Light Stand + Microphone |
|
Portraits |
COB Light + Softbox + Light Stand |
|
Creative Video |
Key Light + RGB Tube Light + Microphone |
These are starting points rather than fixed rules. You can simplify or expand each setup depending on your room and shooting style.

Build Your Home Studio One Step at a Time
You don’t need to buy everything at once. Start with the setup that matches your most common type of content, then add equipment as your needs change.
LED Panel + Desk Mount
Best for:
· Streaming
· Talking-head videos
· Desk photography
· Product demonstrations
· Very small rooms
This setup keeps the floor clear and works well when your desk is also your shooting area.
COB Light + Softbox + Light Stand
Best for:
· YouTube
· Portraits
· Product photography
· Product videos
· More controlled lighting
This setup takes more space but gives you greater control over light direction and softness.
Key Light + Softbox + RGB Tube Light + Microphone
Best for:
· Creative videos
· Reels and short-form content
· Music or performance videos
· Stylized backgrounds
Add the RGB light when you want to shape the background or create a more distinctive visual style.
FAQs
1. How much space do I need for a small home studio?
You don’t need a dedicated room. A desk, bedroom corner, home office, or small section of a living room can work for many types of content.
2. How many lights do I need for a home studio?
One key light is enough for most beginner setups. Add a second light when you need background separation, rim lighting, or creative effects.
3. Is an LED panel or COB light better for a small home studio?
An LED panel is generally easier to integrate into a space-constrained setup, while a COB light offers more flexibility when paired with modifiers such as softboxes.
4. Do I need a light stand for a small home studio?
Not always. A desk mount is often more practical for streaming and tabletop content, while a light stand is useful when you need more height, movement, or space for a softbox.
5. What equipment does a beginner need for a home studio?
A basic setup can start with one key light and a suitable mount. Add a microphone, softbox, light stand, or second light only when your content requires them.
Final Takeaway
Building a home studio is less about having a lot of equipment and more about using a small number of tools effectively.
Start with a compact key light for desk-based content and small spaces. If you need more control for portraits or product photography, consider a COB light with a softbox. Add a desk mount when tabletop space is limited, or a light stand when you need more flexibility.
Start small, make the most of your space, and build your studio around what you actually shoot.