

Table of Contents
Small-product photography does not always require flash heads or a permanent studio. An LED panel lets you see the shadows, reflections, and background brightness before taking the picture. The trade-off is power: a compact panel works best at close range in a controlled environment.
Quick answer: Use an LED panel for product photography when you need visible, adjustable light for tabletop subjects. Position it close to the product at roughly a 45-degree angle, match its color temperature to the ambient light or turn off other lights, and use a tripod if the lower output requires a longer exposure.
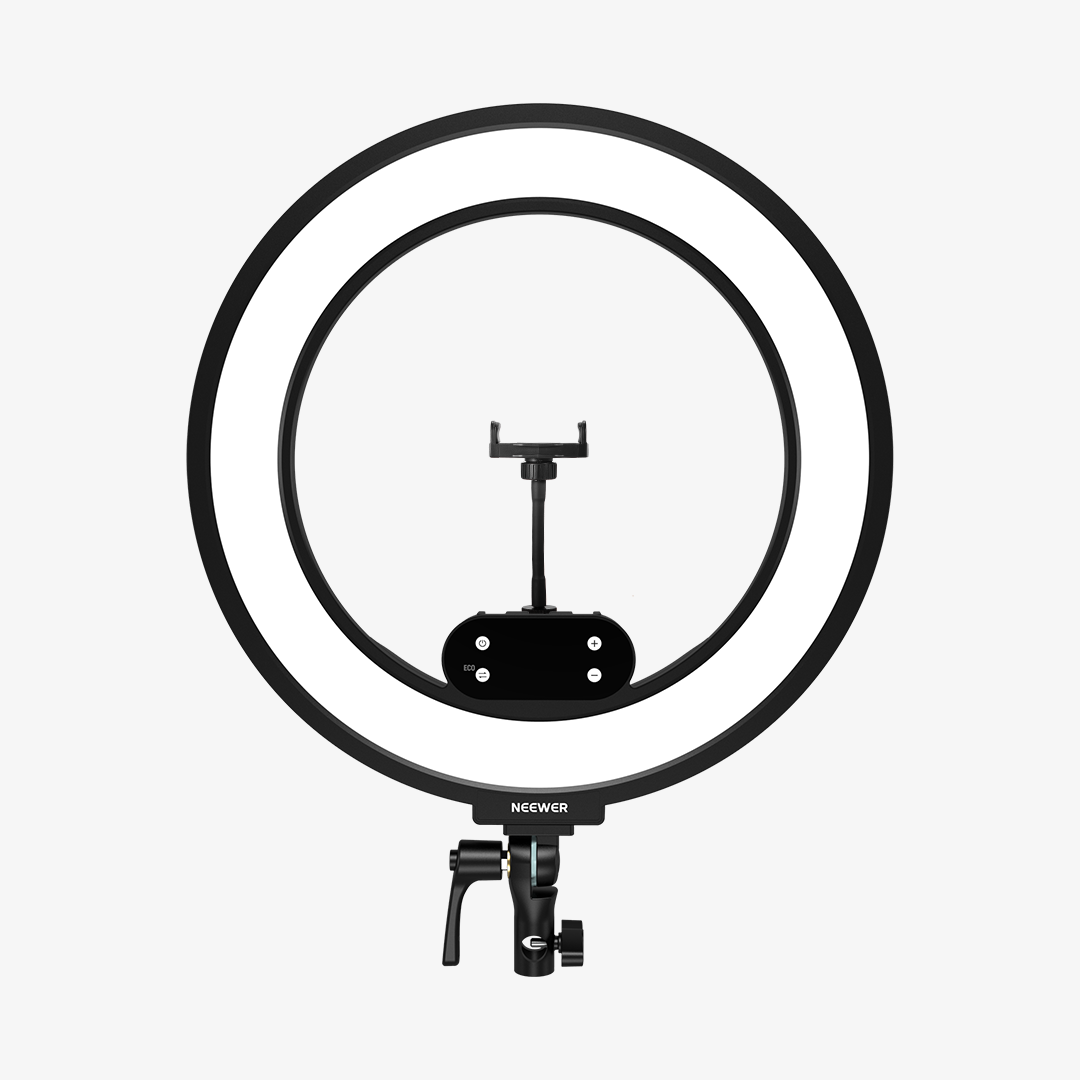
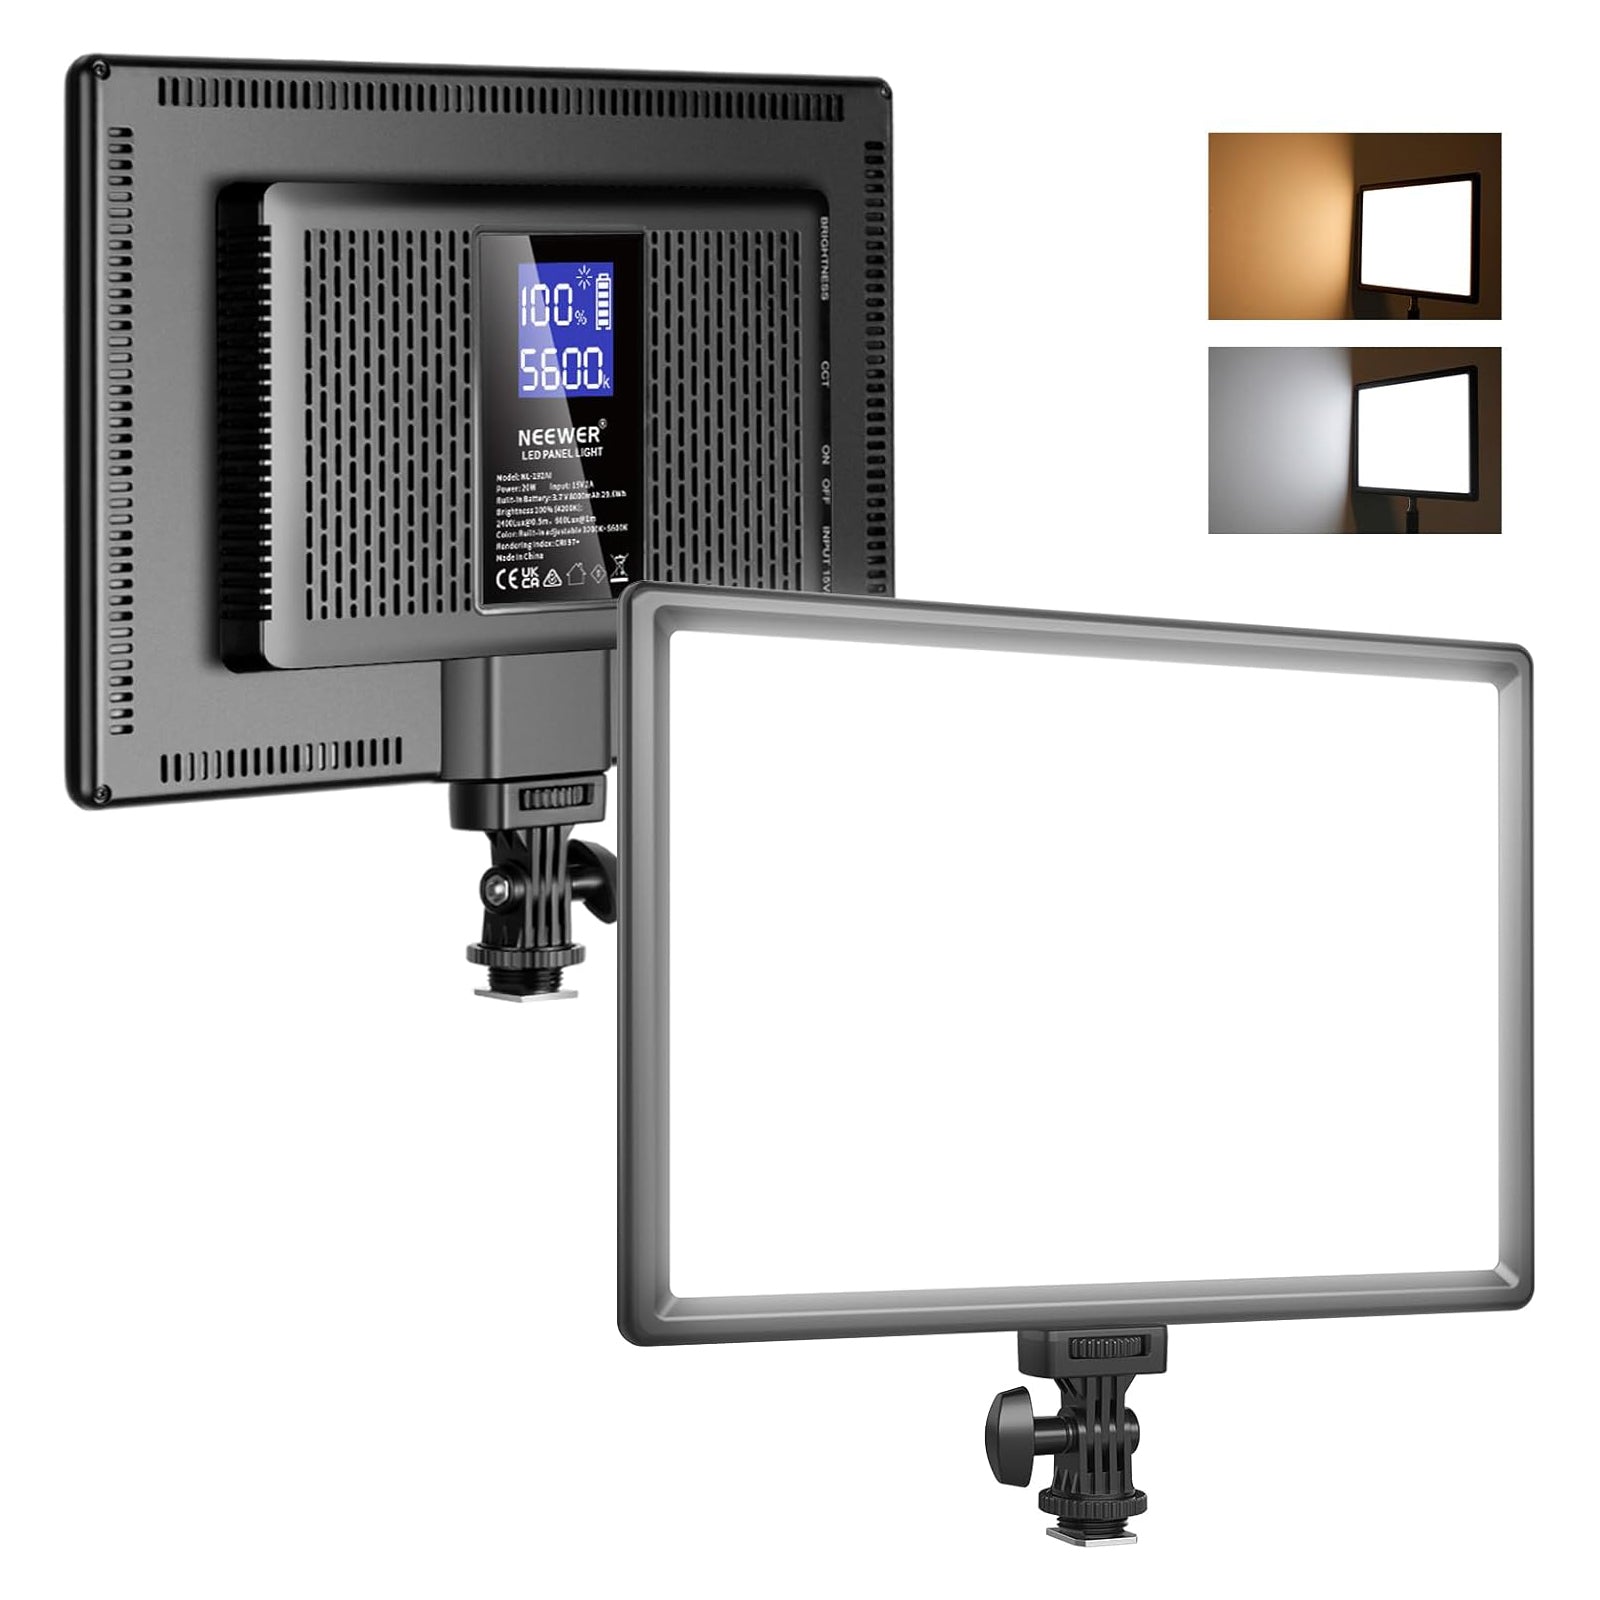
The NEEWER NL-192AI Bi-Color LED Panel Light is a practical example. Its 20W output, 3200–5600K colour-temperature range, 0–100% dimming, built-in battery, and broad panel design make it suitable for small e-commerce products, craft listings, food details, and product videos. It is less suitable when you need to freeze fast action or illuminate a large set from a distance.
Why Use Continuous LED Lighting for Product Photos?
Continuous lighting lets you see its effect in real time. Move the panel and the highlight moves; lower the brightness and the shadow side becomes darker. This is particularly helpful when photographing glossy packaging, glass, metal, fabric, or food.
At close range, a panel can create a smoother transition from highlights to shadows than a small bare bulb. Move it closer for softer light or farther away for harder shadows.
Continuous LED panels deliver less instantaneous output than flash. For static products, use a tripod, a low ISO setting, and a longer shutter speed. Moving subjects or large sets may require a strobe or a more powerful COB light.
LED Panel vs Other Product Photography Lights
Choose the light based on the subject's behaviour and your workflow, rather than on a single specification.
| Light type | Best fit | Main advantage | Main limitation |
|---|---|---|---|
| Compact LED panel | Small products, crafts, food, video clips | You can see reflections and shadows before shooting | Limited reach on larger sets |
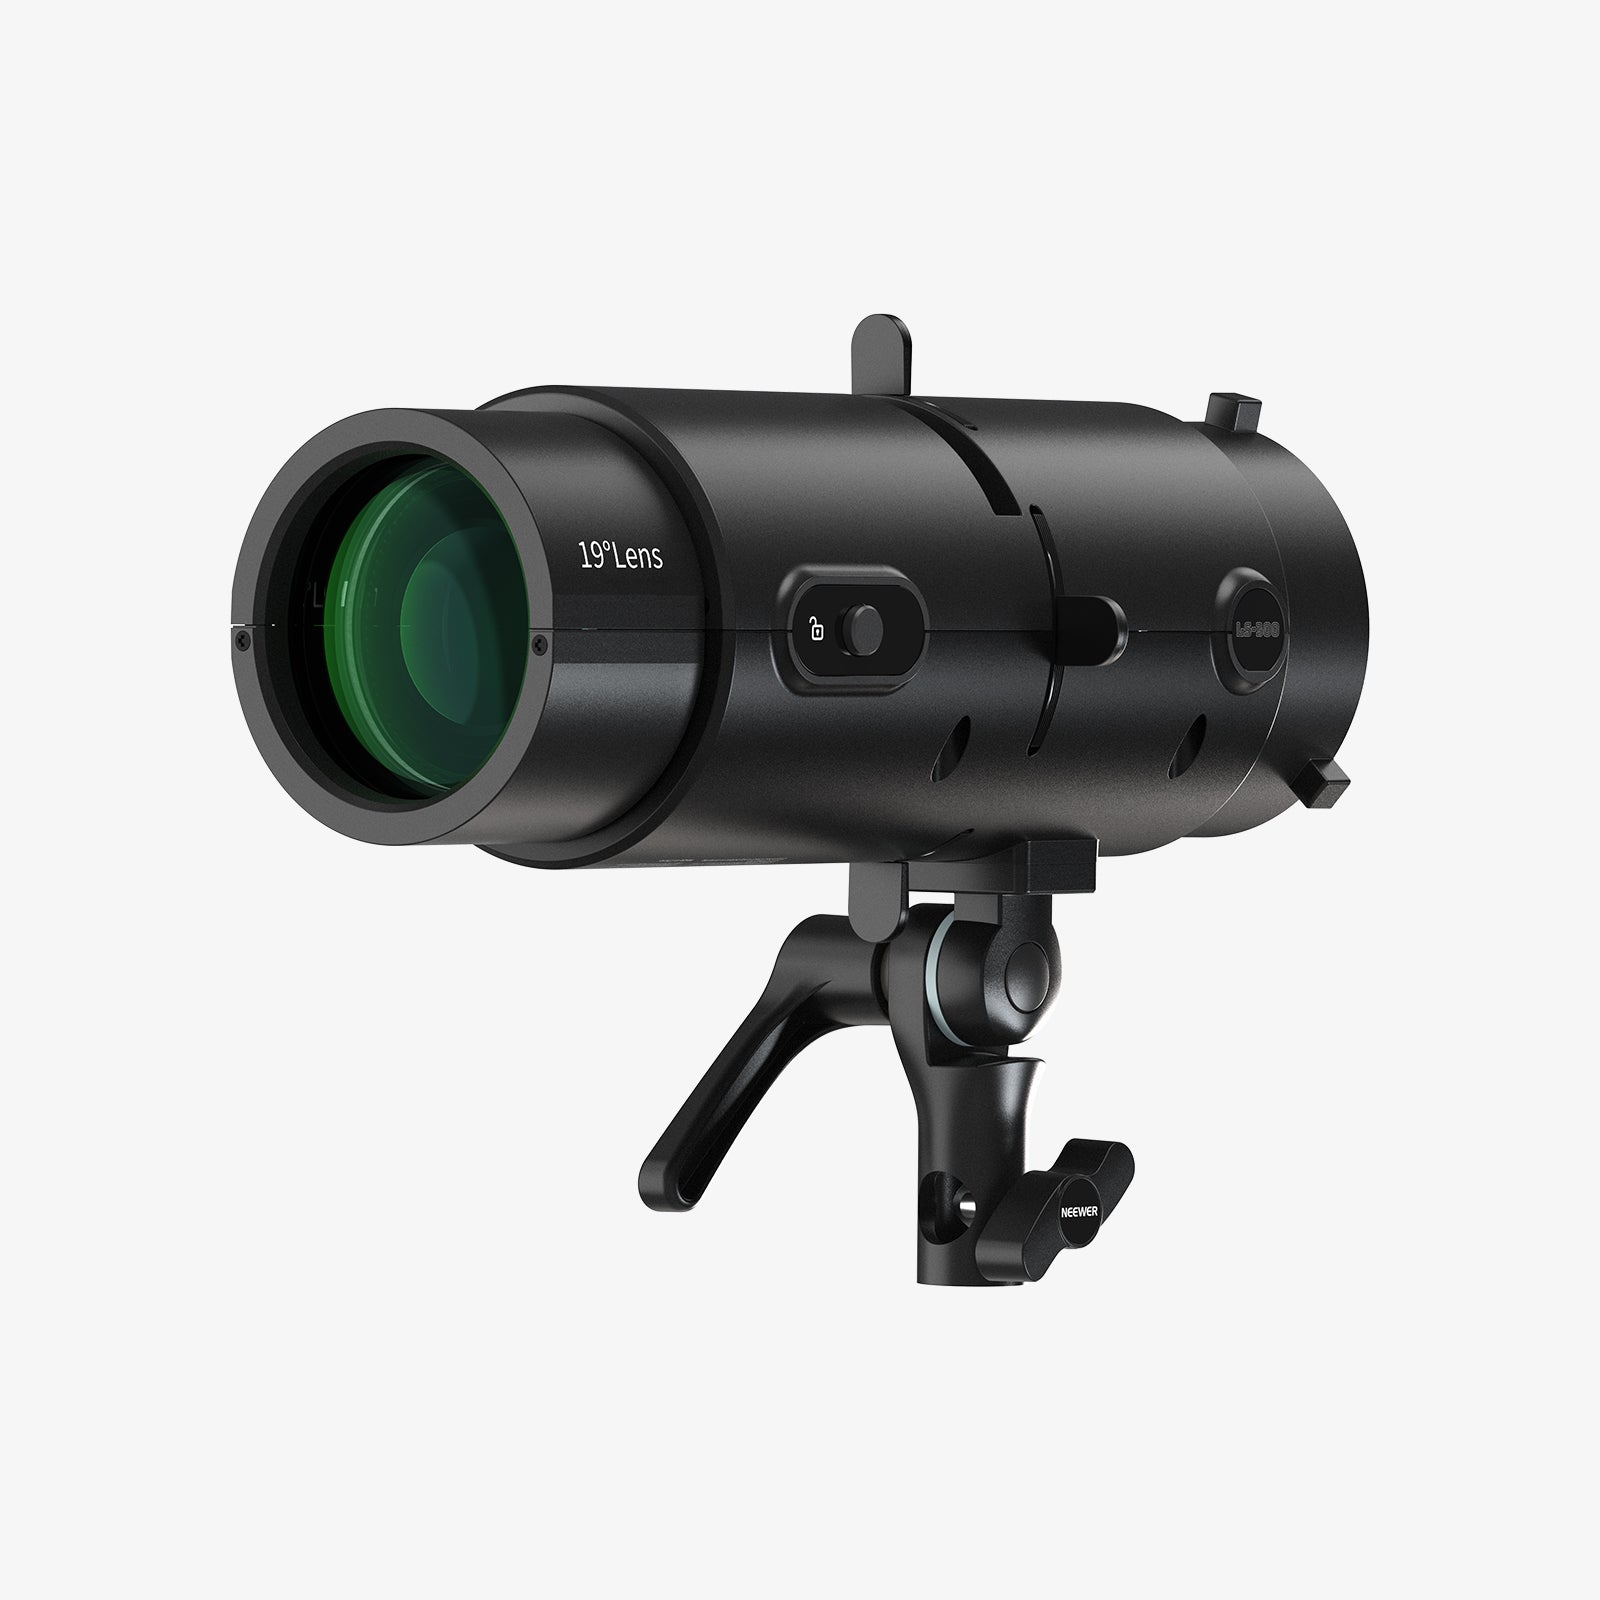
| COB continuous light | Larger products, stronger key light, modifiers | More output and modifier control | Bulkier head and power setup |
| Flash or strobe | Motion, small apertures, maximum output | Freezes motion and provides high exposure headroom | Requires test frames or a modeling light |
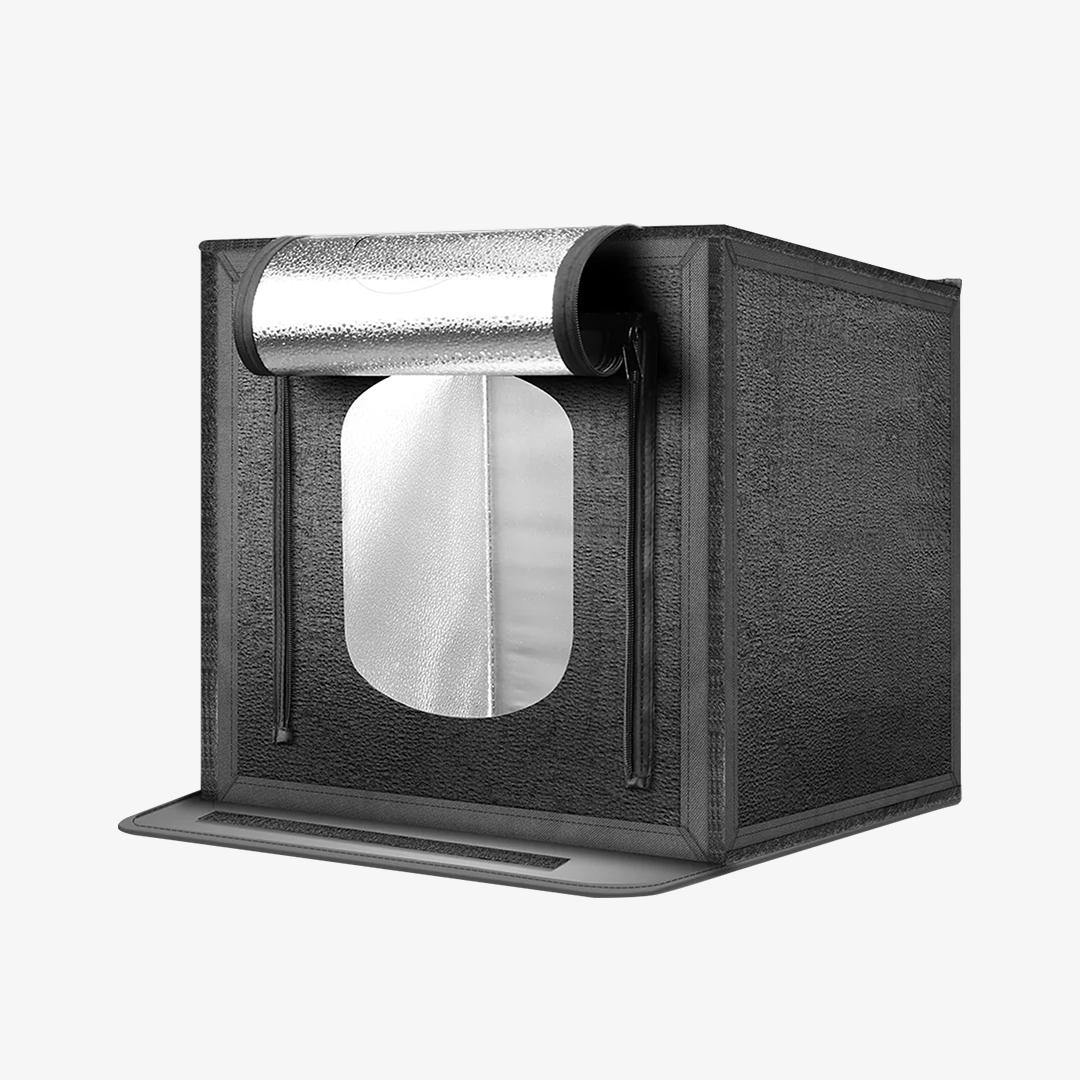
| Light tent | Fast catalog shots on simple backgrounds | Controls reflections with surrounding diffusion | Can flatten shape and texture |
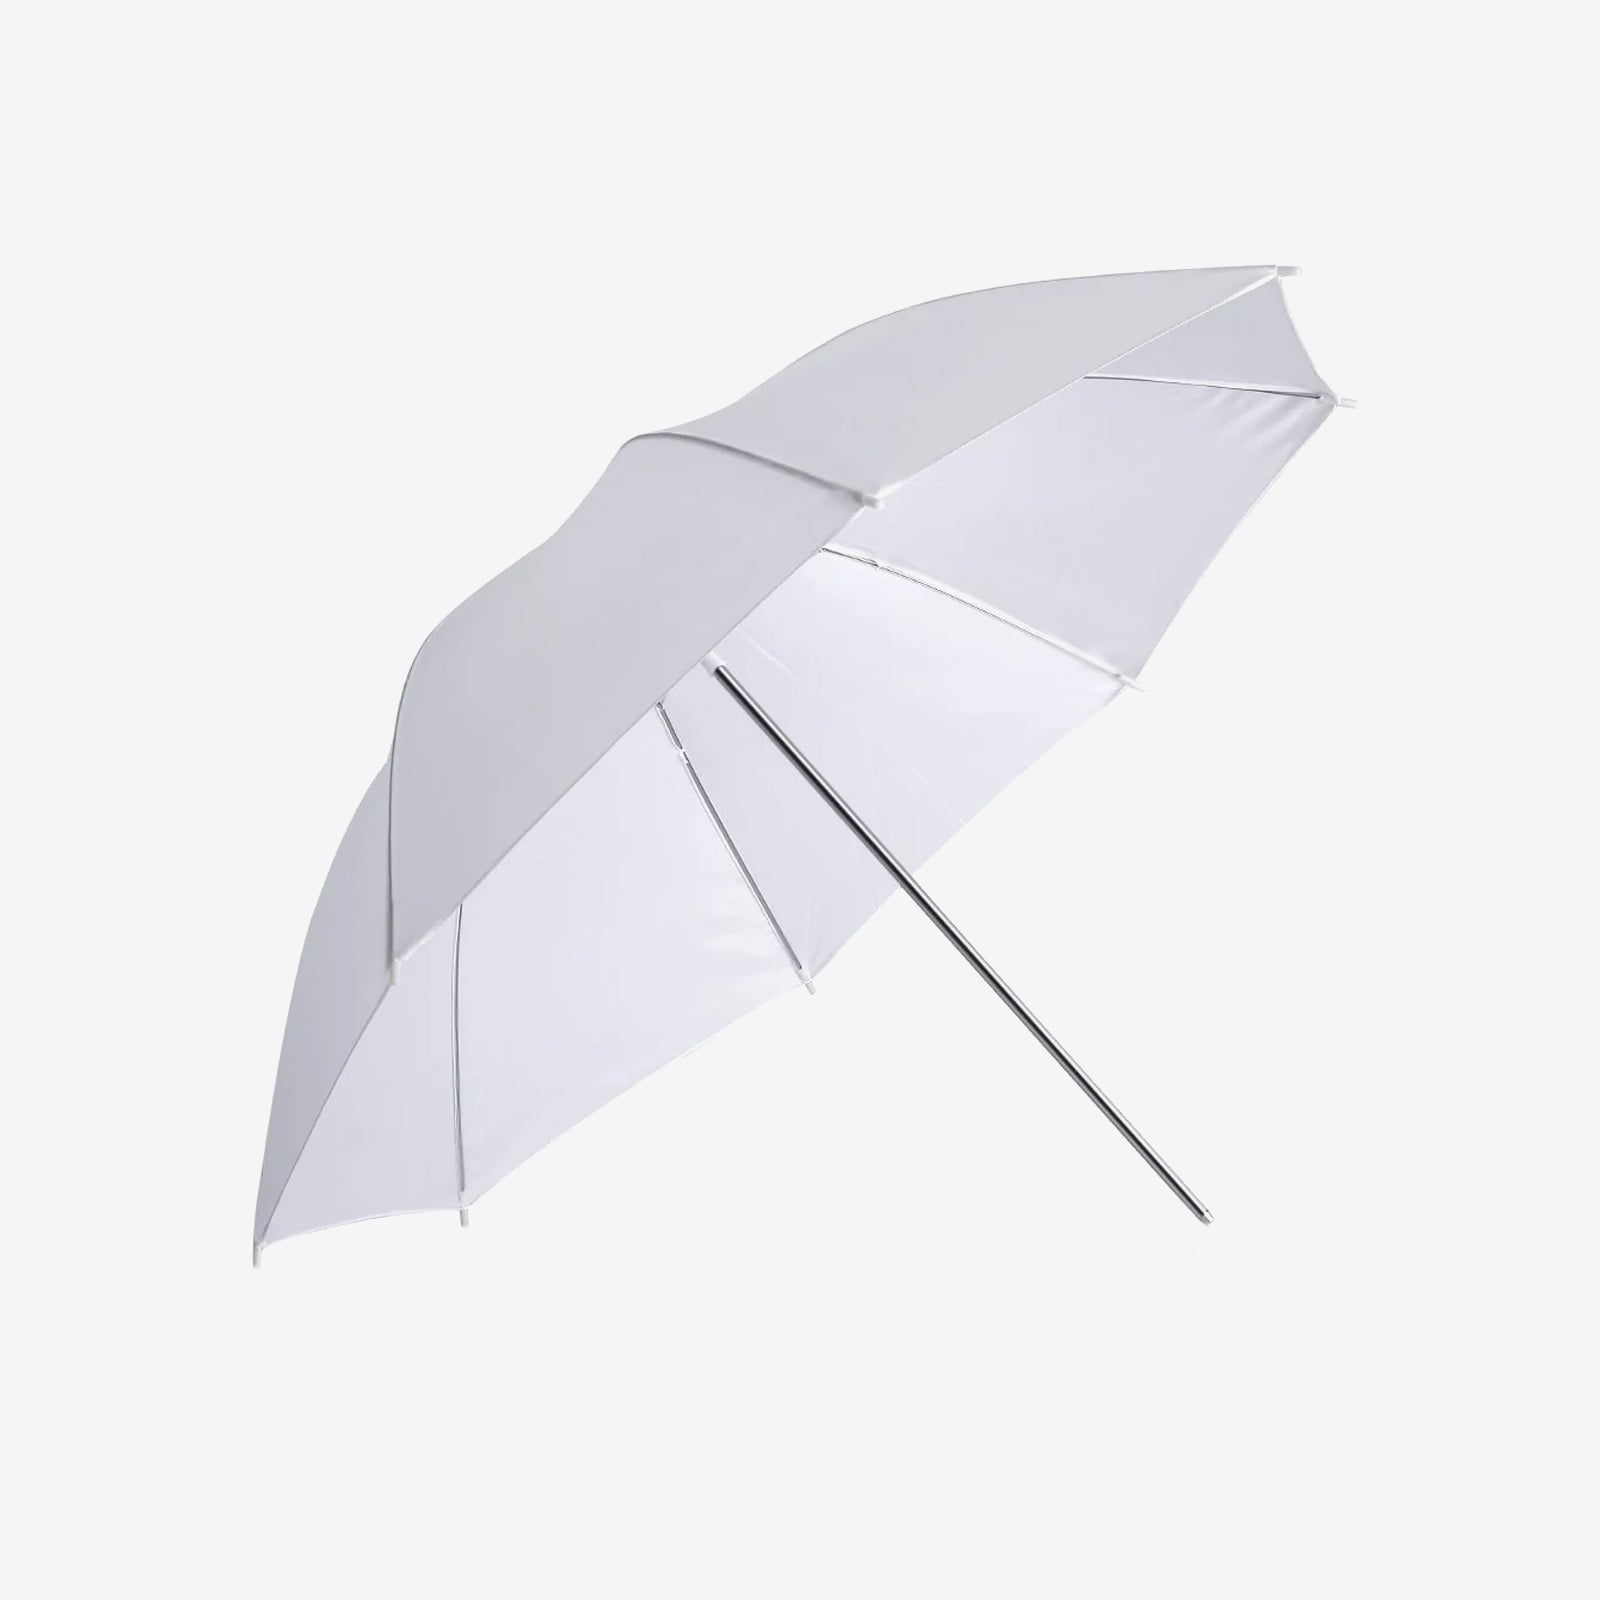
For stationary e-commerce products, a compact panel can serve as the key light, fill in shadows, brighten the background, or shine through a translucent surface. It can also remain in place when recording product videos.
A Basic One-Panel Product Photography Setup
Place the product on a clean tabletop and mount the camera on a tripod. Turn off any ceiling lights that could cause colour-temperature conflicts. Position the NL-192AI approximately 45 degrees to one side and slightly above the product.
Move the panel closer to soften the shadows. On glossy surfaces, watch for a bright rectangular reflection. If it obscures a label, raise the light, move it to one side, or add diffusion.
Use a low ISO setting, choose an aperture that keeps the important details sharp, and adjust the shutter speed last. For a stationary setup, a slower shutter speed is often preferable to unnecessarily increasing the ISO.
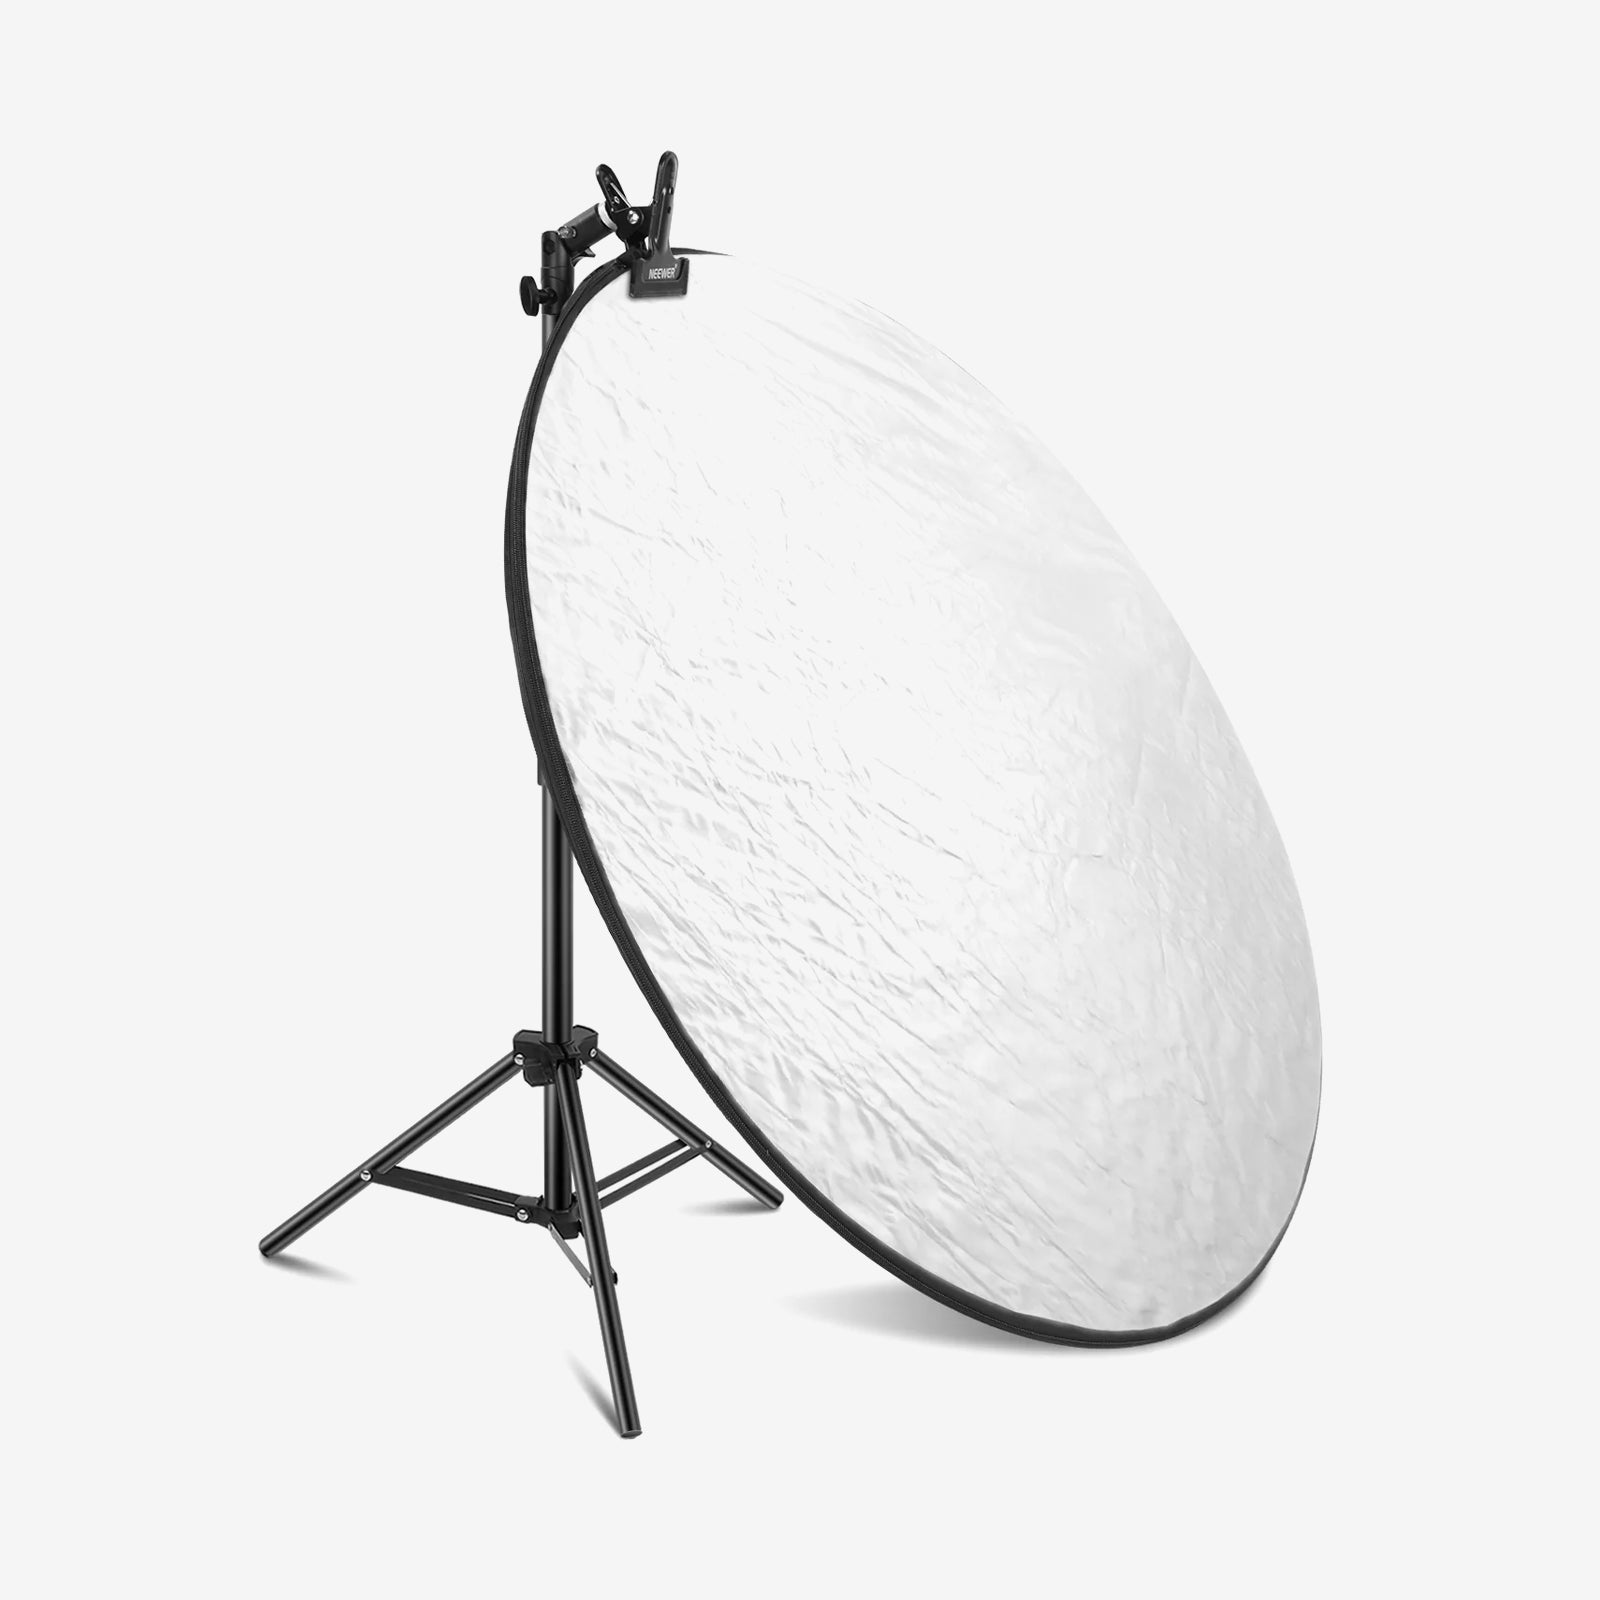
A white card placed opposite the light will fill in shadows. Move it closer for brighter fill or farther away for greater contrast. This arrangement works well for ceramics, books, accessories, and packaged goods.
Match the Color Temperature Before Adjusting Brightness
The NL-192AI can be adjusted from 3200K to 5600K, while its brightness can be controlled independently from 0% to 100%. First, set the colour temperature to match the environment, then adjust the brightness and distance to control exposure and contrast.
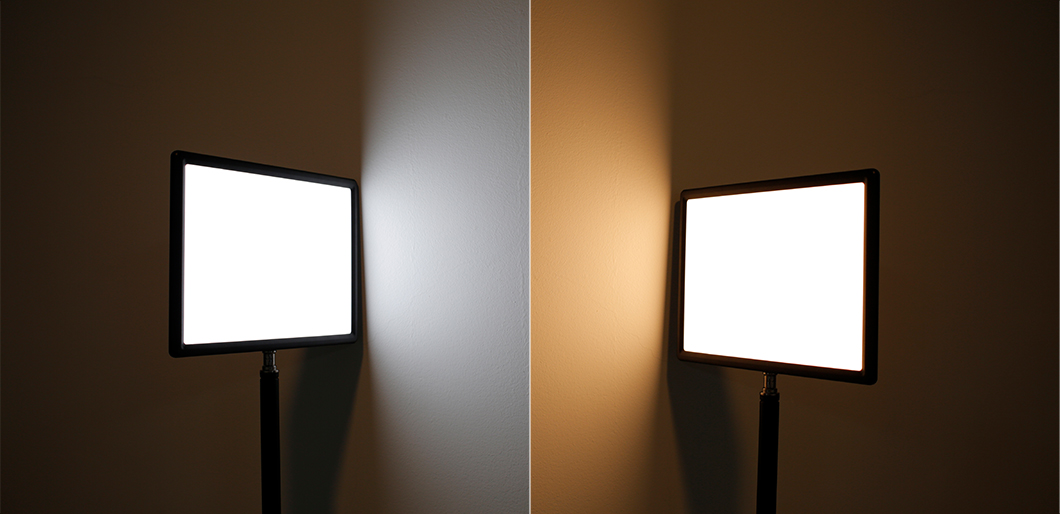
When working with daylight, begin near the cooler end of the range; under tungsten-style lighting, start closer to 3200K. For accurate colour reproduction, block changing daylight, turn off unrelated lights, and match the camera's white balance to a consistent panel setting.
The official CRI rating is 97+, but CRI alone cannot guarantee that every saturated colour will accurately match the physical item. Include a grey card or colour target when accurate colour reproduction is commercially important.
Use the Controls to Build a Repeatable Setup
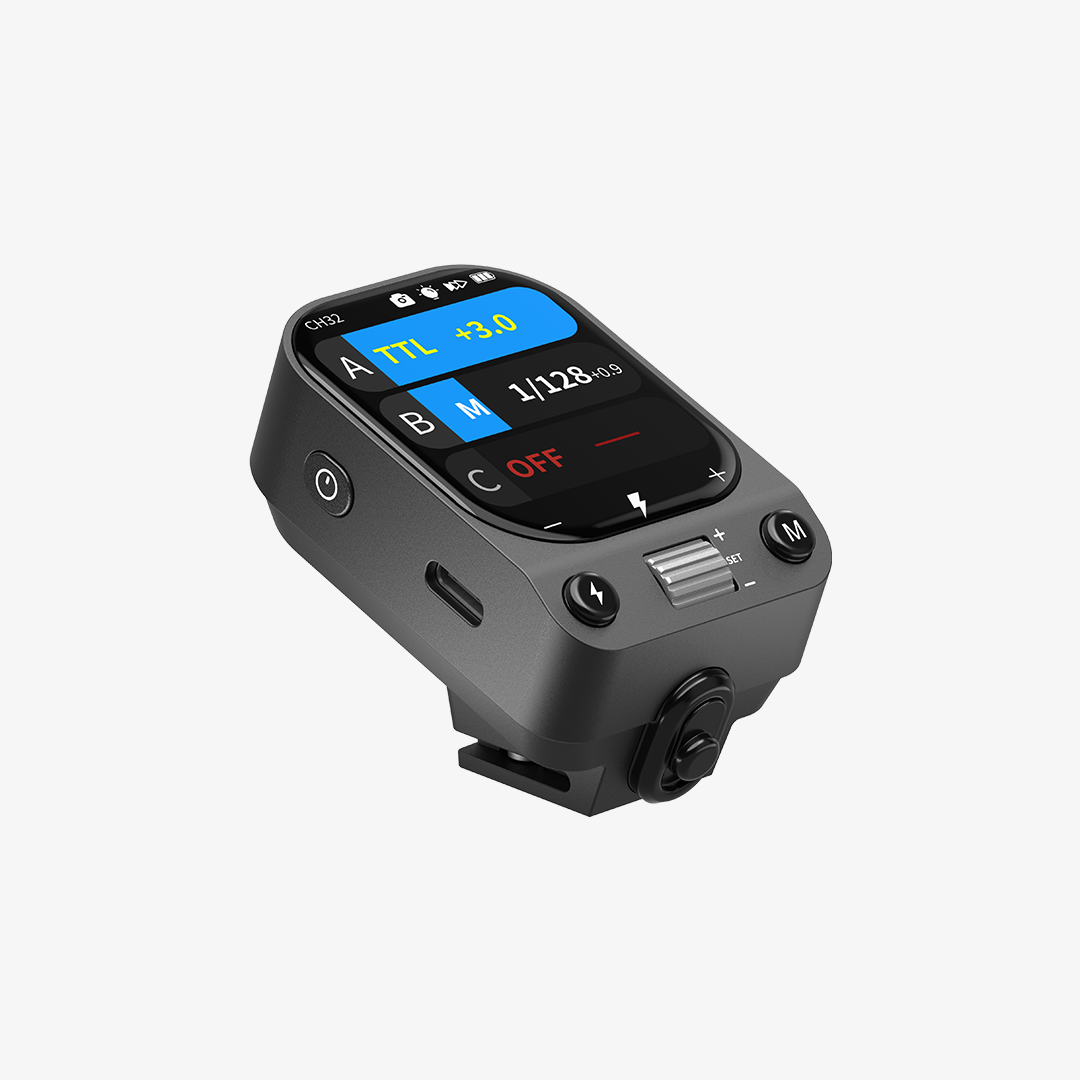
The rear LCD displays the brightness, colour temperature, and battery status. Separate controls make it easier to return to the same settings when photographing a new batch of products.
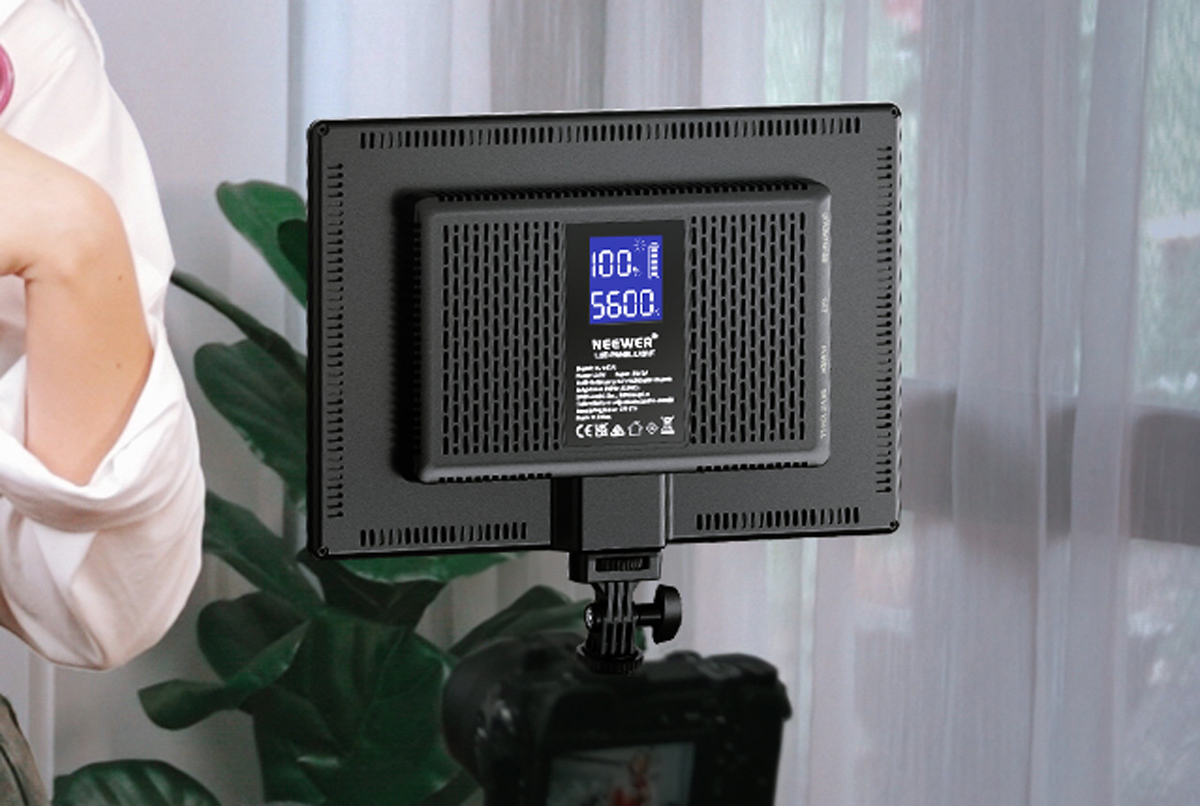
Record the light's position, distance, height, brightness, colour temperature, and camera settings. Tape marks can speed up repeat sessions. Matching the brightness percentage alone is not enough if the light's position, ambient lighting, white balance, or exposure settings change.
Add Underlighting for Translucent Products
Another useful setup involves placing the panel beneath a translucent acrylic or diffusion surface. The light shines upwards through the surface, creating a bright background or glowing base around glassware, bottles, cosmetics, and other translucent objects.
Leave some space between the panel and the surface to allow bright areas to blend evenly. If the underlighting removes too much shape, place a white or black card beside the product or add a gentle key light above it. Keep the panel's ventilation unobstructed and use a stable support.
Opaque products may appear as silhouettes, while reflective objects can reveal the surrounding room. Use underlighting as a background or separation technique rather than as the default key light.
Mounting and Angle Matter More Than On-Camera Convenience
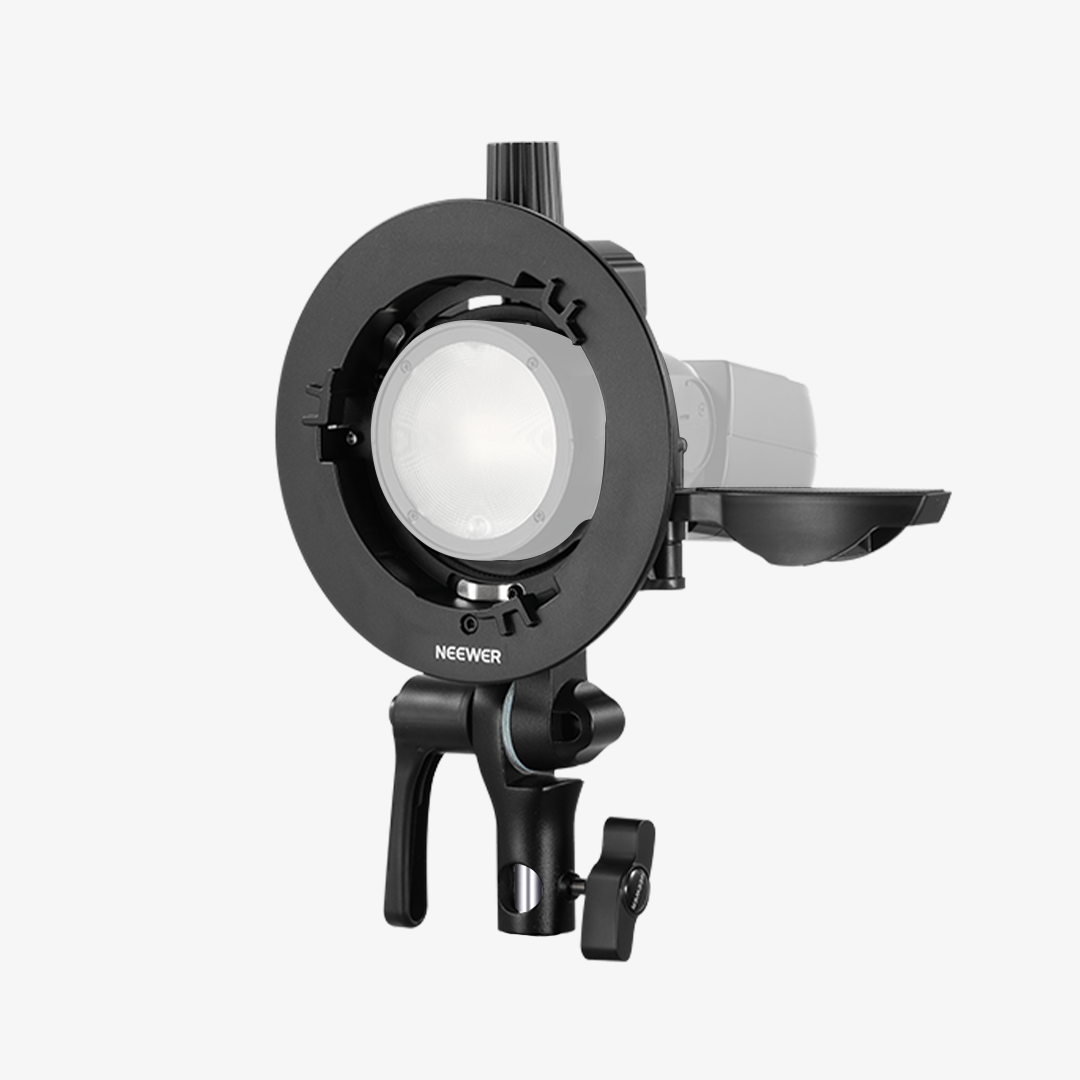
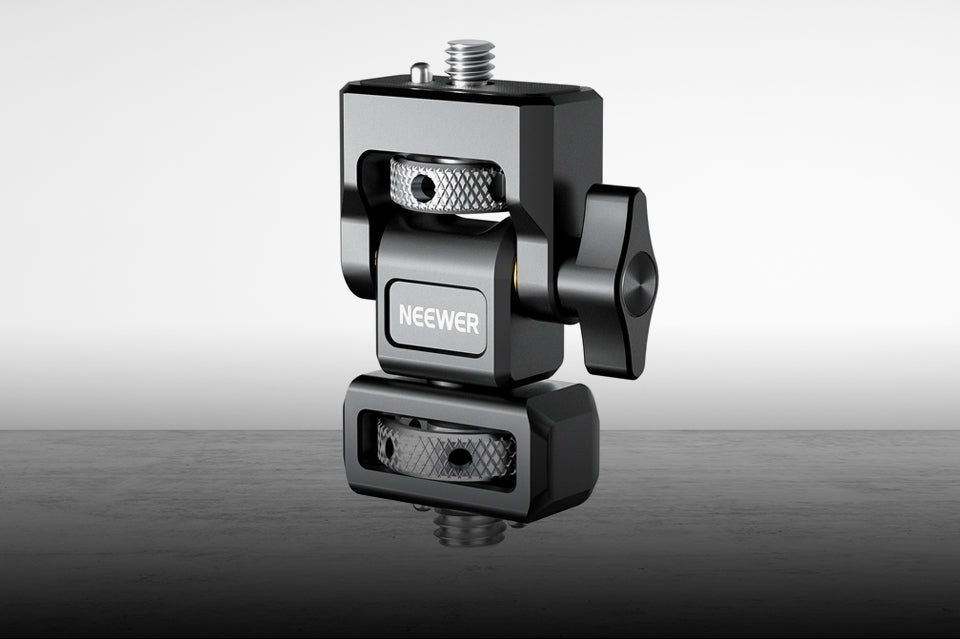
The cold-shoe adapter provides a 1/4-inch mounting connection and tilt adjustment. Although the panel can be mounted on a compatible camera, placing it independently on a stand provides better control over the product's shape and reflections.
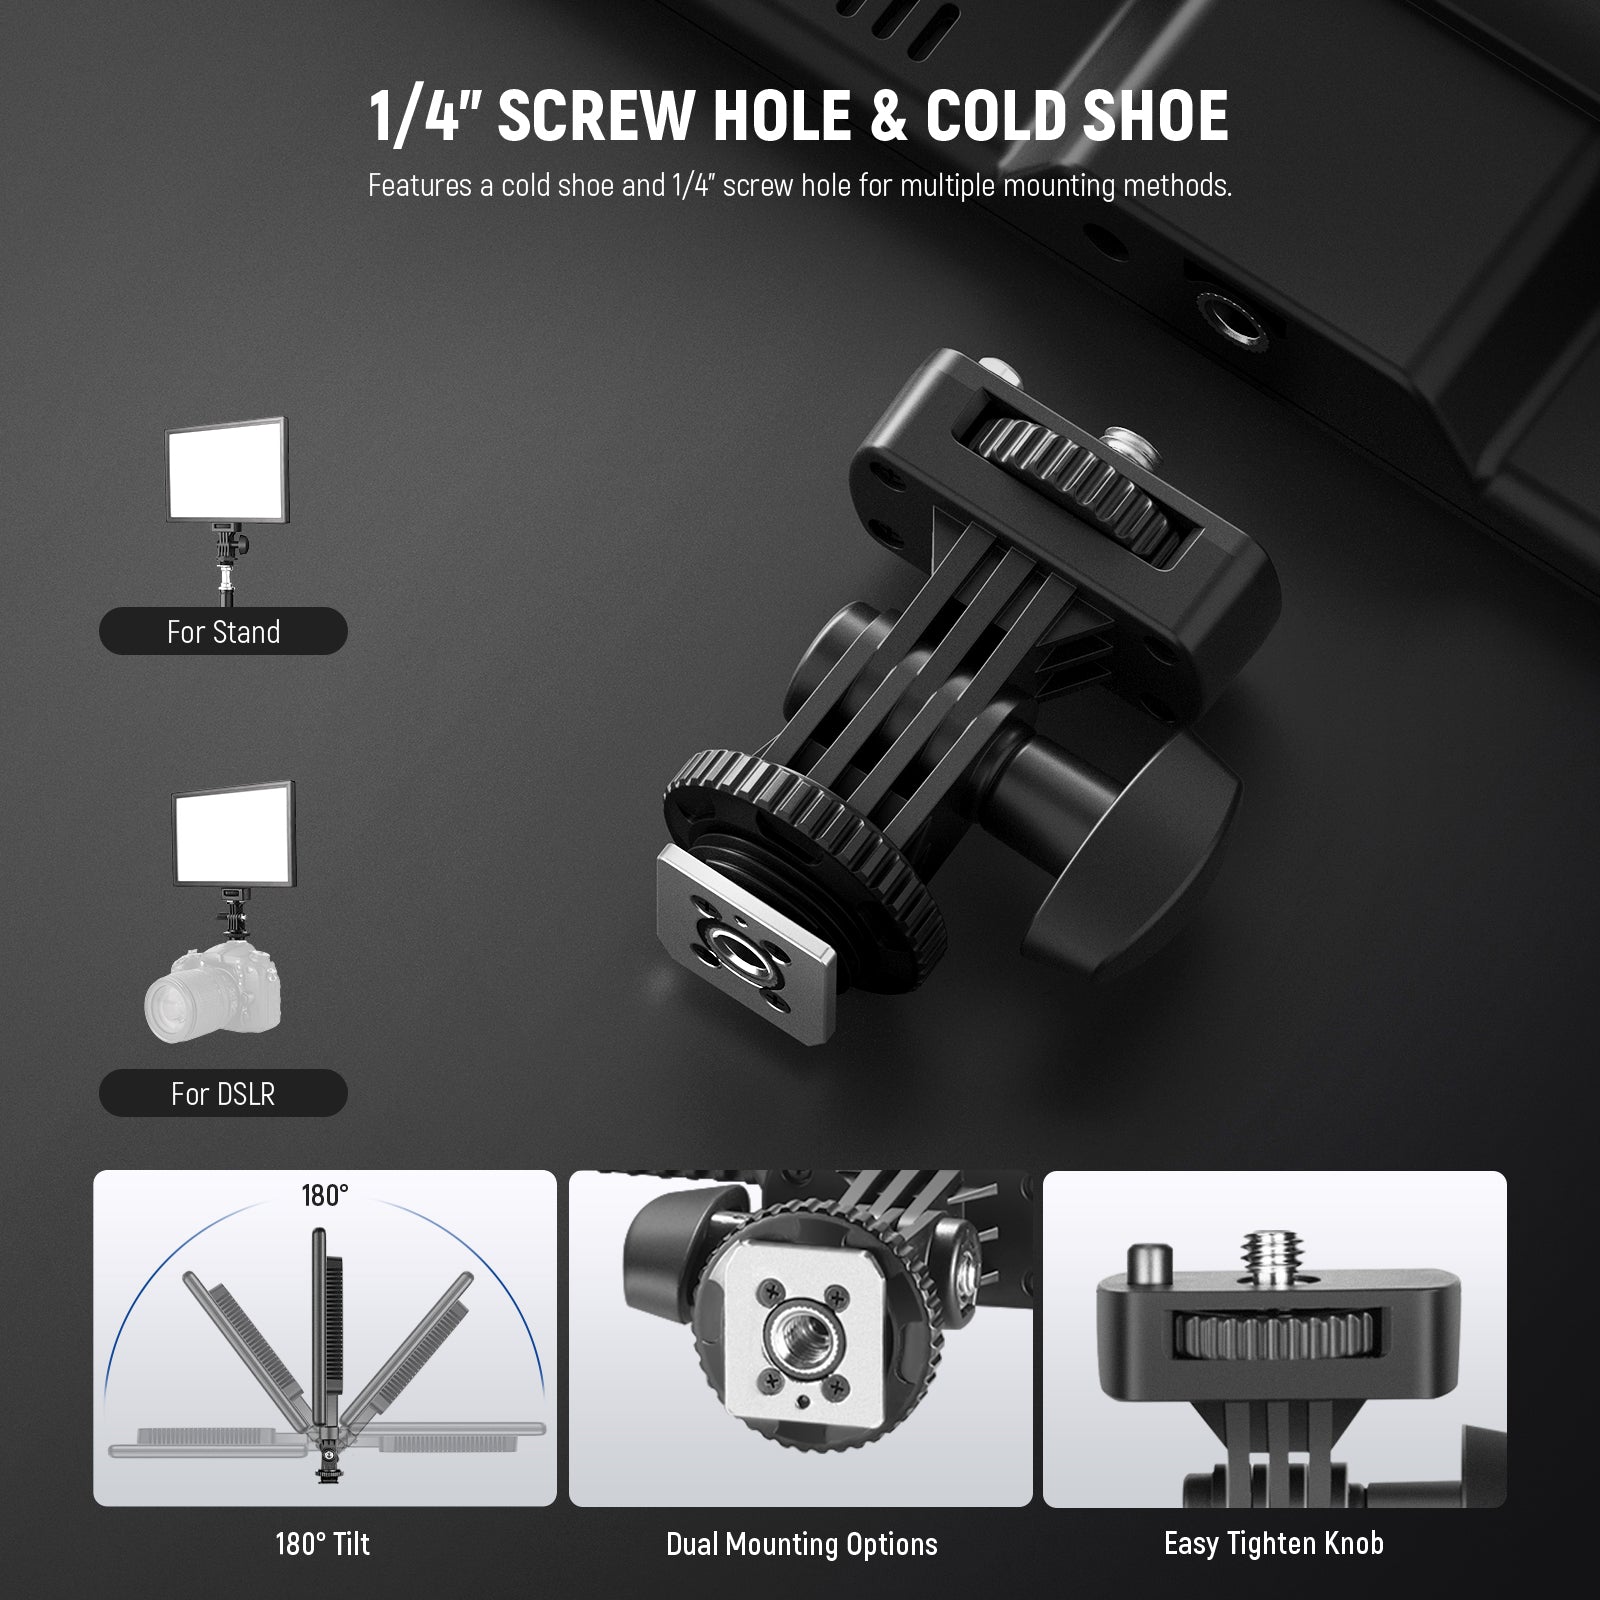
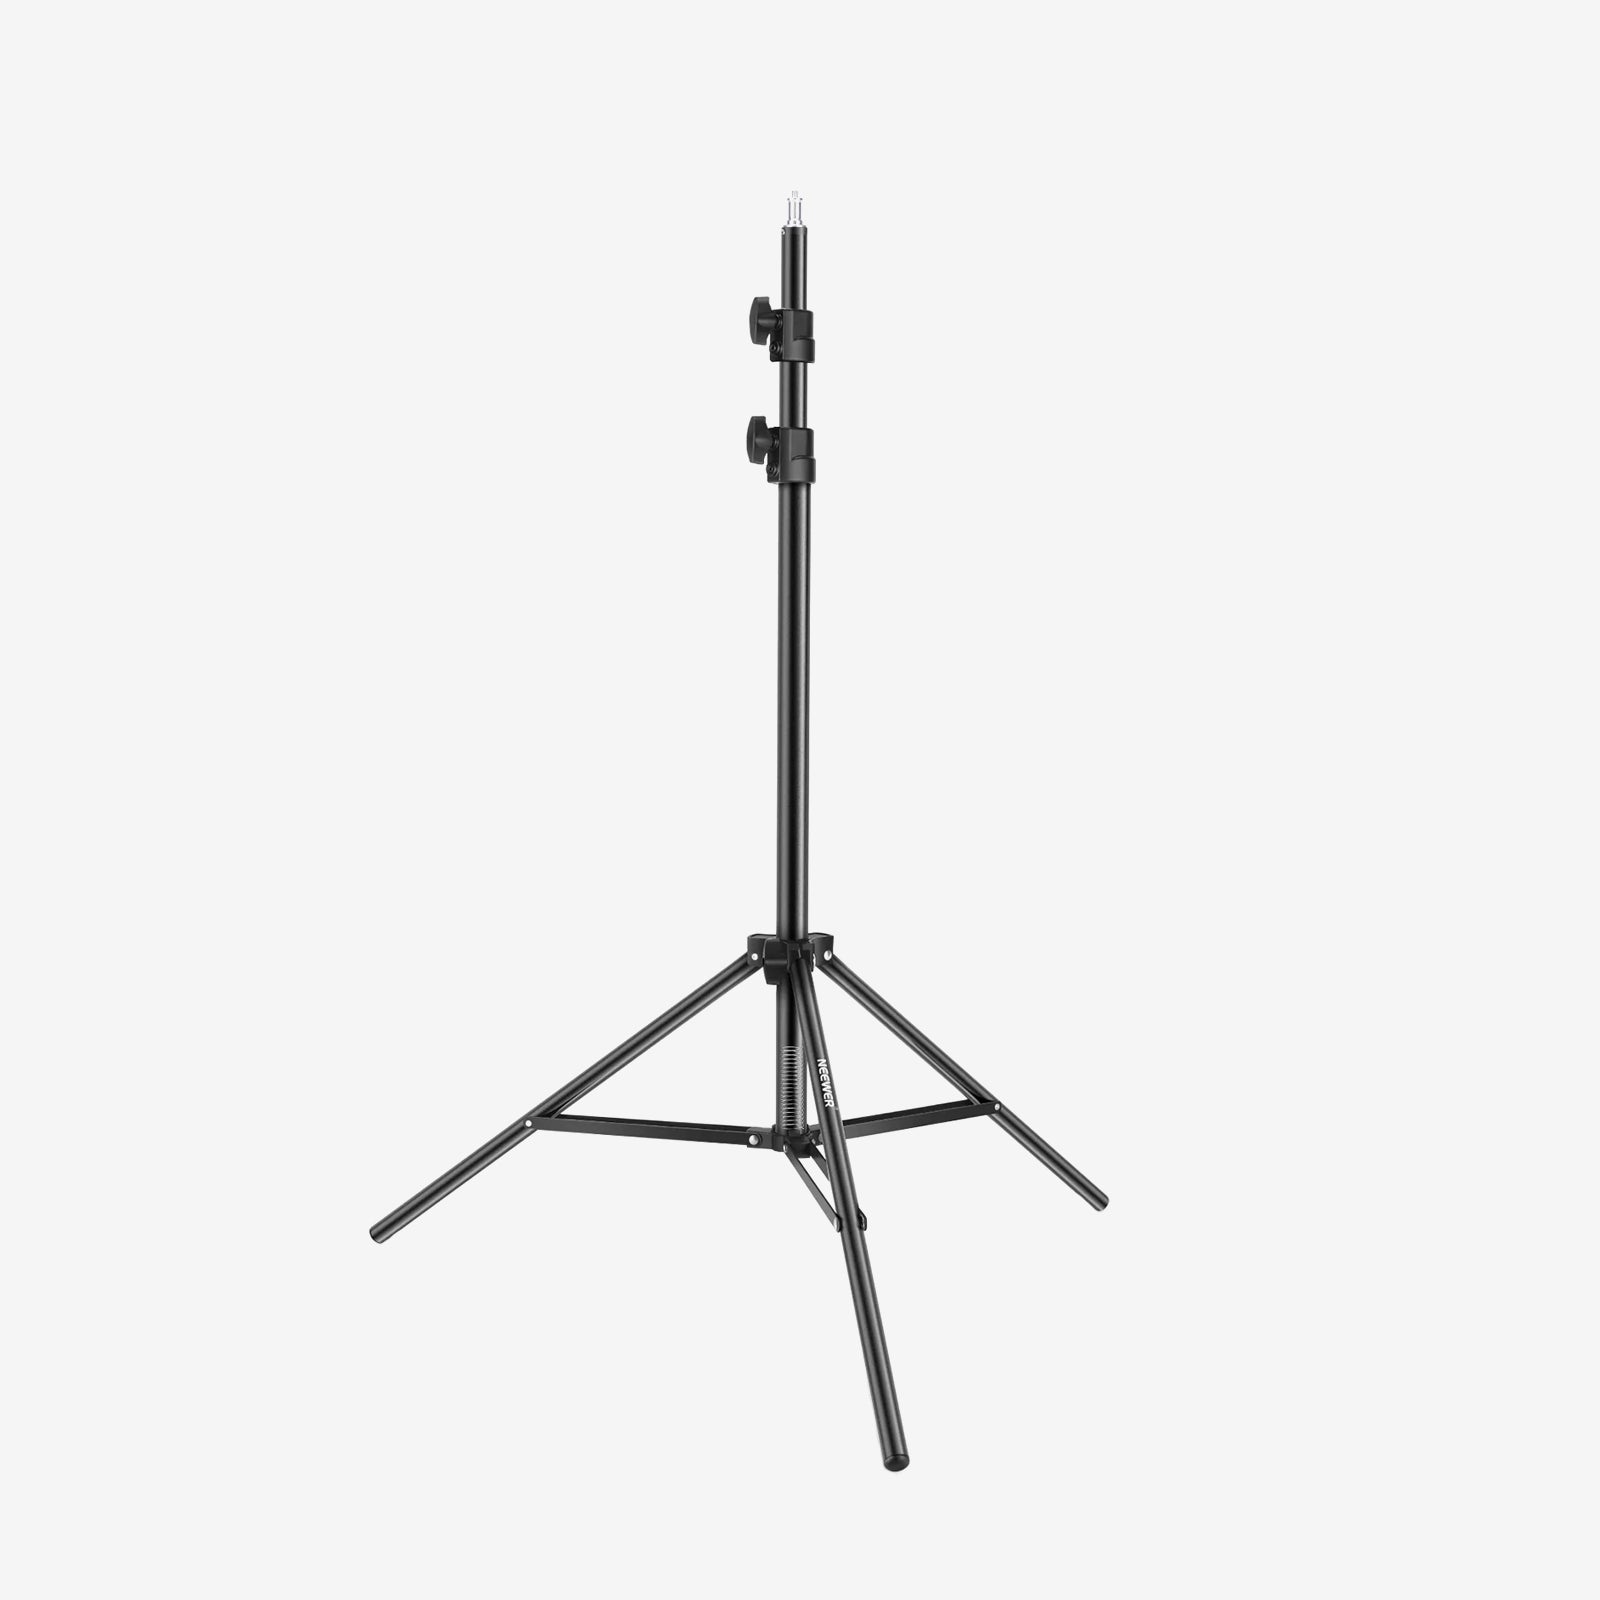
Use a stable stand, tighten the adapter securely, and keep any cables safely out of the way. The product page offers both panel-only and stand-inclusive versions, so check your selected option carefully. The panel-only package includes the light, a cold-shoe adapter, a US charger, and a user manual; no carrying bag is included.
Battery or Mains Power?
The built-in 8,000mAh battery provides up to 90 minutes of operation at full brightness, while the official charging time is approximately 120 minutes when using the specified 15V/2A charger. Battery power is useful when moving around a workspace or shooting where access to a power outlet is inconvenient. Mains power is better suited to repeatable catalogue sessions and longer video takes.
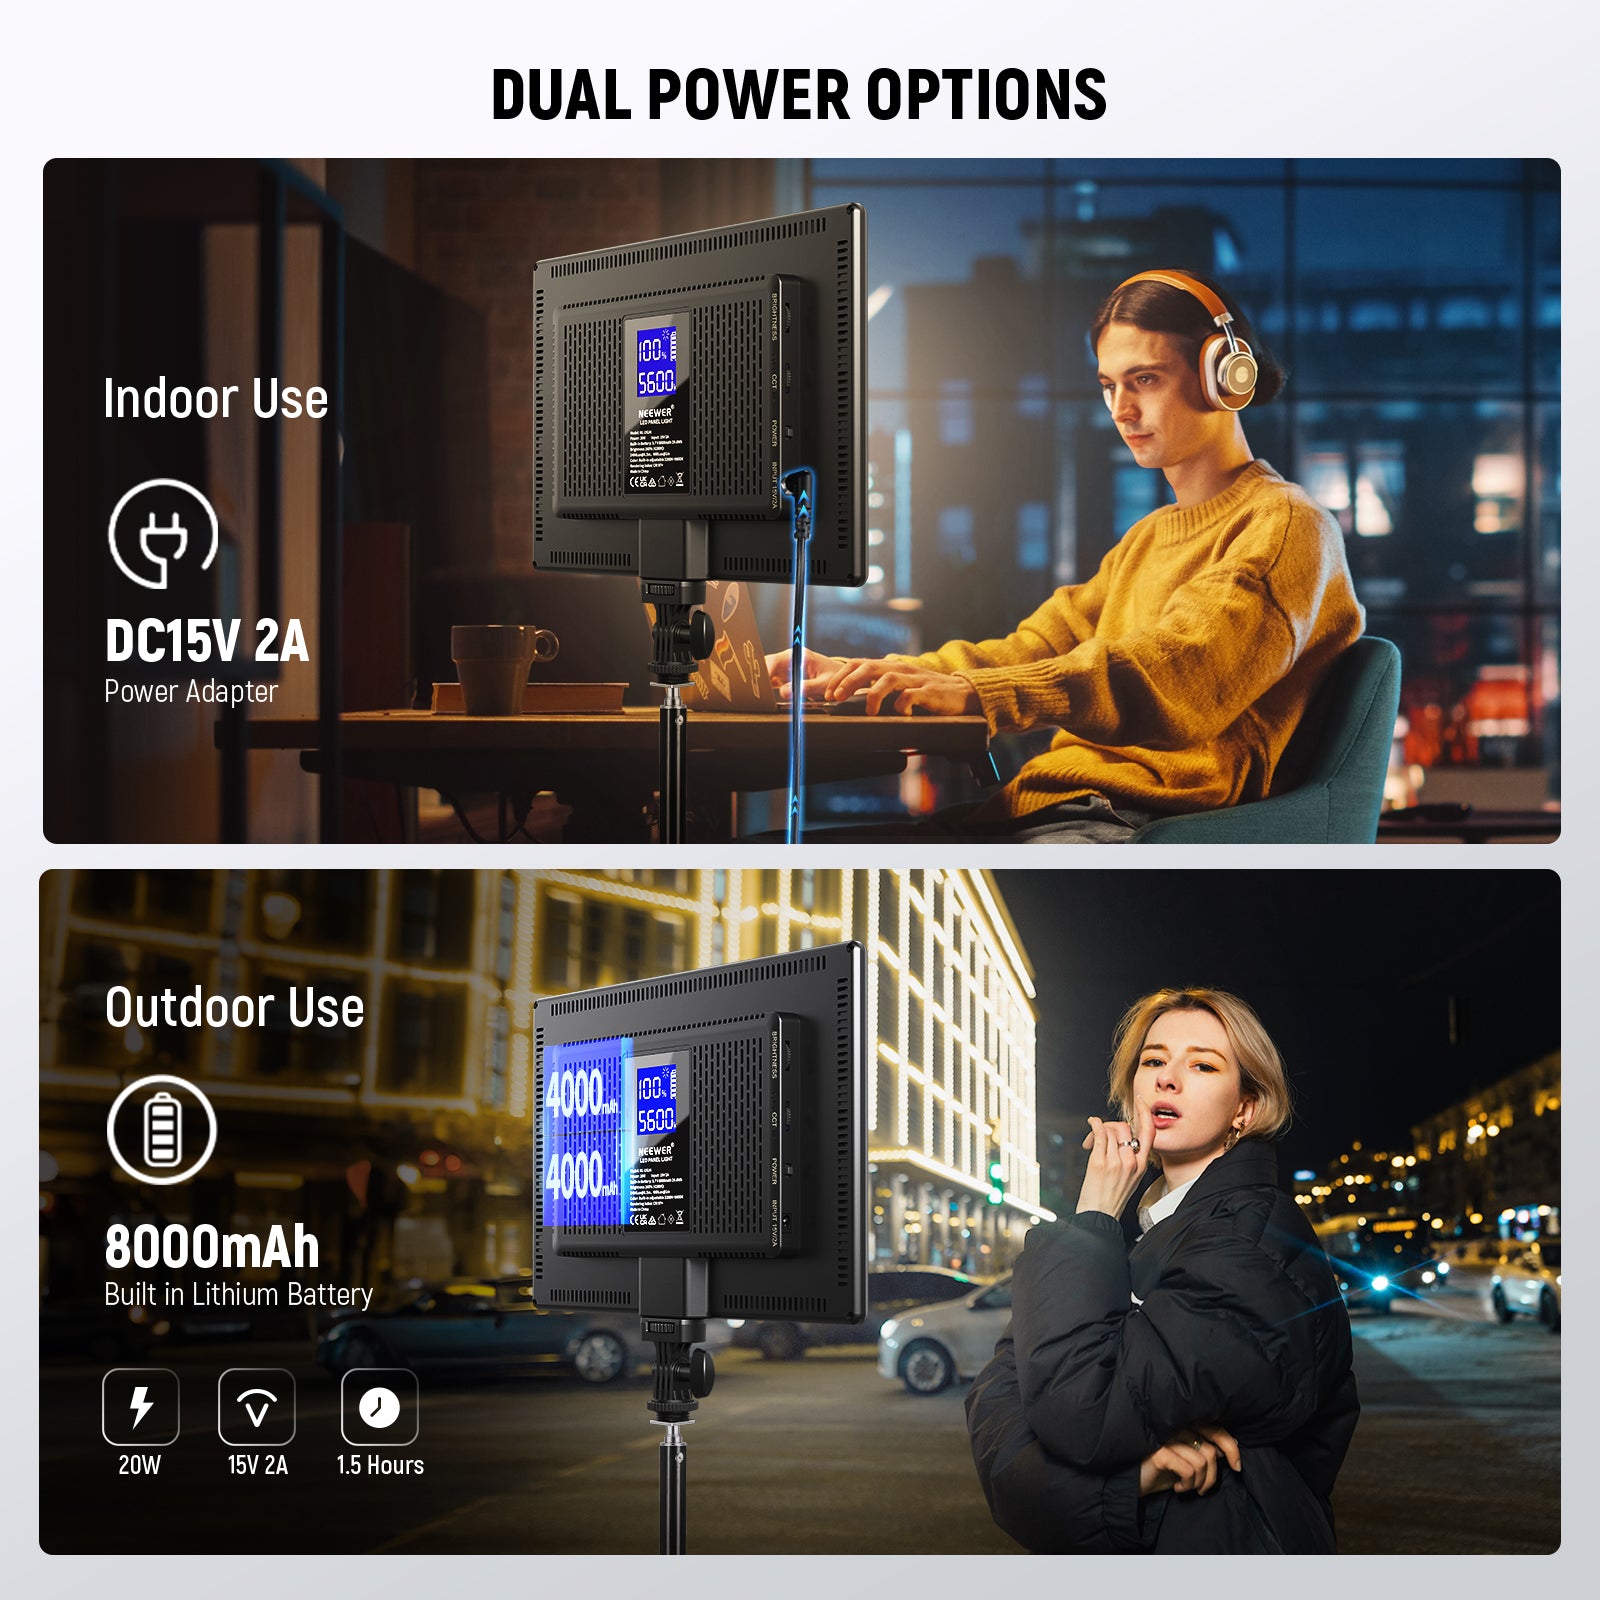
Runtime varies depending on the brightness setting, battery age, and ambient temperature. Charge the panel before shooting and keep the power adapter nearby. For stationary products, using a lower brightness setting and a longer exposure can extend the operating time.
Product Photography Setup Checklist
Clean the product, background, and shooting surface before setting up the lighting.
Place the camera on a tripod and lock the composition.
Turn off room lights with conflicting colour temperatures or match them deliberately.
Position the panel close enough to achieve the desired softness.
Check the camera view for rectangular reflections and glare.
Set the colour temperature and camera white balance before adjusting the exposure.
Use a white card for fill or a black card to restore edge definition.
Record the distance, height, brightness, colour temperature, and camera settings.
Check the focus, label readability, highlight clipping, and colour accuracy before packing up.
Common Mistake: Fixing Every Problem With Brightness
More brightness does not automatically improve a product photo. A blown-out label is usually caused by the reflection angle, muddy shadows need additional fill, and poor shape definition may require a black card or more side lighting. Adjust the light's position, distance, diffusion, and reflector cards first.
If a translucent background is unevenly lit, increase the distance between the panel and the surface to improve light distribution. Physical placement often matters more than minor output adjustments.
LED Panel for Product Photography FAQ
Is one LED panel enough for product photography?
One panel and a white reflector card can handle many small, stationary products. Add a second light when you need independent control over the background, stronger edge separation, or more even illumination across a larger subject.
Should an LED panel be placed above or beside a product?
Start with the panel positioned above the product and approximately 45 degrees to one side. This creates visible shape without lighting the product directly from the camera's position. Adjust the panel based on reflections, texture, and label readability.
Can the NL-192AI freeze moving products?
Continuous light does not freeze motion in the same way as a short flash duration. It is better suited to stationary products and video. Use more powerful lighting, appropriate camera settings, or flash when the subject is moving quickly.
What color temperature should I use for product photography?
There is no universal setting. Match the dominant ambient light, or eliminate other light sources and choose a repeatable colour temperature within the panel's 3200–5600K range. Set the camera's white balance consistently and use a grey card for colour-critical work.
Can I use an LED panel inside a light tent?
Yes. Aim the panel through the light tent's diffusion material rather than positioning it where it creates a direct hotspot. Ensure adequate ventilation and clearance around the panel, then reposition it until the product and background are evenly illuminated.
Is an LED panel better than flash for ecommerce photos?
An LED panel is easier for beginners to preview and can be used for both still photography and video. Flash provides greater exposure headroom and is better at freezing motion. The best choice depends on the product's size and movement, the required aperture, and the importance of a real-time preview.
Final Takeaway
An LED panel works best for small-product photography when you control the ambient light, keep the light source close, and adjust its position rather than its brightness to manage reflections. The NL-192AI is a practical choice for portable tabletop photography and product videos, while larger or moving subjects may require a more powerful light or flash.