


Table of Contents
For most beginners, the best budget studio lighting setup is not the brightest light or the cheapest kit on the page. In a small home studio — especially a bedroom office or shared apartment — the real challenge is balancing light quality, floor space, heat, and setup speed without turning the room into a permanent studio. Start with the scene: a softbox kit for product photos and tabletop shooting, LED panels for clean video setups with easy controls, and compact RGB COB lights for creators who want stronger directional output and more flexibility later on. Getting that order right saves you from buying twice.
Instead of comparing studio lights purely by wattage or price, this guide focuses on how different setups behave in small beginner studios and which type of light tends to stay useful longest as the setup grows.
Quick Recommendation by Use Case
|
Use Case |
Recommended Setup |
Why |
|
Product photography / ecommerce |
Softbox kit (2-light) |
Diffused, even light with no hot spots |
|
YouTube / talking-head video |
LED panel kit (bi-color) |
Adjustable colour temp, easy to dial in |
|
Livestreaming or video calls |
Desk-mount LED panel or ring light |
No floor space required, consistent output |
|
Portable TikTok / Reels |
Compact RGB key light |
Portable, full RGB range, flexible mounting |
|
Small room, multi-use |
LED panel + softbox combo |
Flexible across stills and video |
What Counts as a Budget Studio Light Setup?
Budget studio lighting broadly means gear in the $50–$200 USD range per kit, with the expectation that output, build quality, and colour accuracy are functional rather than professional-grade. At this price point, you are trading some ceiling on maximum output and long-term reliability for significant savings upfront — which is a reasonable trade for someone learning.
For most beginner setups, a few specifications matter far more than the rest:
- Colour rendering index (CRI): Look for CRI 95+ for product photography, where accurate colour matters. For video, CRI 90+ is acceptable.
- Colour temperature range: Bi-color LED panels (3200K–5600K) give you flexibility to match ambient light. A fixed 5500K daylight softbox is fine for product work in a controlled environment.
- Output (wattage or lux at distance): Wattage numbers alone are misleading. In a small room, a diffused 45W softbox positioned close to the subject often looks brighter and softer on camera than a cheaper high-watt bare LED placed further away.
- Modifiers included: A softbox kit that includes the diffusion panel already assembled saves setup time and gives cleaner light than a bare bulb.
What to ignore at this stage: TLCI ratings, high-speed sync compatibility, and colour mixing accuracy below 32-bit — these only start to matter once you are solving higher-end production problems rather than simply trying to make a small room look good on camera.
Softbox vs LED Panel vs COB Light: Which Should a Beginner Buy First?
The decision becomes easier once you think about how each light actually works inside a small room rather than just comparing specs. A softbox spreads light broadly but takes space. LED panels are easier to position around a desk setup. COB lights produce stronger directional light, but usually need extra modifiers before they look flattering on camera.
|
|
|||
|
Light quality |
Soft, diffused, wraps around subject |
Even, flat, controllable |
Hard directional, can be modified |
|
Small-room practicality |
Moderate (assemble softbox, position stand) |
Easy (mount, plug in, adjust) |
Moderate (requires modifier for soft light) |
|
Best for |
Product photos, portraits, interviews |
Video, streaming, video calls |
Creative video lighting, accent lighting, portable setups |
|
Portability |
Low (bulky stands and boxes) |
Medium |
Medium |
Which Light Type Should You Buy First?
Most beginners end up using more than one type of light, but the order matters more than people expect.
For product photography and portrait stills, a softbox kit usually makes the most noticeable difference immediately.
LED panels often become the second addition once video enters the workflow. Dimming and adjustable colour temperature make it much easier to maintain a consistent look across filming sessions, especially in rooms where daylight changes throughout the day.
COB lights are usually the latter upgrade. They offer stronger directional output and more flexibility with modifiers, but they also introduce more complexity in terms of light shaping, stand stability, and space requirements. For most beginners, they make more sense after the basics of positioning and diffusion already feel familiar.
Best NEEWER Starter Paths by Scene
1. Product Photography and E-commerce Shots: NEEWER NK103 — Best Softbox Starter Kit for Product Photos
The Breakdown
The NK103 is a two-light softbox kit designed for table-top and small-room product photography. The 24×24-inch (60×60cm) softbox size produces a broad, even spread of diffused light that eliminates the harsh shadows common with bare-bulb setups. For beginners shooting on a plain background or small lightbox, two softboxes positioned at 45-degree angles usually cover most product photography scenarios without requiring extra gear.
In a small bedroom studio, though, the stands and softboxes take up more physical space than most beginners expect. This setup works best when at least part of the room can stay semi-permanently arranged for shooting.
The key advantage over a cheap ring light or single LED panel in this context is the softer wrap of the light — product shots need illumination from more than one direction to show texture and shape without flattening the subject.
|
Spec |
Detail |
|
Softbox size |
24×24 in / 60×60 cm (×2) |
|
Bulb socket |
E26 (×1 per softbox, ×2 total) |
|
Included bulbs |
45W bi-color LED (88 LEDs: 44 warm + 44 cool) |
|
Colour temperature |
2900K–7000K (adjustable via 2.4G remote) |
|
Max illuminance |
1,400 lux at 1 m (4400K) |
|
CRI |
95 |
|
Stand height |
Up to 83 in / 210 cm |
|
Control |
2.4G remote (10 channels per bulb, range 65.6 ft / 20 m) |
|
Power |
AC, corded |
Pros
- Broad, diffused light is well-suited to product and portrait work
- Two-light kit covers a complete beginner setup in one purchase
- High CRI makes colour accuracy reliable for e-commerce use
- Included bulbs mean no additional purchase is required to start
Cons
- Repeated assembly and storage become inconvenient in smaller rooms or shared living spaces
- 45W per bulb — sufficient for small-room work, but not enough to punch through larger modifiers at a distance
Best for: Product photography, e-commerce flat lays, portrait stills, interview setups
Shop the NK103 softbox kit → NEEWER Heavy Duty Sandbag (from $16.99) — Heavy-duty nylon sandbags rated for 4–6 kg each, designed to keep light stands stable when a softbox makes the setup top-heavy.
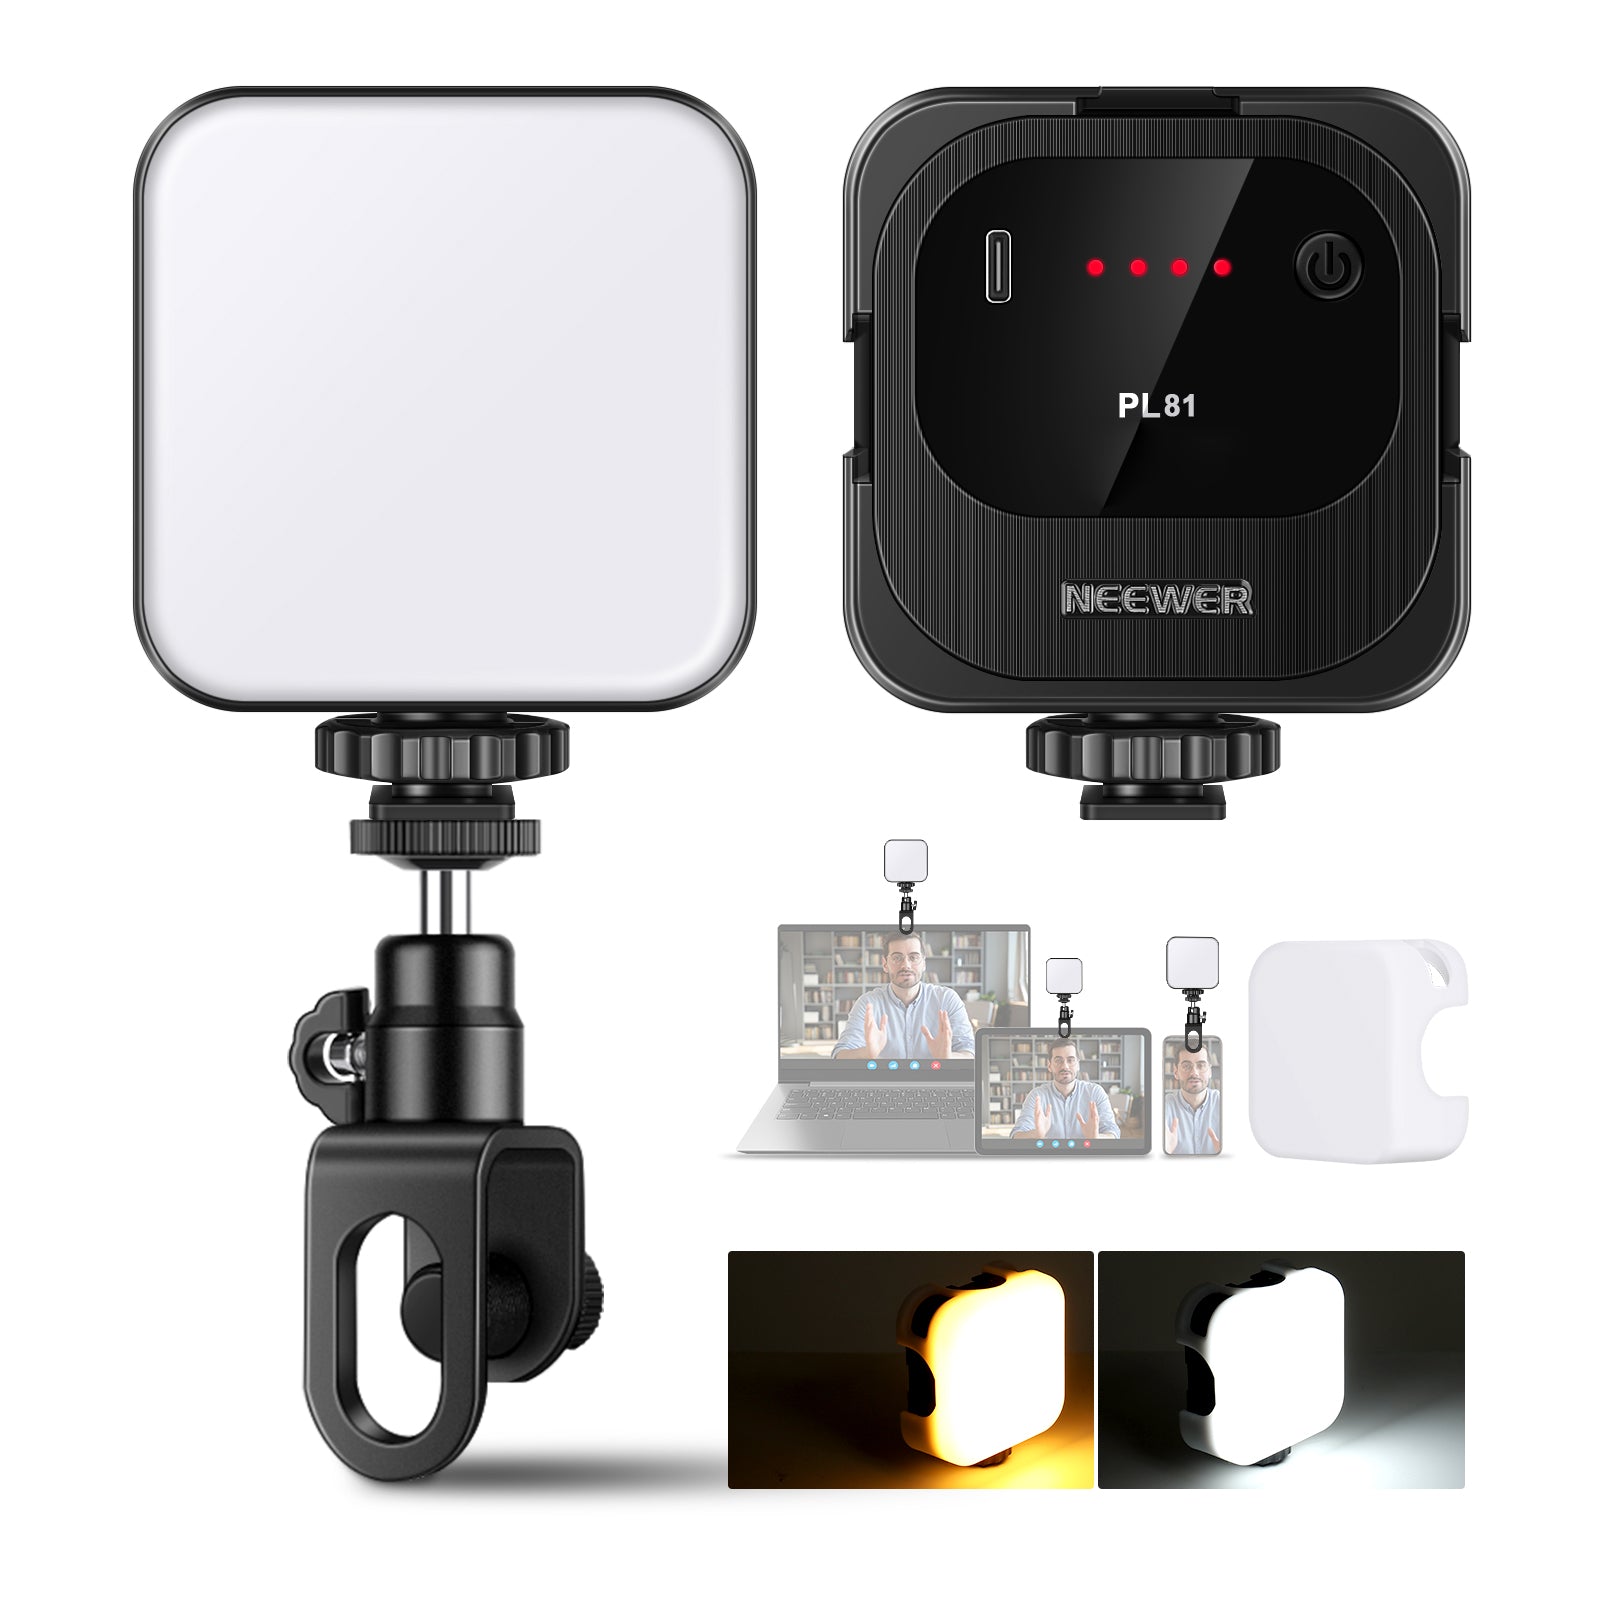
2. YouTube and Talking-Head Videos: NEEWER BP132 — Best LED Panel Kit for Desk Video
The Breakdown
For YouTube, vlogging, or any situation where you need reliable, repeatable lighting for a face on camera, the BP132 bi-color LED panel covers the fundamentals cleanly. The bi-color range (3200K–5600K) is the feature that matters most for video beginners: it means you can adjust the warmth of the light to match the ambient tone in your room, which eliminates the orange-vs-daylight mismatch that makes a lot of home studio footage look amateurish.
The panel is dimmable and provides even, relatively flat light that works well as a key light for talking-head formats. For desk setups specifically, the flatter light is also easier to control around monitors and glasses reflections than a bare bulb or undiffused COB source. A common beginner arrangement is placing the panel slightly above monitor height at a 45-degree angle, then using a white wall or reflector on the opposite side as passive fill. This keeps the desk area usable while avoiding the flat “webcam ring light” look. Add a second panel as fill later on, and the setup becomes much easier to balance for longer-form video or streaming sessions.
|
Spec |
Detail |
|
LED count |
132 LEDs |
|
Max power |
10W |
|
Colour temperature |
3200K–5600K (bi-color, adjustable) |
|
Dimming |
10 levels |
|
Max illuminance |
810 lux at 0.5 m |
|
CRI |
95+ |
|
Power |
USB 5V/2A |
|
Light dimensions |
3.54×5.12×1.06 in / 9×13×2.7 cm |
|
Weight |
0.36 lb / 164 g |
|
Stand height |
19.7–53.2 in / 49.5–135.5 cm |
Pros
- Bi-color range makes it easy to match ambient room lighting
- Dimmable output gives control without additional hardware
- Compact form factor — easy to position on a desk arm or stand
- Consistent output across sessions makes it easy to replicate a look
Cons
- Flat panel light can look one-dimensional without a second light source or reflector
- Less suitable for product photography compared to a softbox at the same price
- No built-in diffusion panel
Best for: YouTube talking-head, podcast video, video calls, Zoom backgrounds, vlogging
Shop LED panel lights with → NEEWER 5-in-1 Collapsible Light Reflector (from $19.99) — A silver/gold/white/black/translucent disc that folds into a carry pouch, giving you a passive fill light opposite the panel without adding a second power source.
3. Portable TikTok and Reels Lighting: NEEWER MS150C — Best Portable RGB Creator Light
The Breakdown
Short-form video content — TikTok, Reels, YouTube Shorts — often requires lighting that travels with the creator and can produce a distinctive look quickly. The MS150C is a compact RGB COB light that covers the full colour spectrum in addition to standard daylight and tungsten white light modes. For creators building a visual identity around specific colour tones, the RGB range adds options that a standard bi-color panel cannot match.
The practical use case for beginners: use the white modes for clean talking-head or product content, and use the RGB presets for creative transitions, backgrounds, or seasonal colour accents. It is not a replacement for a softbox or bi-color panel as a primary light — think of it as a flexible creator light that can function as both a portable main light and an accent light depending on the setup.
|
Spec |
Detail |
|
Light type |
COB (RGBWW light mixing) |
|
Max power |
150W |
|
Max illuminance |
16600 lux at 1 m |
|
Color temperature (white) |
2700K–6500K |
|
Color mode |
Warm / cool / RGB |
|
CRI / TLCI |
97+ / 98+ |
|
Dimming |
1% – 100% (linear PWM) |
|
Mount |
Bowens / NEEWER mount |
|
Control |
APP / 2.4 G |
|
Power |
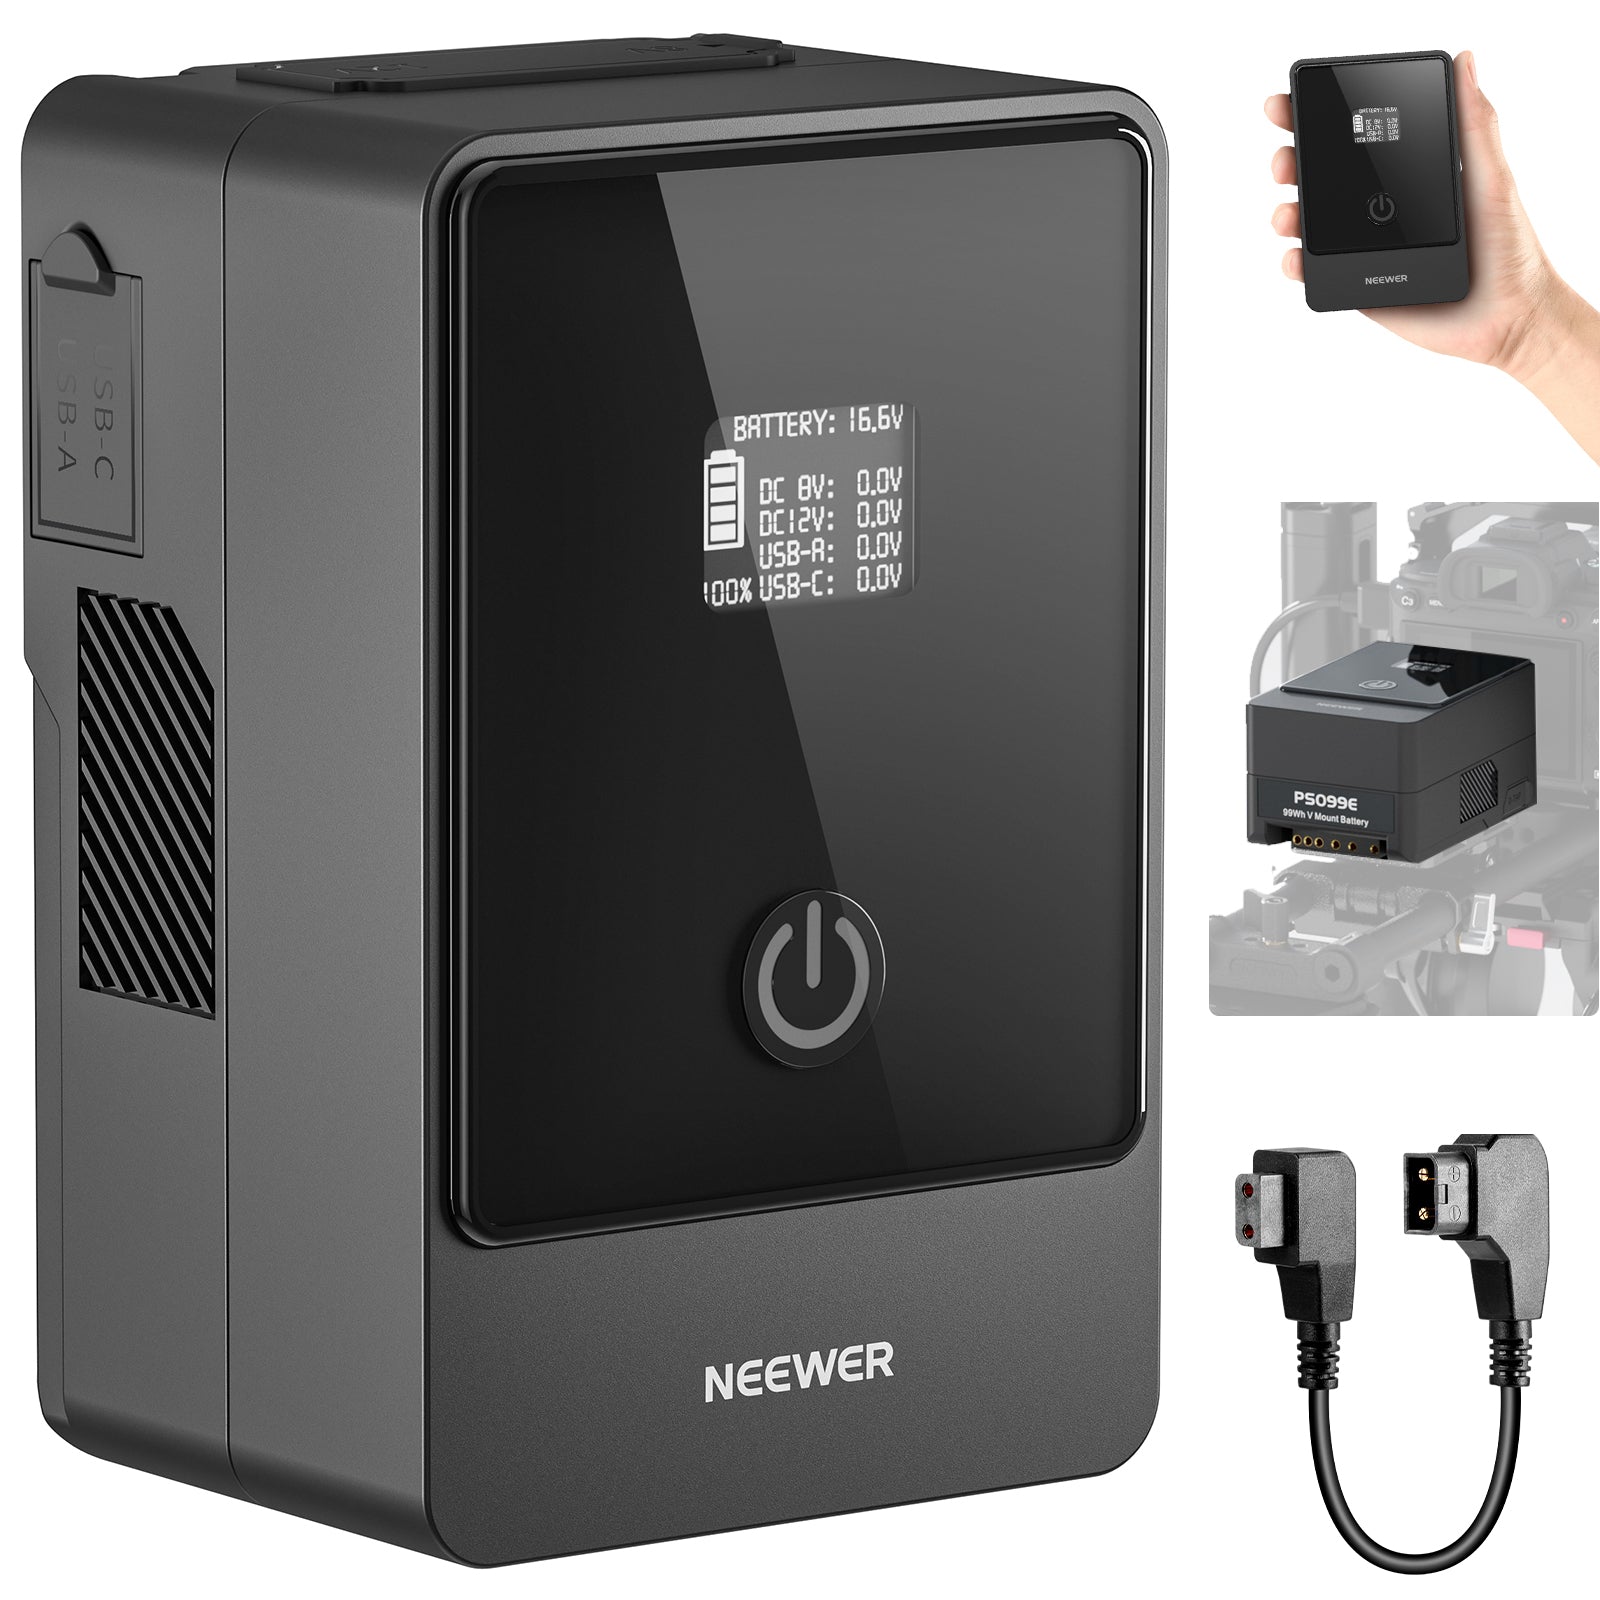
AC corded (V-mount battery 16.8V supported; sold separately) |
|
Dimensions |
7.7×3.7×3.6 in / 19.5×9.5×9.2 cm |
|
Weight |
2.3 lb / 1041 g |
Pros
- Full RGB range opens creative options not available on standard panels
- Compact and portable — usable on location with optional V-mount battery
- Bowens mount with adapter ring supports softboxes, beauty dishes, snoots, and umbrellas
- White modes are clean enough for standard video content
Cons
- RGB accuracy varies at extreme colour settings — not suited for colour-critical product photography
- V-mount battery for outdoor use is sold separately; battery mode reduces output to 95W
Best for: Short-form social video, creative accent lighting, on-location content, portable one-light setups
Shop RGB lights with → NEEWER ST-260HQ 260cm Light Stand (from $69.99) — A metal light stand adjustable up to 102 in / 260 cm with an 11 lb / 5000 g load capacity, sturdy enough to support the MS150C with Bowens-mount modifiers attached.
What to Avoid When Buying Cheap Studio Lights
1. Unbranded bulb kits with no CRI specification.
CRI is often omitted entirely from the lowest-tier listings, which is a reliable signal that it is below 85 — acceptable for casual use but noticeably off for product photography where colour accuracy matters.
2. Ring lights as a primary light source for product photography.
Ring lights produce a distinctive circular catchlight and even, flat illumination that works for face-forward beauty content but is unsuitable for product shots that need to show shape, texture, or depth.
3. Single-light setups for stills.
One light without a reflector or fill source creates hard shadows that flatten subjects. A $70 two-light softbox kit almost always produces better results than a $70 single high-output light for beginner product and portrait work.
4. Lights with no dimming control for video.
Beginner creators often compensate for overly bright lights by changing camera exposure settings instead of dimming the light itself. The result is usually harsher shadows, blown-out skin highlights, or noisy footage.
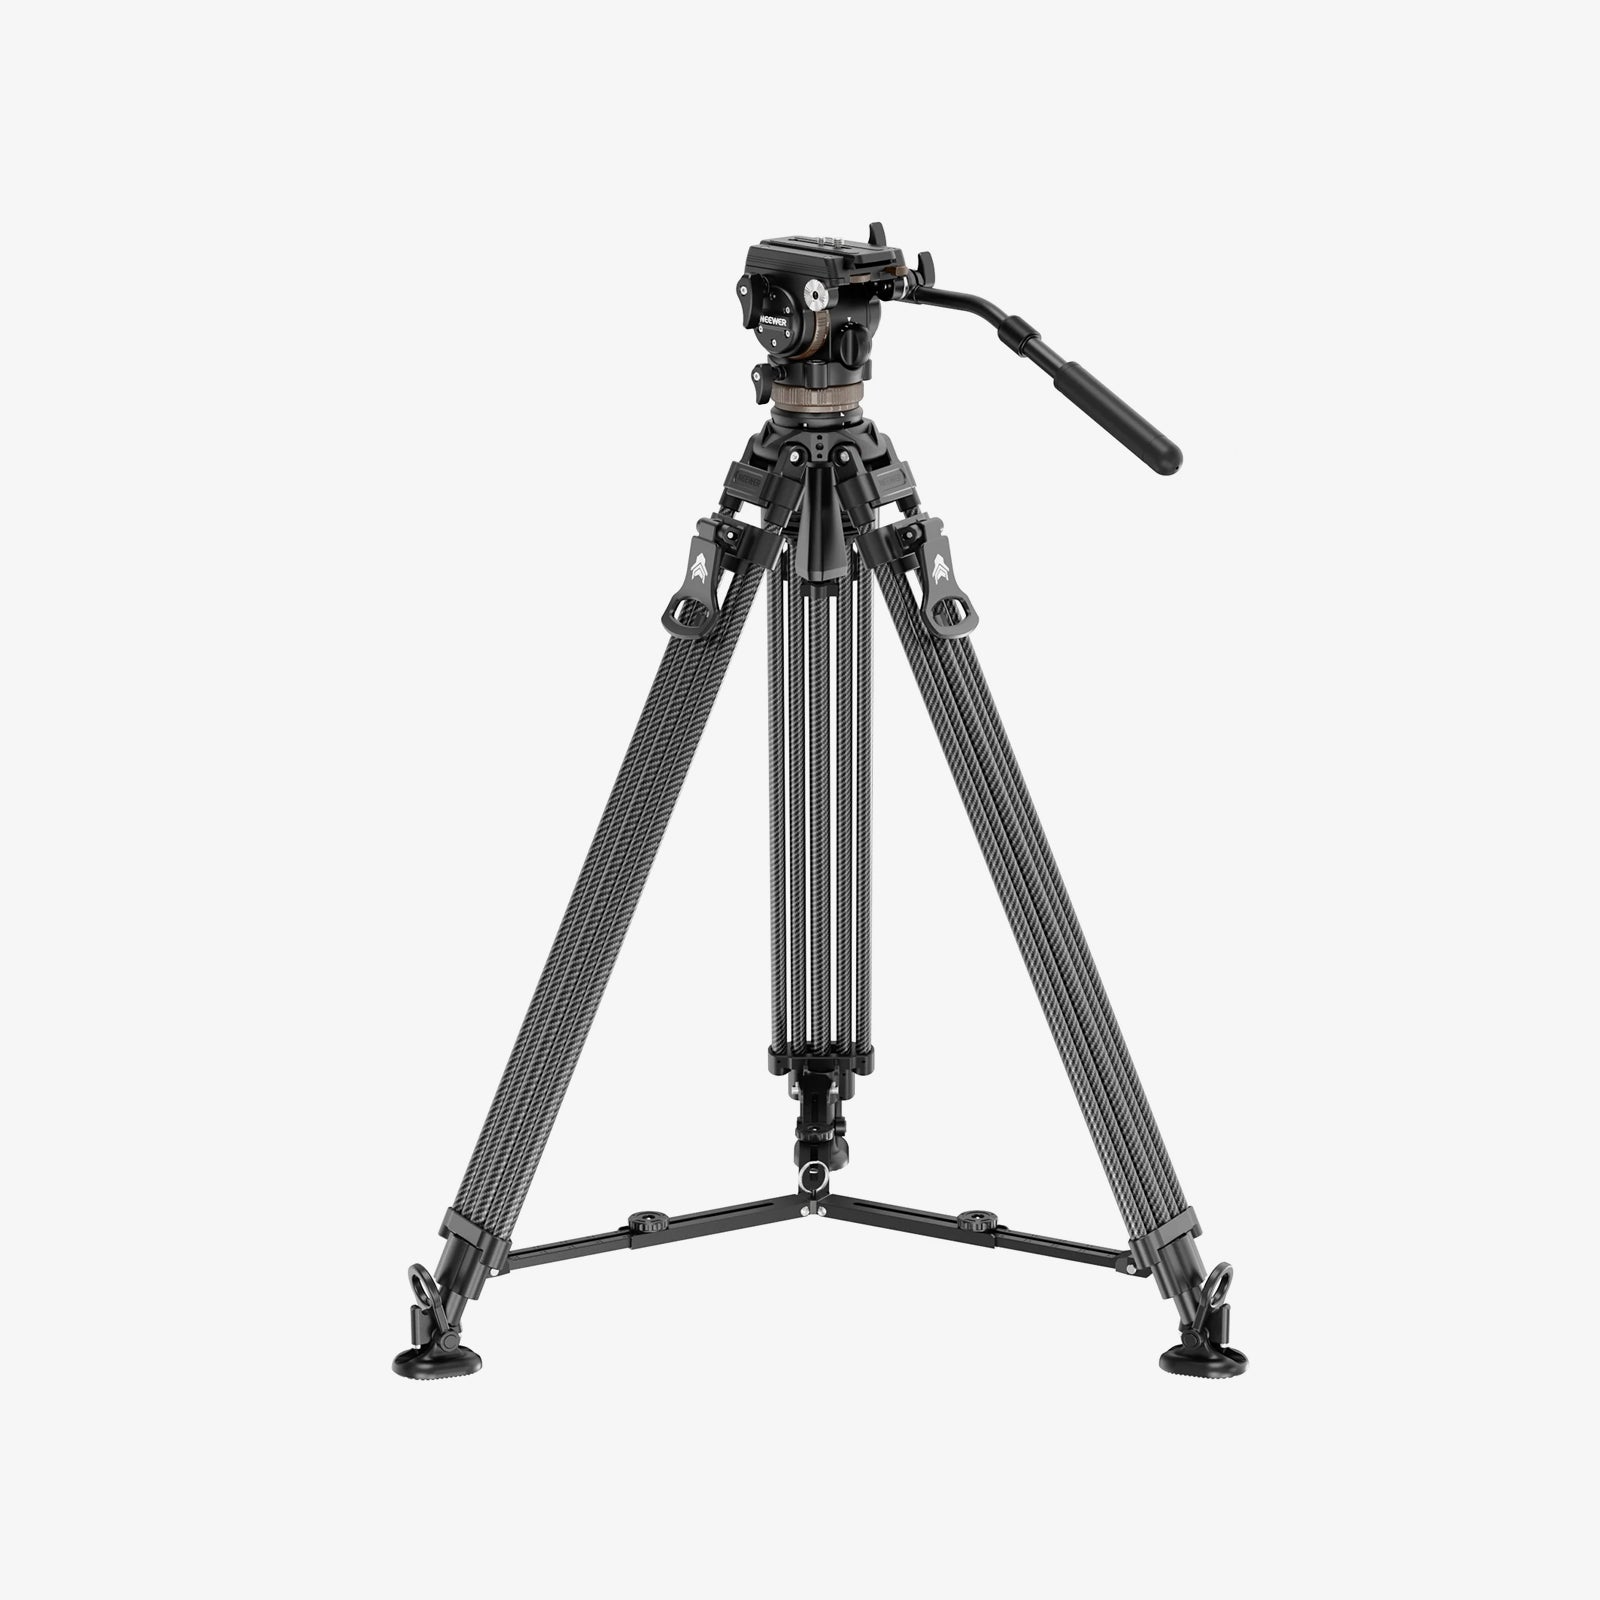
5. Cheap light stands with no sandbag provision.
Beginner light stands become surprisingly unstable once a large softbox is attached, especially in smaller rooms where stands are constantly being repositioned around desks and furniture. Look for stands with a centre column and accessory hook, and weight the base with a sandbag or equivalent.
FAQs
What is the cheapest studio lighting setup that still looks good?
A two-light softbox kit in the $60–$90 range is the lowest-cost starting point that produces consistently usable results for product photography and portrait stills. For video, a single bi-color LED panel with a white reflector on the opposite side achieves a clean two-point look for under $80. Going below these price points generally means compromising on CRI or light control in ways that affect final output quality.
Are softbox lights or LED panels better for beginners?
It depends on what you are shooting. Softbox kits produce softer, more diffused light that is harder to replicate with a bare LED panel — making them the better choice for product photography and portraits. LED panels are easier to control for video: dimmable, adjustable colour temperature, and no assembly required per session. If you shoot both stills and video, start with a softbox kit and add an LED panel as your second light.
How many lights does a small home studio need?
Two lights cover most beginner scenarios: a key light and a fill light (or a reflector as a passive fill). A third light as a background or hair light is useful once you are comfortable with two-point lighting, but it is not a starting requirement. The NK103 two-light softbox kit and a single LED panel together cover a fully functional small home studio.
Do I need a COB light for beginner product photography?
No. A COB light produces a harder, more directional light that needs additional modifiers — a softbox or beauty dish — to work well for product photography. A softbox kit like the NK103 already packages the modifier with the light source, making it a simpler and more cost-effective starting point. COB lights become useful later when you want more output or are working with larger subjects and need the light to punch through a modifier at a greater distance.
Final Recommendation
Buying studio lights for the first time is easier when the decision starts with a use case rather than price or wattage. The short version:
- Product photography: NK103 softbox kit — two diffused lights, high CRI, everything included to start.
- YouTube or desk video: BP132 LED panel — bi-color control, consistent output, easy to position.
- Portable social content: MS150C RGB COB light — versatile, full RGB range, doubles as a creative accent light.
- Multi-use home studio: Combine a softbox kit for stills with an LED panel for video. The two setups complement each other and cover most beginner scenarios without overlap.
None of these setups requires additional purchases to produce usable results from day one, and most beginners do not need multiple specialised lights immediately. A practical long-term path is starting with a softbox kit for photography, then later adding a compact LED panel for video, streaming, or background lighting as needs expand. Earlier purchases continue to stay useful rather than being replaced entirely.